
Crochet blanket patterns are some of my absolute favorite projects because they create something beautiful, practical, and full of handmade love. I’m so excited to share one of my own easy blanket designs that works wonderfully for beginners while still keeping experienced crocheters entertained. According to The Spruce Crafts,This soft, textured throw uses simple stitches that build into a gorgeous modern pattern, making it perfect for cozy evenings, thoughtful gifts, or adding warmth to your home. Grab your supplies and let’s dive in! If you’re searching for relaxing crochet blanket patterns, this chunky throw is one you’ll enjoy making from the very first row to the final border.
- Worsted weight acrylic yarn, approximately 2,000–2,200 yards (1,830–2,010 m) in Cream (or color of choice)
- 5.5 mm (I-9) crochet hook
- Sharp yarn scissors
- Large yarn needle for weaving in ends
- Stitch markers (4–6 recommended)
- Flexible measuring tape
- Row counter (optional but helpful)
Finished Size: Approximately 50 x 60 inches (127 x 152 cm)
Gauge: 14 dc x 8 rows = 4 x 4 inches (10 x 10 cm)
- ch – chain
- sl st – slip stitch
- sc – single crochet
- dc – double crochet
- st – stitch
- rep – repeat
- RS – right side
- WS – wrong side
- sk – skip
- sp – space
- FO – fasten off
1. Crochet the Foundation Chain
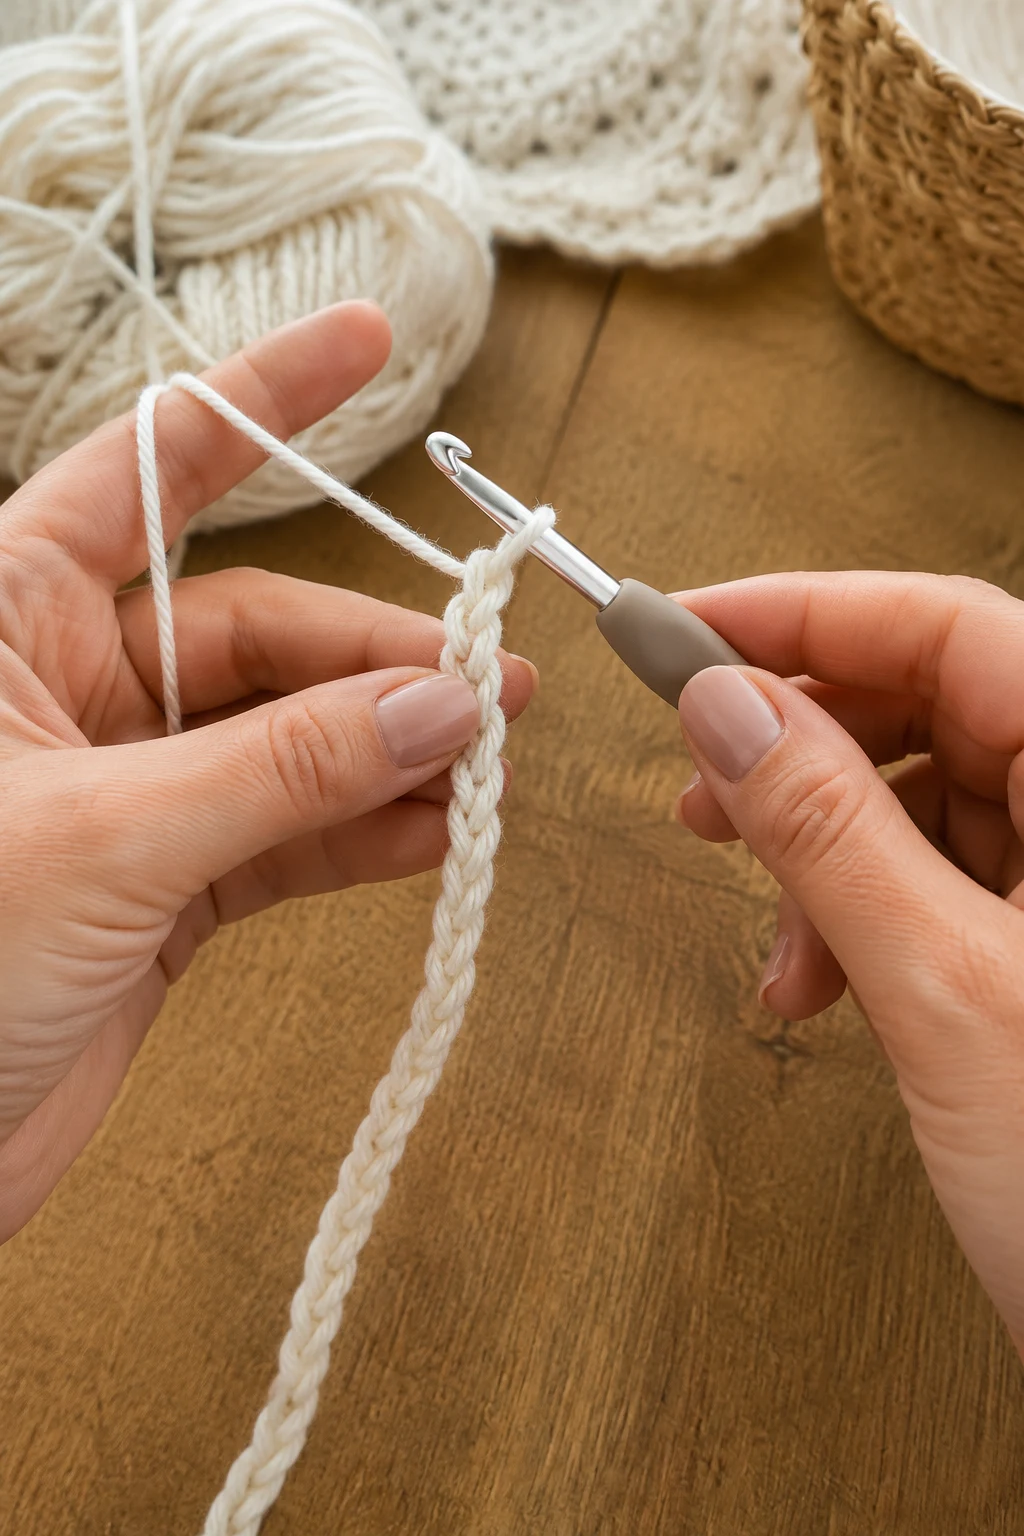
This section creates the blanket’s width and establishes an even foundation.
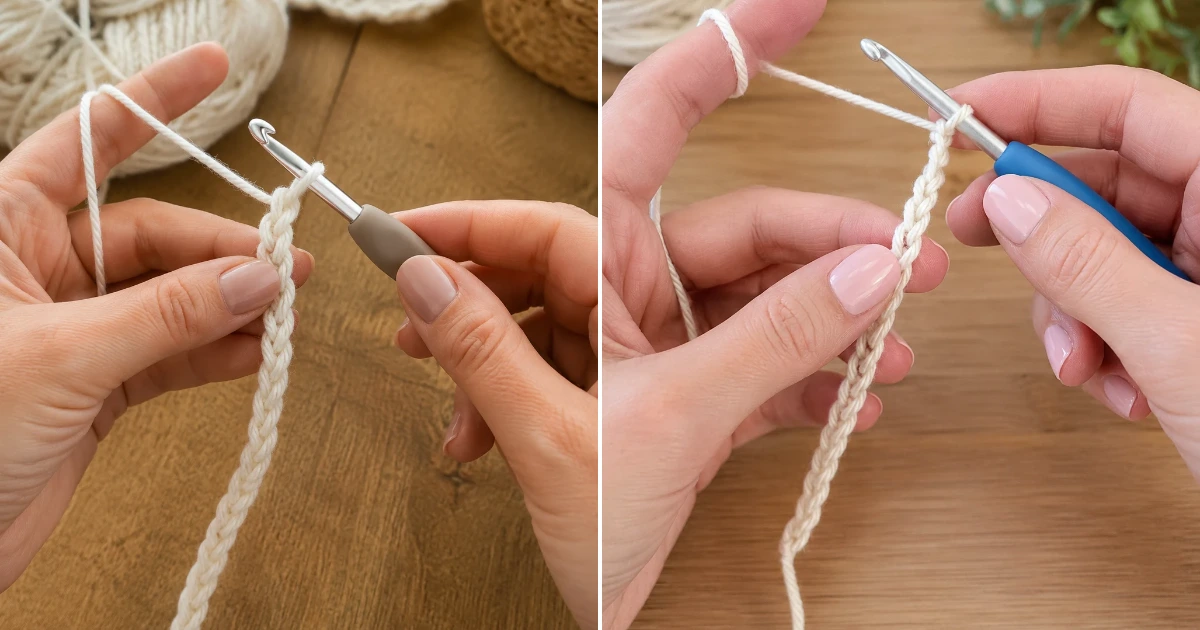
- Make a slip knot.
- Chain 176 stitches.
- Check that your chain measures approximately 50 inches [127 cm] without stretching.
- Be careful not to twist the foundation chain.
- Add a stitch marker every 25 chains to make counting easier.
- Chain 2 more stitches for your turning chain.
Pro Tip: Count your foundation chain twice before beginning Row 1—it’s much easier than correcting mistakes later.
2. Work the Blanket Body — crochet
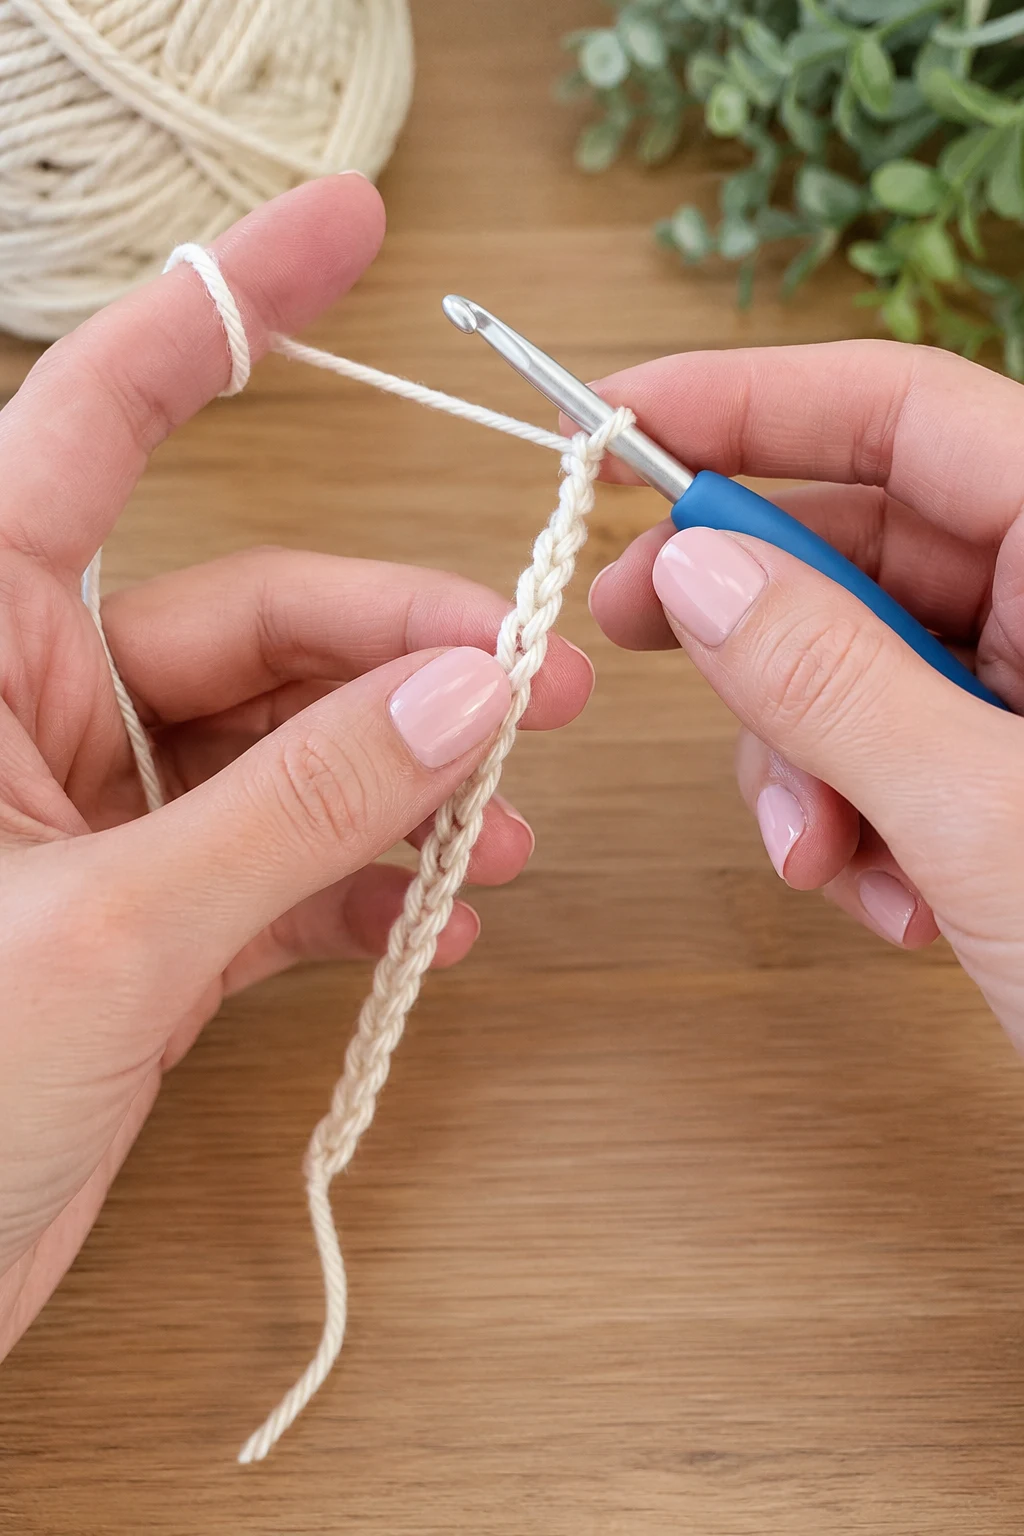
Row 1
- Dc into the 3rd chain from the hook.
- Dc in every remaining chain.
- You should have 176 dc.
Turn.
Row 2
- Ch 2.
- Dc in first stitch.
- Sc in next stitch, dc in next stitch.
- Repeat across the row.
- End with a dc in the final stitch.
Row 3
- Ch 1.
- Sc in first stitch.
- Dc in next stitch, sc in next stitch.
- Repeat across.
- Finish with a sc.
Rows 4–96
- Repeat Rows 2 and 3 until the blanket measures approximately 60 inches [152 cm] long.
- Check your measurements every 10 rows.
- Keep your tension consistent for straight edges.
- If your blanket reaches the desired length sooner, simply stop after completing a full repeat.
Pro Tip: Fold the blanket occasionally while crocheting to admire your progress and make sure the edges remain straight.
3. Add the Simple Border — crochet
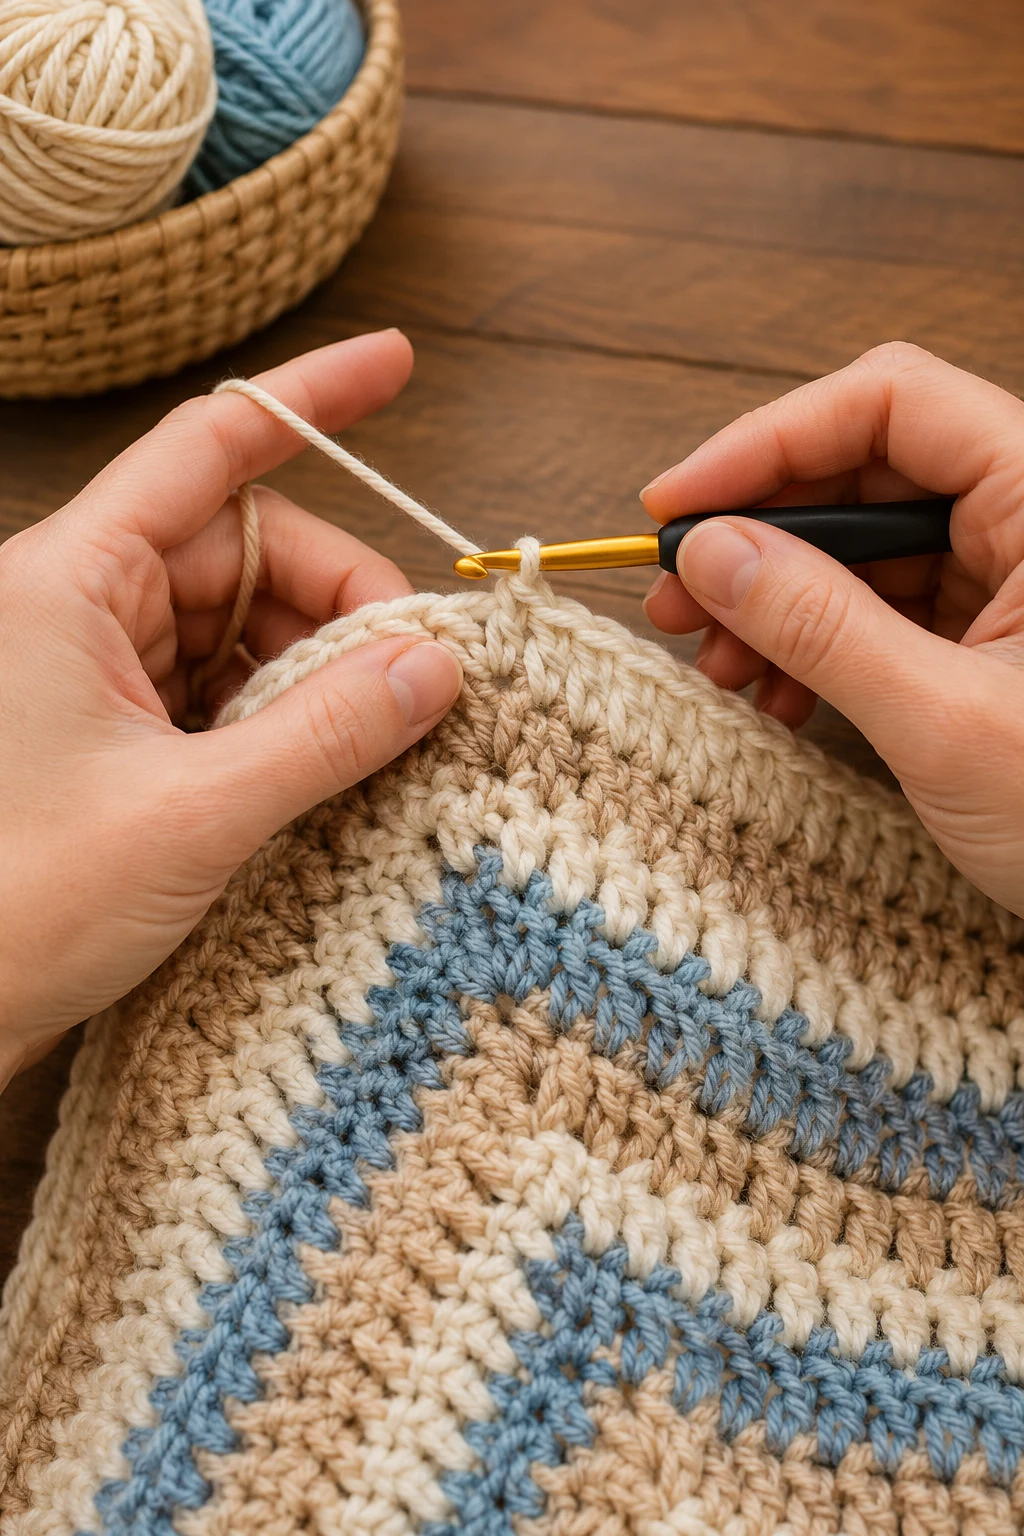
The border gives the blanket a polished, finished appearance.
Round 1
- Do not fasten off.
- Ch 1.
- Work 1 sc in every stitch across the top edge.
- Place 3 sc in each corner.
- Continue evenly down each side with approximately 1 sc per row.
- Work across the bottom foundation chain.
- Join with a sl st.
Round 2
- Ch 1.
- Sc in every stitch.
- Place 3 sc into each center corner stitch.
- Join with a sl st.
Round 3
- Repeat Round 2 once more for a thicker border.
- Fasten off.
Pro Tip: If your border begins to ripple, reduce the number of side stitches slightly until it lays flat.
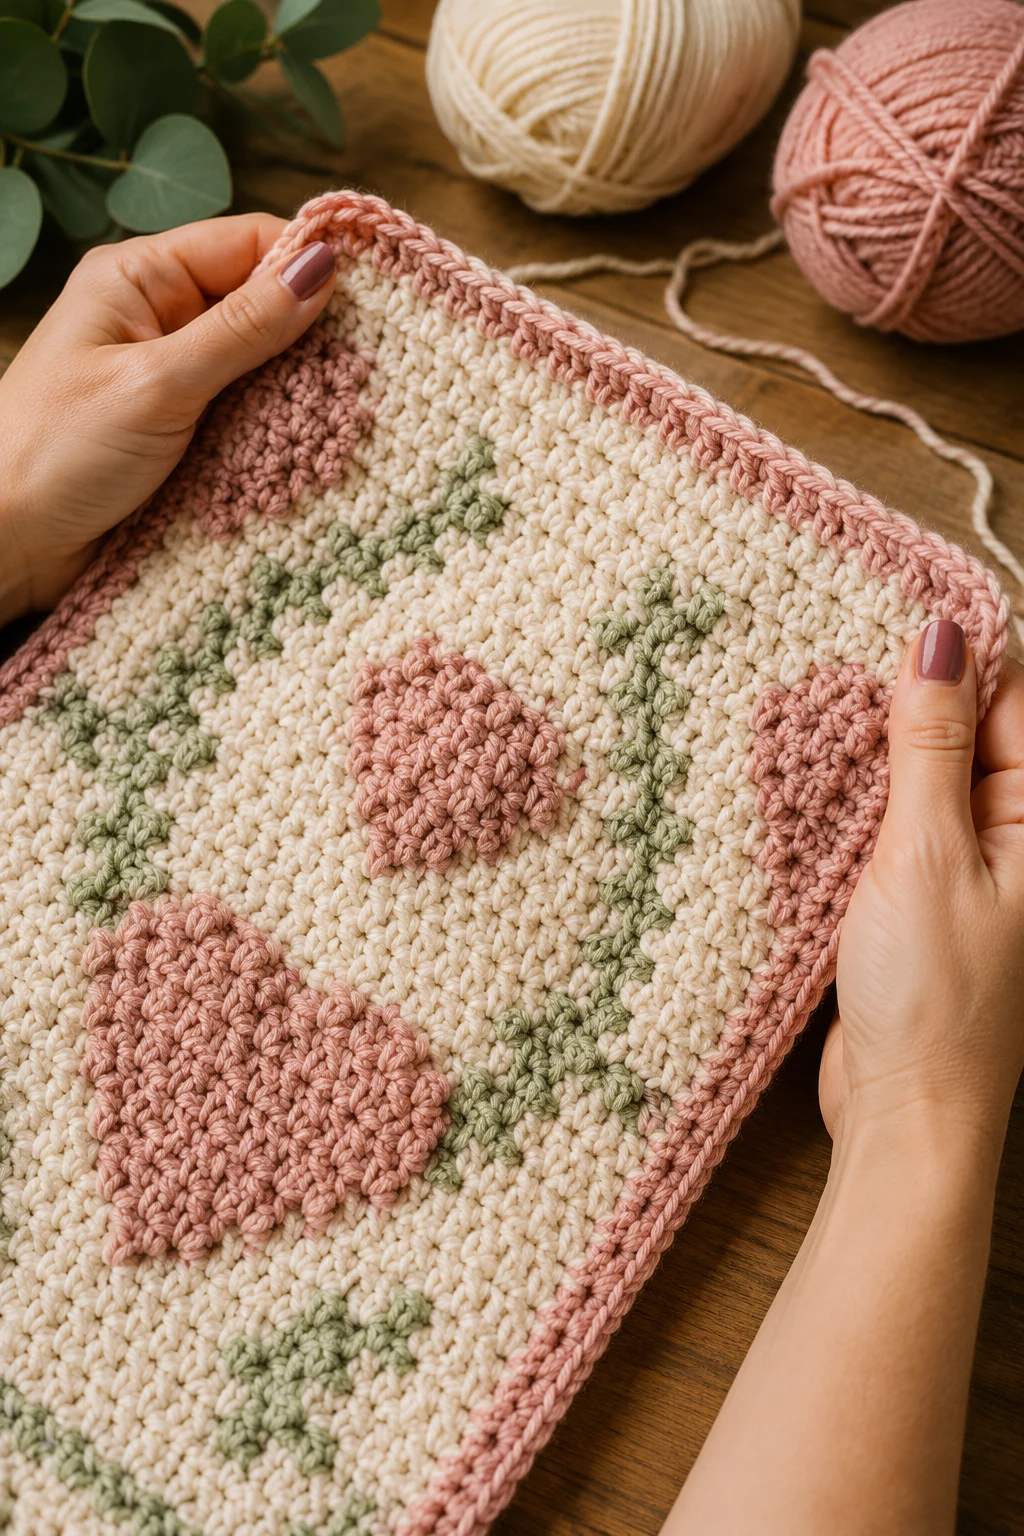
4. Finish and Block the Blanket
These final touches help your blanket look professional.
- Cut the yarn, leaving an 8-inch [20 cm] tail.
- Weave in every loose end securely using a yarn needle.
- Trim excess yarn carefully.
- Lightly wash according to your yarn manufacturer’s recommendations.
- Lay the blanket flat on towels.
- Shape it to 50 x 60 inches [127 x 152 cm].
- Allow it to air dry completely before using.
Pro Tip: Blocking helps even out your stitches and gives your finished blanket crisp, clean edges.
Congratulations—you’ve finished your very own cozy throw! Handmade blankets become treasured keepsakes because every stitch represents time, care, and creativity. I hope this project inspires you to make even more crochet blanket patterns for your home, family, and friends. Don’t be afraid to experiment with different colors or yarn textures to make this pattern uniquely yours. I’d absolutely love to see your finished blanket, so be sure to share your photos and tag the blog. Happy crocheting, and I’ll see you in the next pattern!
What yarn works best for crochet blanket patterns?
A worsted weight acrylic yarn is an excellent choice because it’s soft, durable, machine washable, and easy for beginners to work with.
How long does this blanket take to crochet?
Most crocheters can complete this blanket in 20–35 hours, depending on experience and how much time they crochet each day.
Why does my blanket look uneven?
Uneven edges usually come from inconsistent tension or missed stitches. Count your stitches every few rows and use stitch markers to help keep everything straight.
📚 You Might Also Like
- Ideas a crochet: 12 Easy DIY Ideas for 2026
Ideas a crochet are taking over craft rooms because they combine creativity, relaxation, and beautif…
- Crochet blanket ideas: 10 Top DIY Ideas for 2026
Crochet blanket ideas are creative blanket designs that combine stitches, colors, and textures to cr…
- Crochet sweater ideas: 12 Best DIY Ideas for 2026
Crochet sweater ideas are creative handmade sweater designs that combine beautiful stitches, cozy ya…
- Crochet market ideas: 7 Stunning DIY Ideas for 2026
Crochet market ideas are creative, practical, and giftable handmade crochet projects designed to att…
- Crochet inspo ideas: 7 Beautiful DIY Ideas for 2026
Crochet inspo ideas are creative project concepts, color combinations, and techniques that inspire c…
🛍️ Shop the Look — crochet blanket patterns
Our handpicked Amazon picks curated specifically for crochet blanket patterns:
As an Amazon Associate I earn from qualifying purchases.