
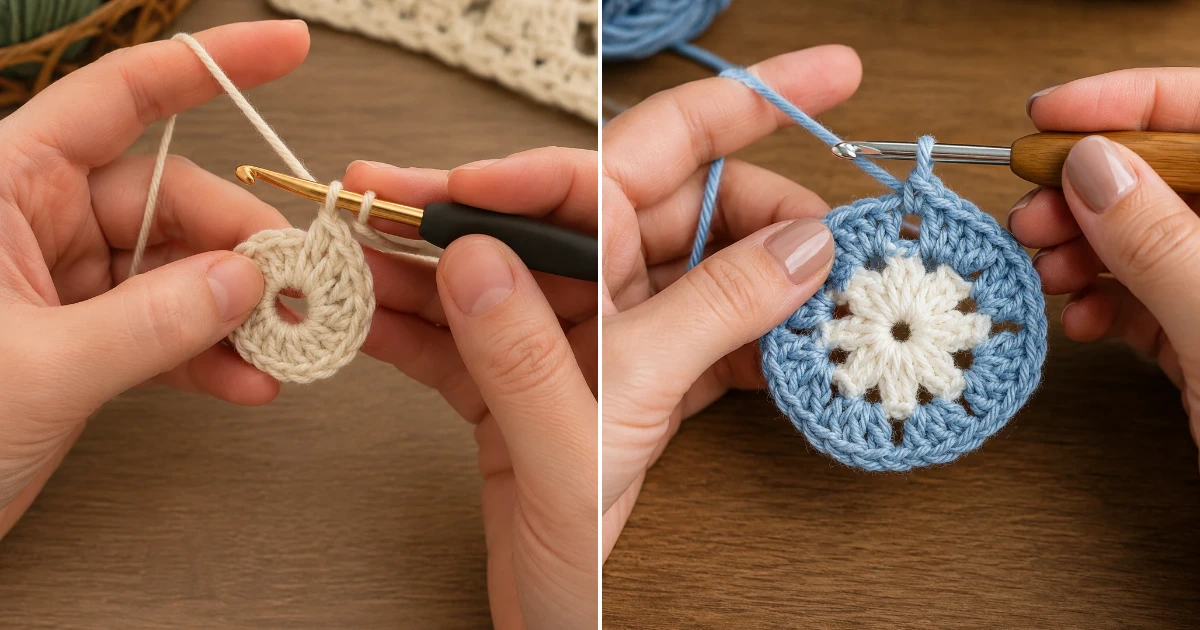
crochet square patterns are one of my favorite ways to create beautiful handmade pieces, and I’m so excited to share this free pattern with you today! This simple classic granny square is perfect for beginners and experienced crocheters alike, and once you master it, you can join multiple squares into blankets, pillows, bags, or garments. I love keeping a few of these squares on my hook whenever I want a relaxing project. According to The Spruce Crafts,Grab your supplies and let’s dive in! By the end of this tutorial, you’ll have a neat crochet square patterns project you’ll be proud to show off.
Materials Needed
Worsted weight cotton yarn, approximately 40 g in your main color (cream shown)
Worsted weight cotton yarn, approximately 15 g each in three contrasting colors (sage green, dusty rose, and mustard)
5.0 mm (H/8) crochet hook
Sharp yarn scissors
Yarn tapestry needle for weaving in ends
4 locking stitch markers (optional but helpful)
Flexible measuring tape
Small blocking mat
Rust-proof T-pins for blocking
Spray bottle filled with clean water
Abbreviations / Terms Used
ch – chain
sl st – slip stitch
sc – single crochet
dc – double crochet
sp – space
st – stitch
rep – repeat
RS – right side
WS – wrong side
rnd – round
FO – fasten off
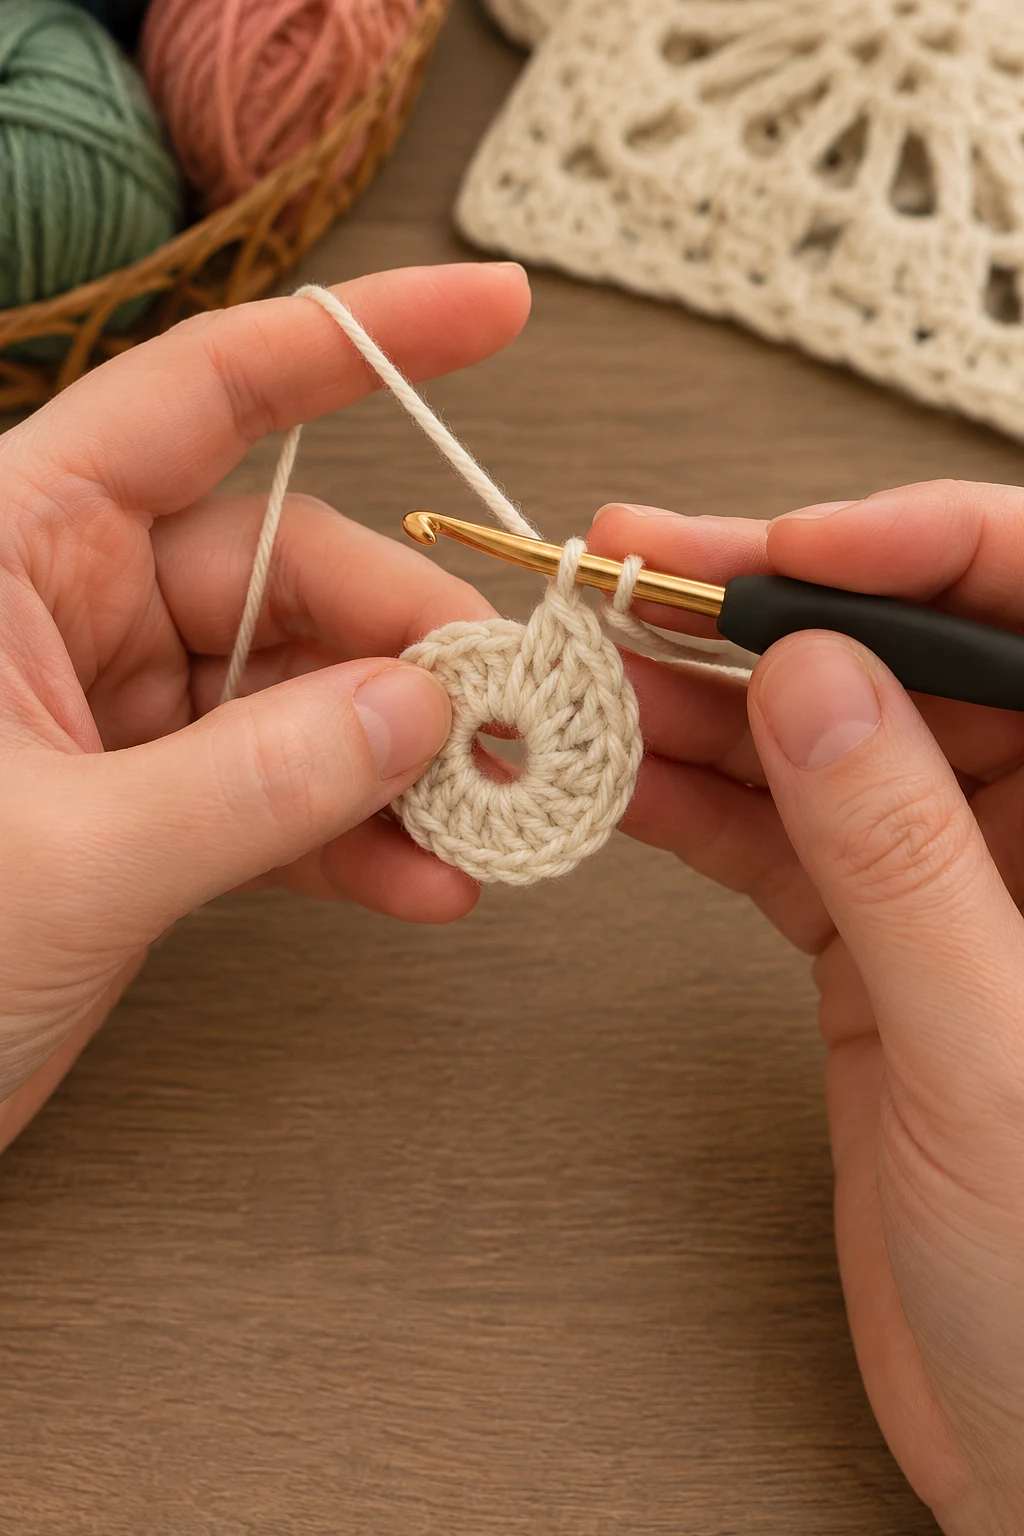
1. Crochet the Center Ring
This creates the foundation for your granny square.
Make a slip knot and ch 4.
Join with a sl st into the first chain to form a ring.
Ch 3 (counts as first dc).
Work 2 dc into the ring.
Ch 2 to create the first corner.
Repeat 3 dc, ch 2 three more times into the ring.
You should now have 4 groups of 3 dc with 4 corner ch-2 spaces.
Join with a sl st to the top of the beginning ch-3.
Fasten off if changing colors.
[4 corner spaces, 12 dc total]
Pro Tip: Crochet over the yarn tail as you work to reduce the amount of weaving in later.
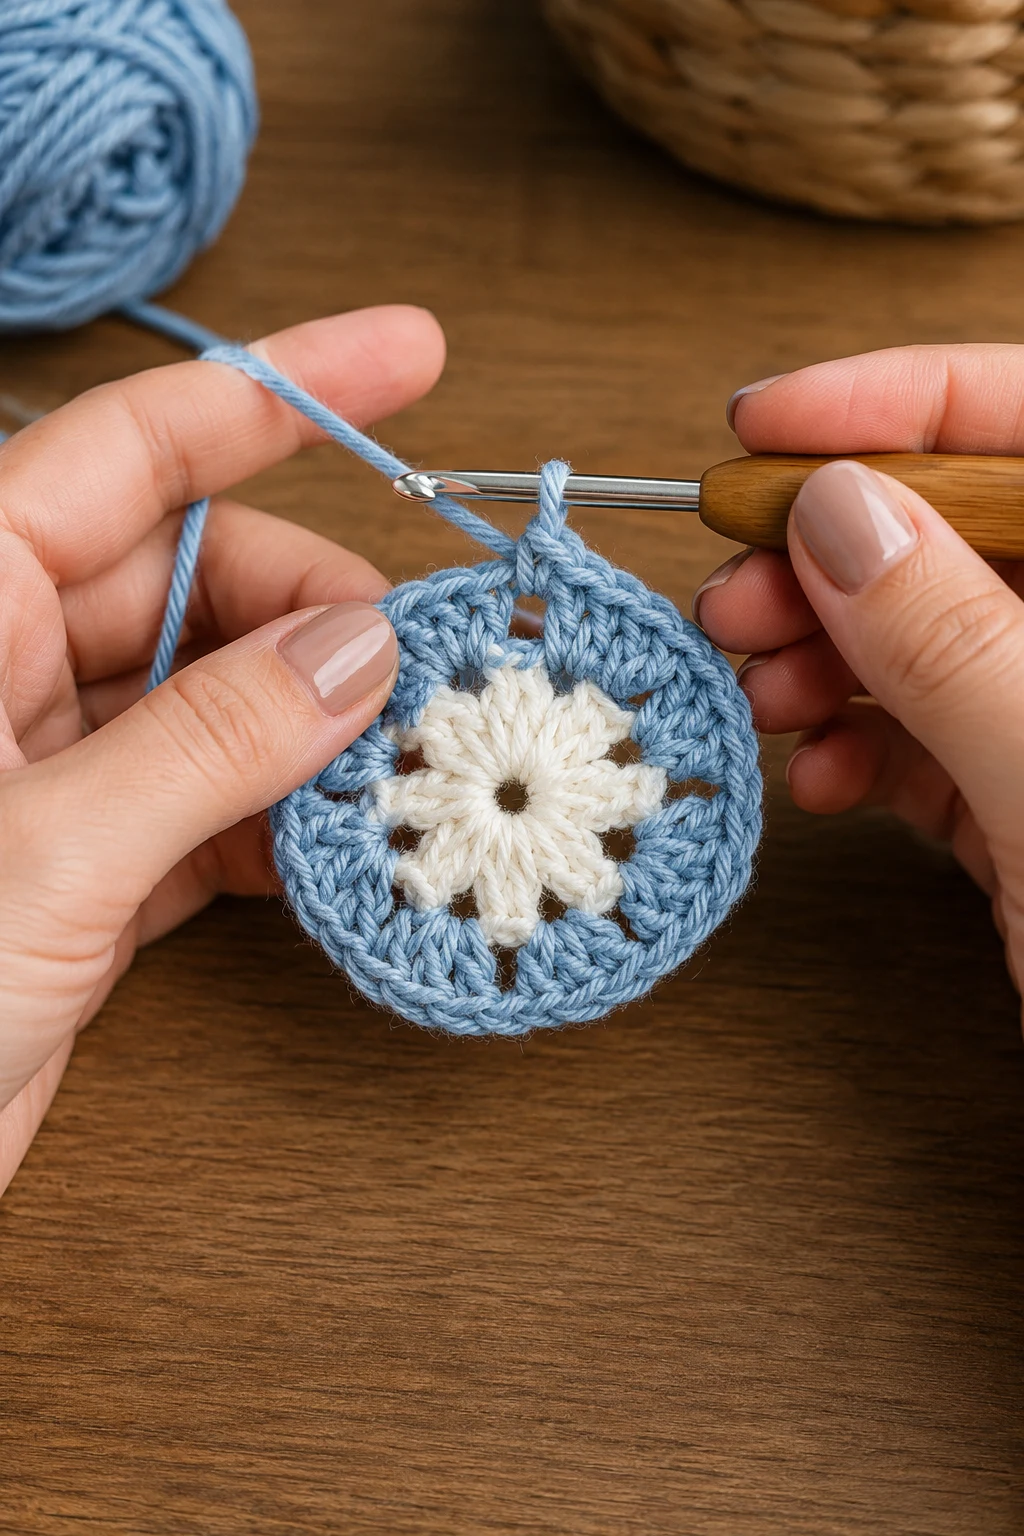
2. Work Round Two — crochet
This round begins shaping the square.
Join your new color in any corner ch-2 sp.
Ch 3, then work 2 dc into the same corner.
Ch 2, then 3 dc into the same corner.
In the next corner, work 3 dc, ch 2, 3 dc.
Repeat around all four corners.
Join with a sl st to the top of the beginning ch-3.
[24 dc, 4 corner spaces]
Pro Tip: Count your corner groups after every round to catch mistakes early.
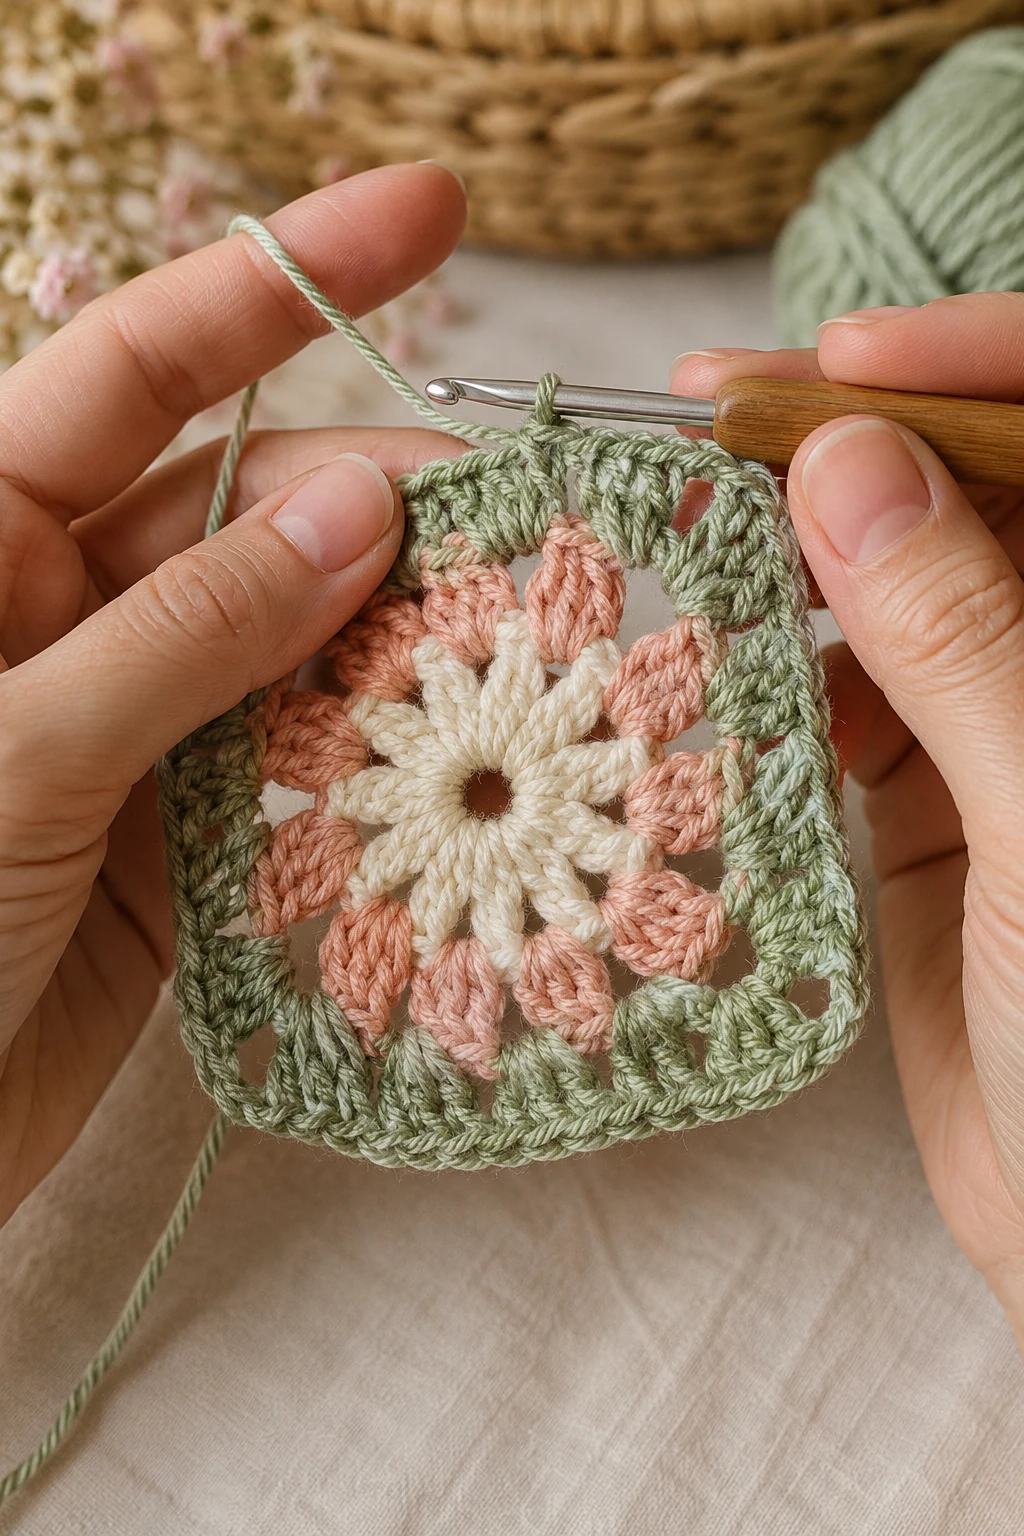
3. Build the Square — crochet
Continue growing your square evenly.
Join the next color in any corner space.
Ch 3, work 2 dc, ch 2, then 3 dc in the same corner.
In each side space between corners, work 3 dc.
In every corner, always work 3 dc, ch 2, 3 dc.
Repeat around the square.
Join with a sl st.
Continue repeating this same pattern for 2 more rounds using your remaining colors.
Finished measurement: approximately [6 x 6 inches] after five total rounds.
Pro Tip: Keep your chain-2 corners loose so the square stays flat.
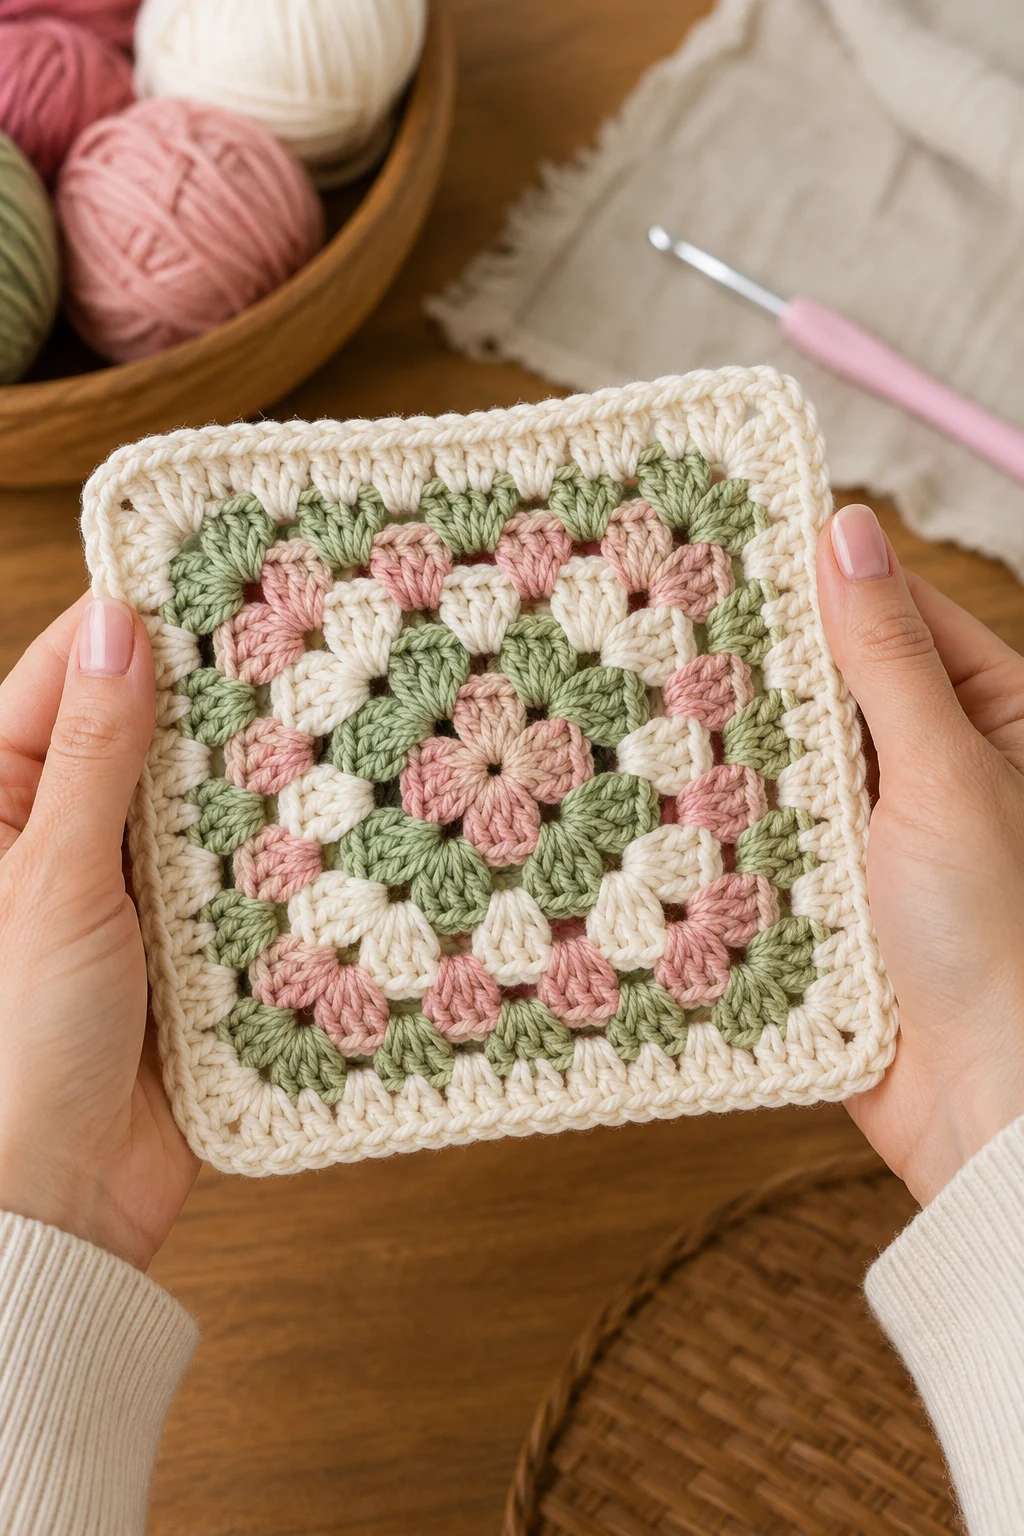
4. Add the Finishing Border
This gives your square a polished appearance.
Join your main color in any corner.
Ch 1.
Work 1 sc into every dc across each side.
Place 3 sc into every corner ch-2 sp.
Continue around evenly.
Join with a sl st to the first sc.
FO, leaving an 8-inch yarn tail.
Weave in all yarn ends using a tapestry needle.
Lightly mist the square with water and block it to [6 x 6 inches], pinning each corner squarely until completely dry.
Pro Tip: Blocking makes even beginner granny squares look crisp and professional.
Final Thoughts
Congratulations on finishing your beautiful granny square! I hope this free pattern gives you the confidence to explore even more crochet square patterns and experiment with your favorite color combinations. I always find it amazing how one simple square can become part of a cozy blanket, a stylish tote, or a cheerful cushion cover. Thanks so much for crocheting along with me today. If you make this pattern, I’d absolutely love to see your finished square—share your photos and tag the blog so we can celebrate your handmade creation together!
FAQ
What is the easiest project to make with crochet square patterns?
A classic granny square like this one is one of the easiest projects because it repeats the same stitches and grows evenly with each round.
How many granny squares do I need for a blanket?
It depends on the finished size. A lap blanket typically uses 35–49 squares measuring about 6 inches each.
Why is my crochet square curling or not staying square?
Curling usually happens because stitches are too tight or corners are missing stitches. Count each round carefully and block your finished square for the best results.
📚 You Might Also Like
- Filet crochet patterns: Free Pattern & Step-by-Step Tutorial
Filet crochet patterns are one of my favorite ways to turn a few simple stitches into something that…
- Crochet blanket patterns Free Pattern — Beginner Tutorial
Crochet blanket patterns are some of my absolute favorite projects because they create something bea…
- Crochet sweater ideas: 12 Best DIY Ideas for 2026
Crochet sweater ideas are creative handmade sweater designs that combine beautiful stitches, cozy ya…
- Crochet tops ideas: 9 Chic DIY Ideas for 2026
Crochet tops ideas are creative handmade clothing designs that combine beautiful stitches, colorful…
- Crochet inspo ideas: 7 Beautiful DIY Ideas for 2026
Crochet inspo ideas are creative project concepts, color combinations, and techniques that inspire c…
🛍️ Shop the Look — crochet square patterns
Our handpicked Amazon picks curated specifically for crochet square patterns:
As an Amazon Associate I earn from qualifying purchases.