
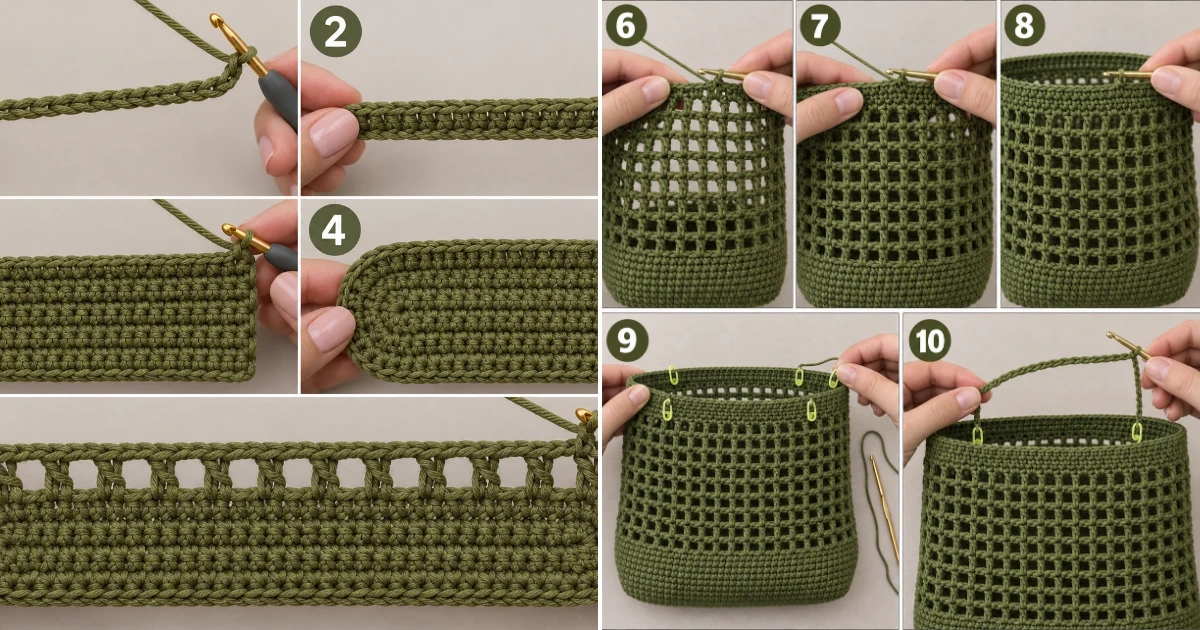
Easy Crochet Market Bag That’s Roomy & Reusable
crochet market bag free pattern projects are one of my favorite ways to make something genuinely useful while still enjoying a relaxing crochet session. I’m so excited to share this simple, sturdy market tote with you! It uses bulky yarn, a 5.5 mm hook, basic stitches, and an easy open mesh construction that gives the finished bag plenty of room to stretch. The result is a practical reusable bag for groceries, farmers markets, beach days, or everyday errands. Grab your supplies, put on the companion video, and let’s make this crochet market bag free pattern together!
A Roomy Crochet Market Bag Free Pattern to Make This Weekend
This crochet market bag free pattern is worth making because the open mesh body works up quickly while the solid base and reinforced handles give the bag useful everyday structure.
Materials Needed
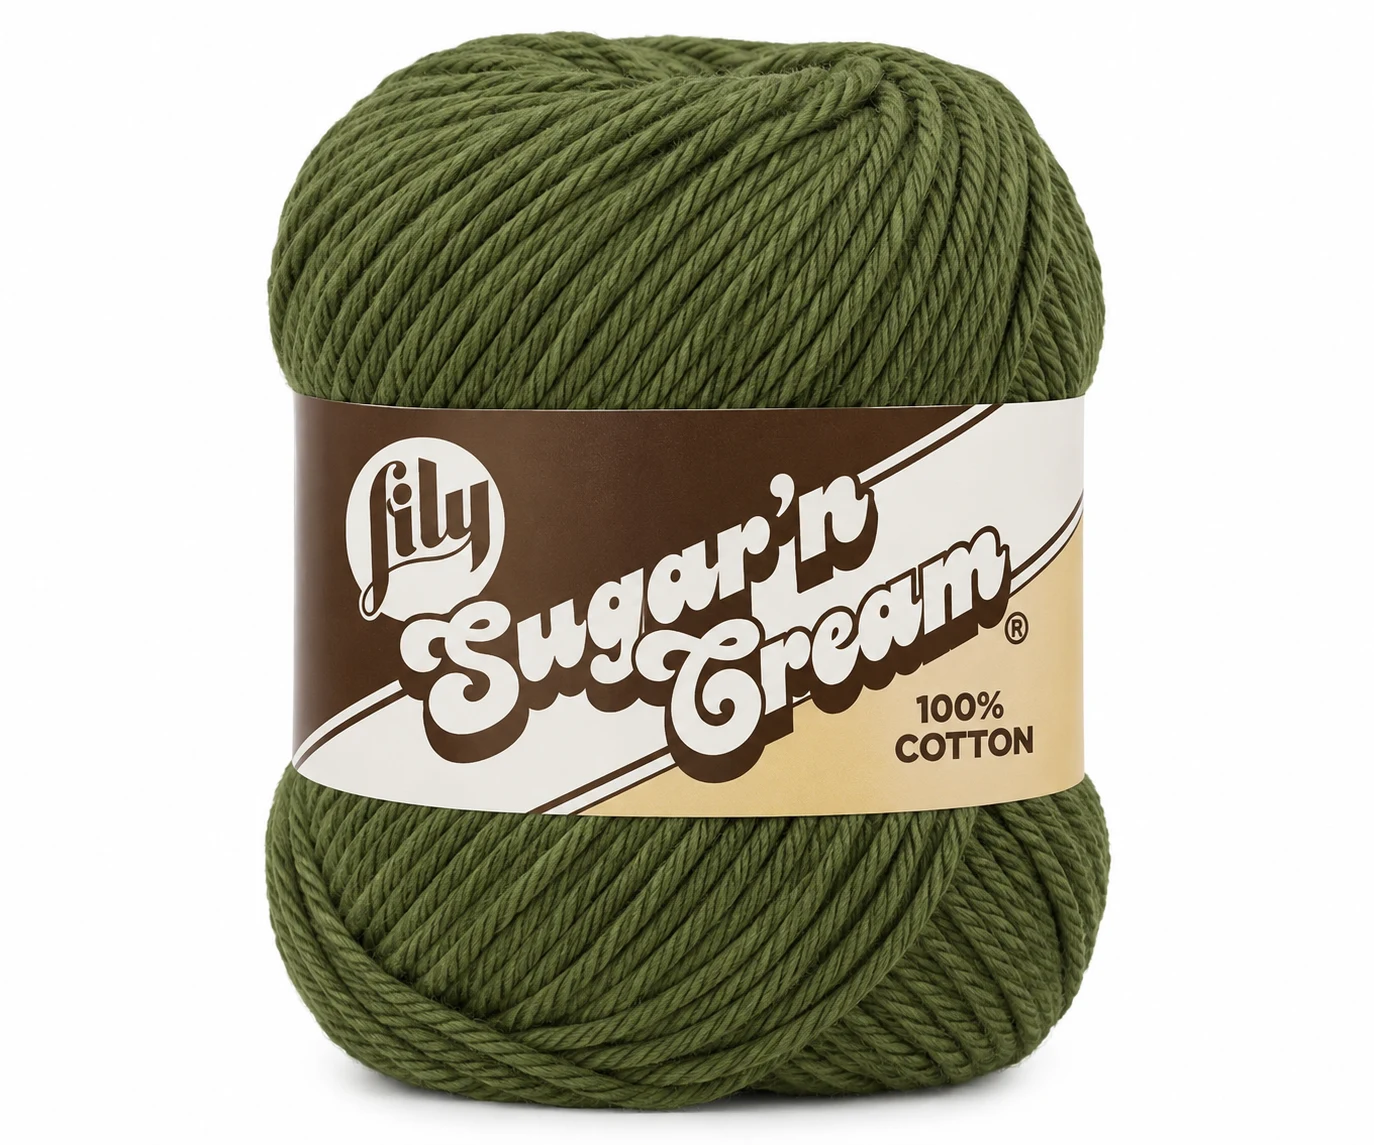
Bulky weight #5 yarn: approximately 3 skeins / 459 yards (420 m) total.
Color: olive green throughout the entire project.
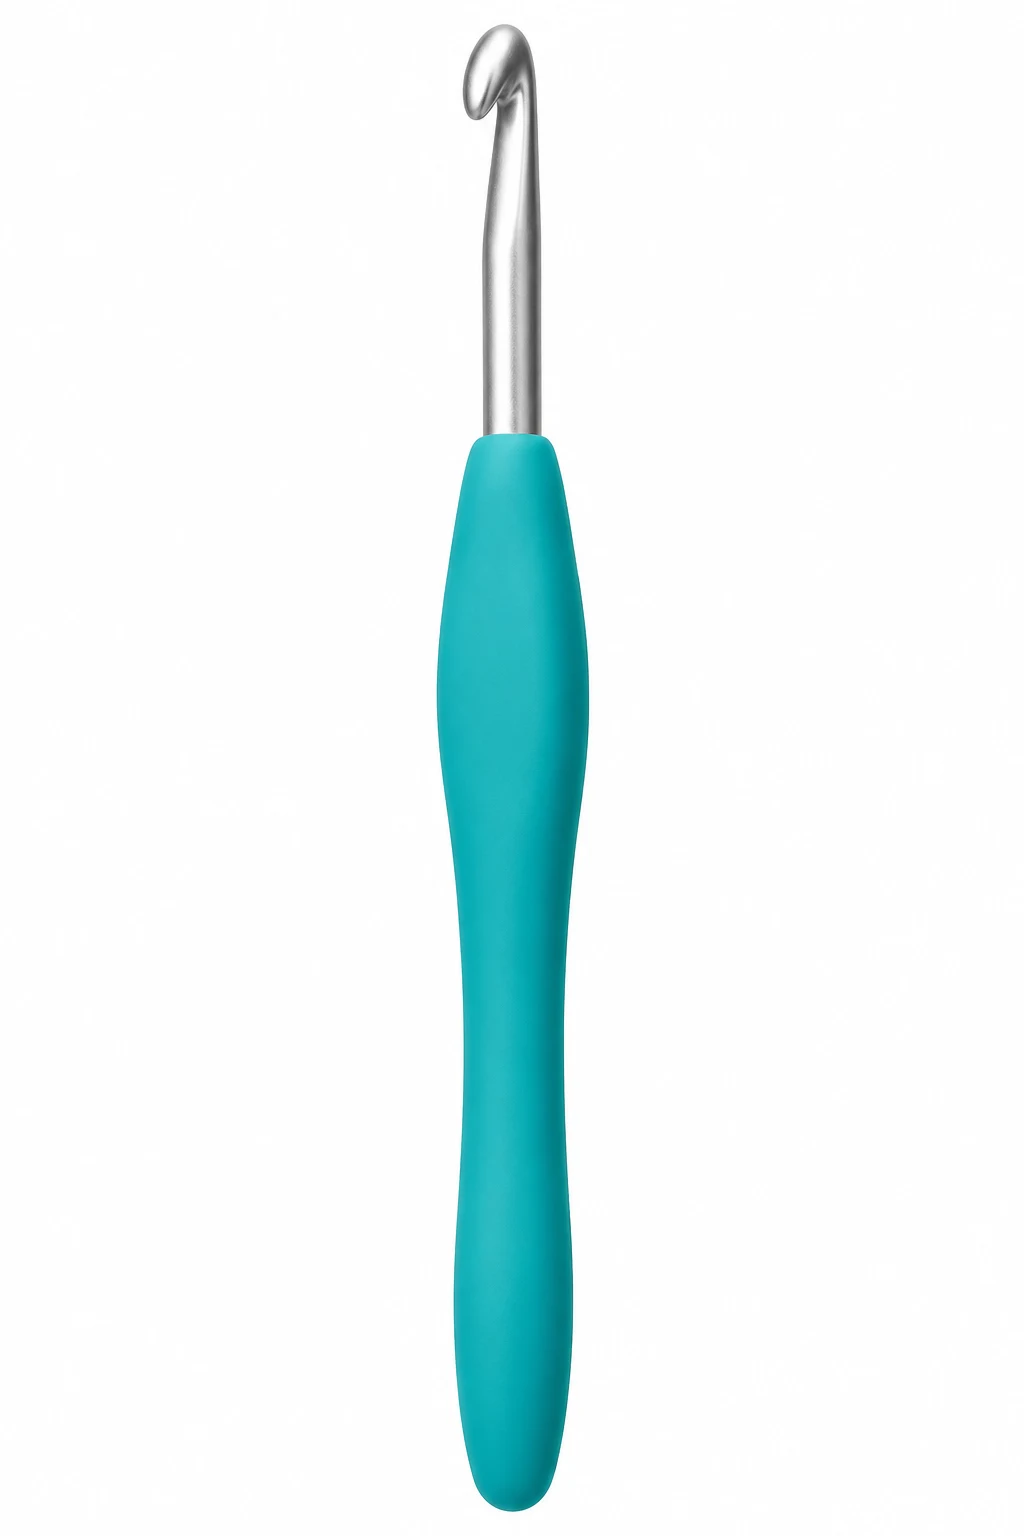
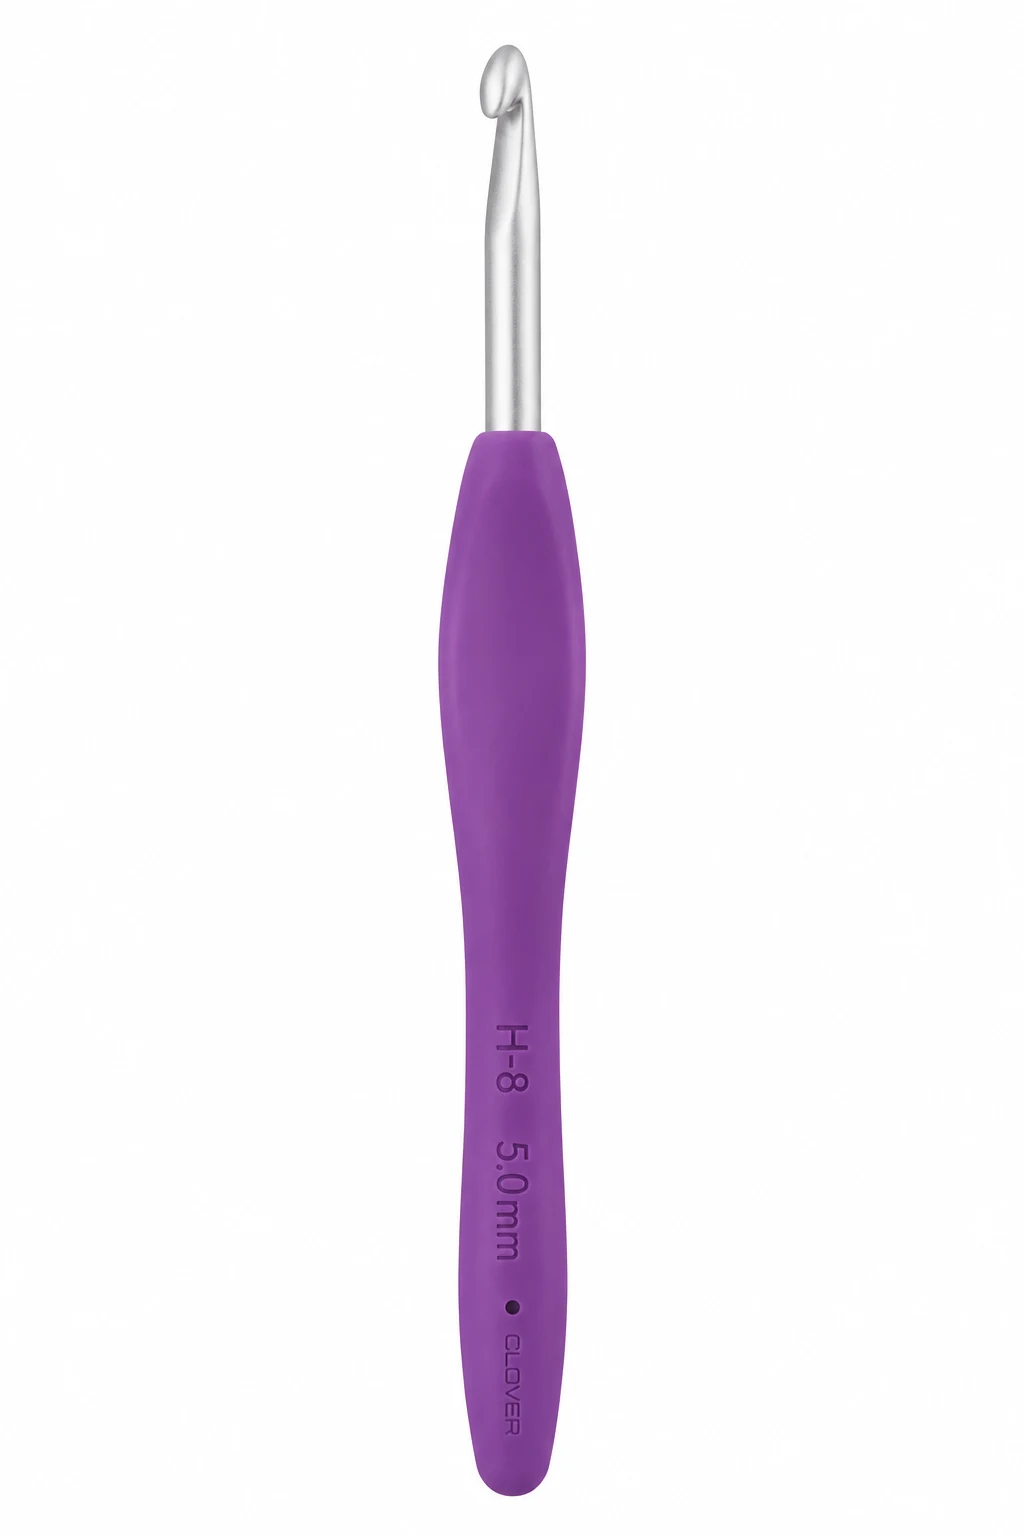
Crochet hook: 5.5 mm (US I-9).
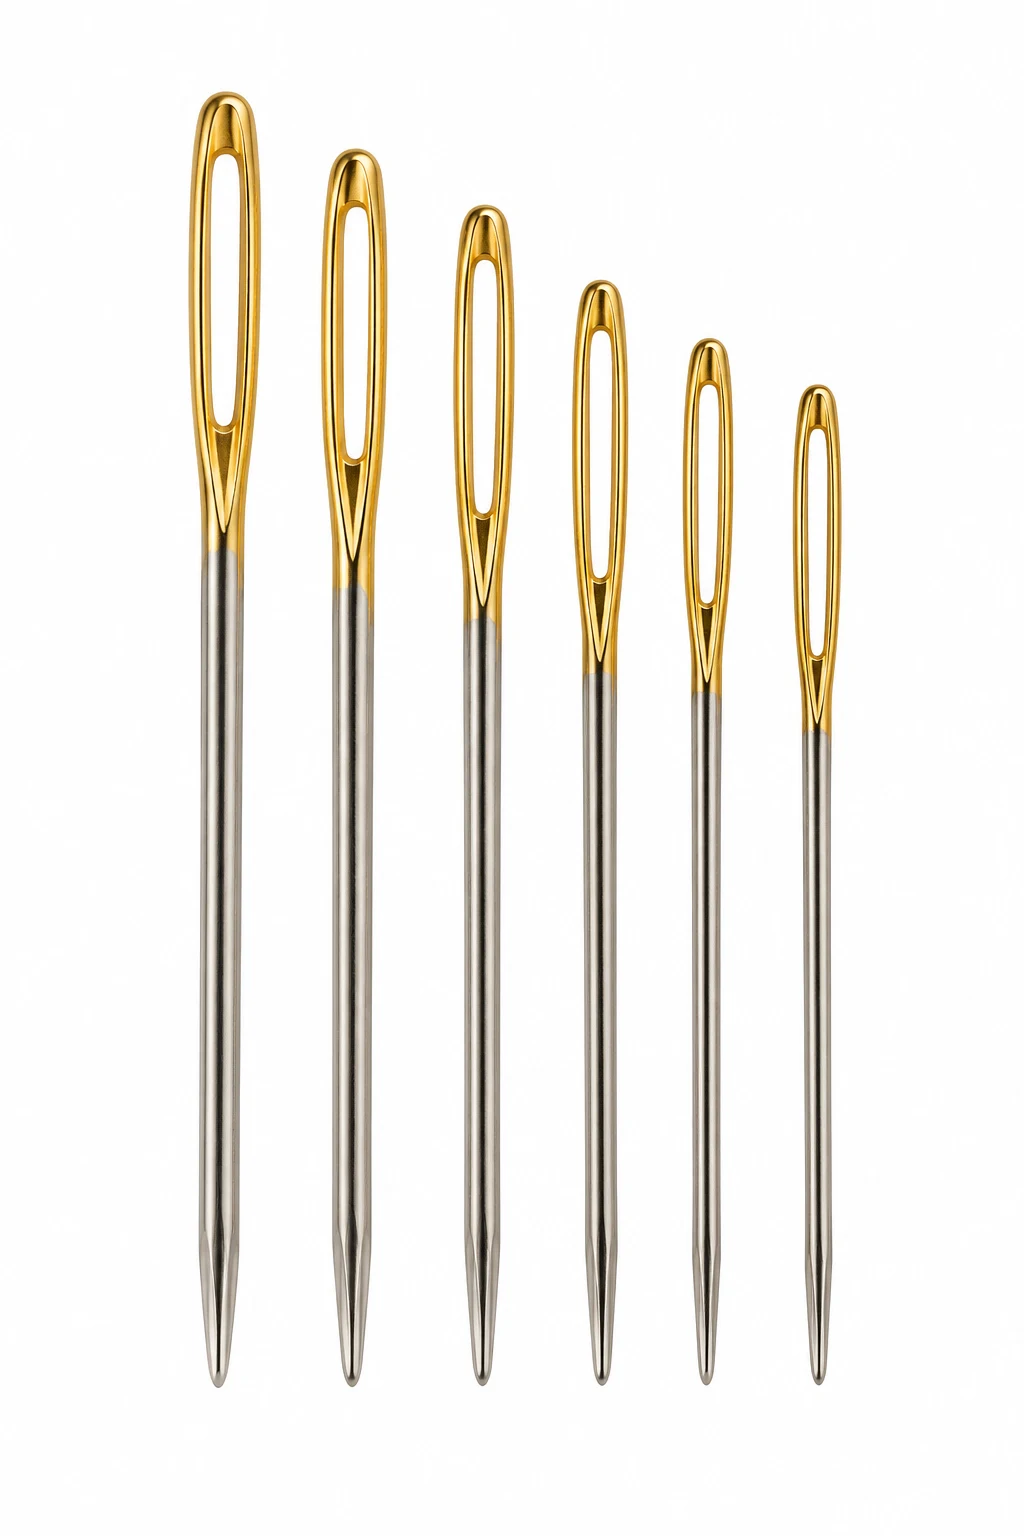
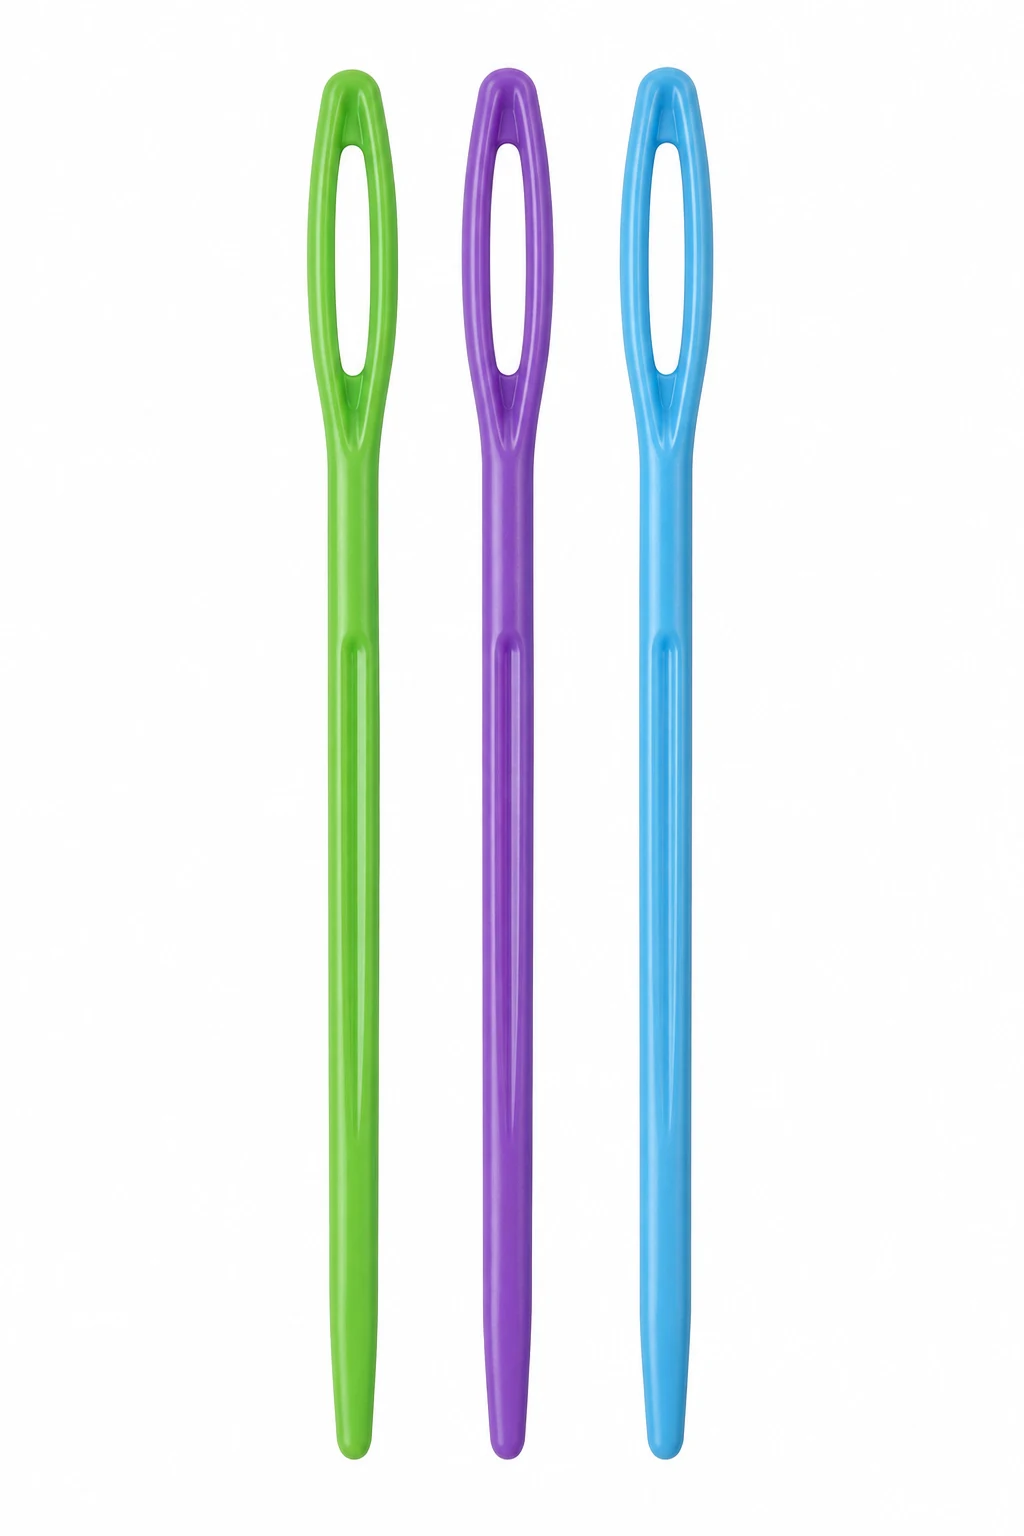
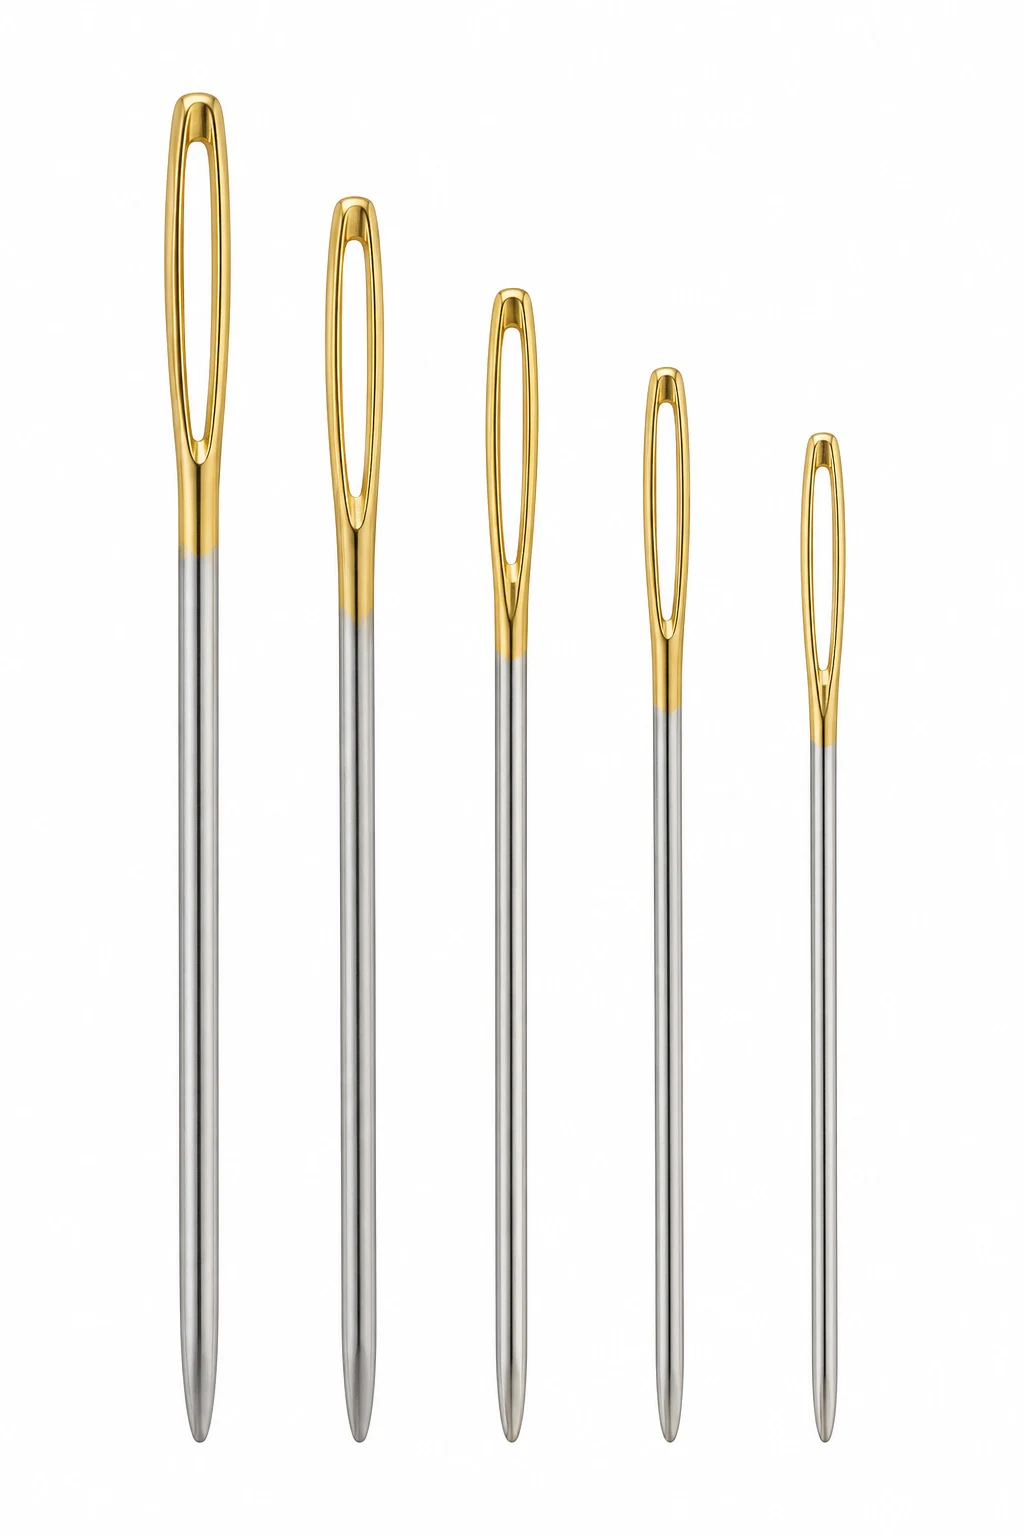
Tapestry/yarn needle: 1 large-eye needle for weaving in ends.
Scissors: 1 pair.
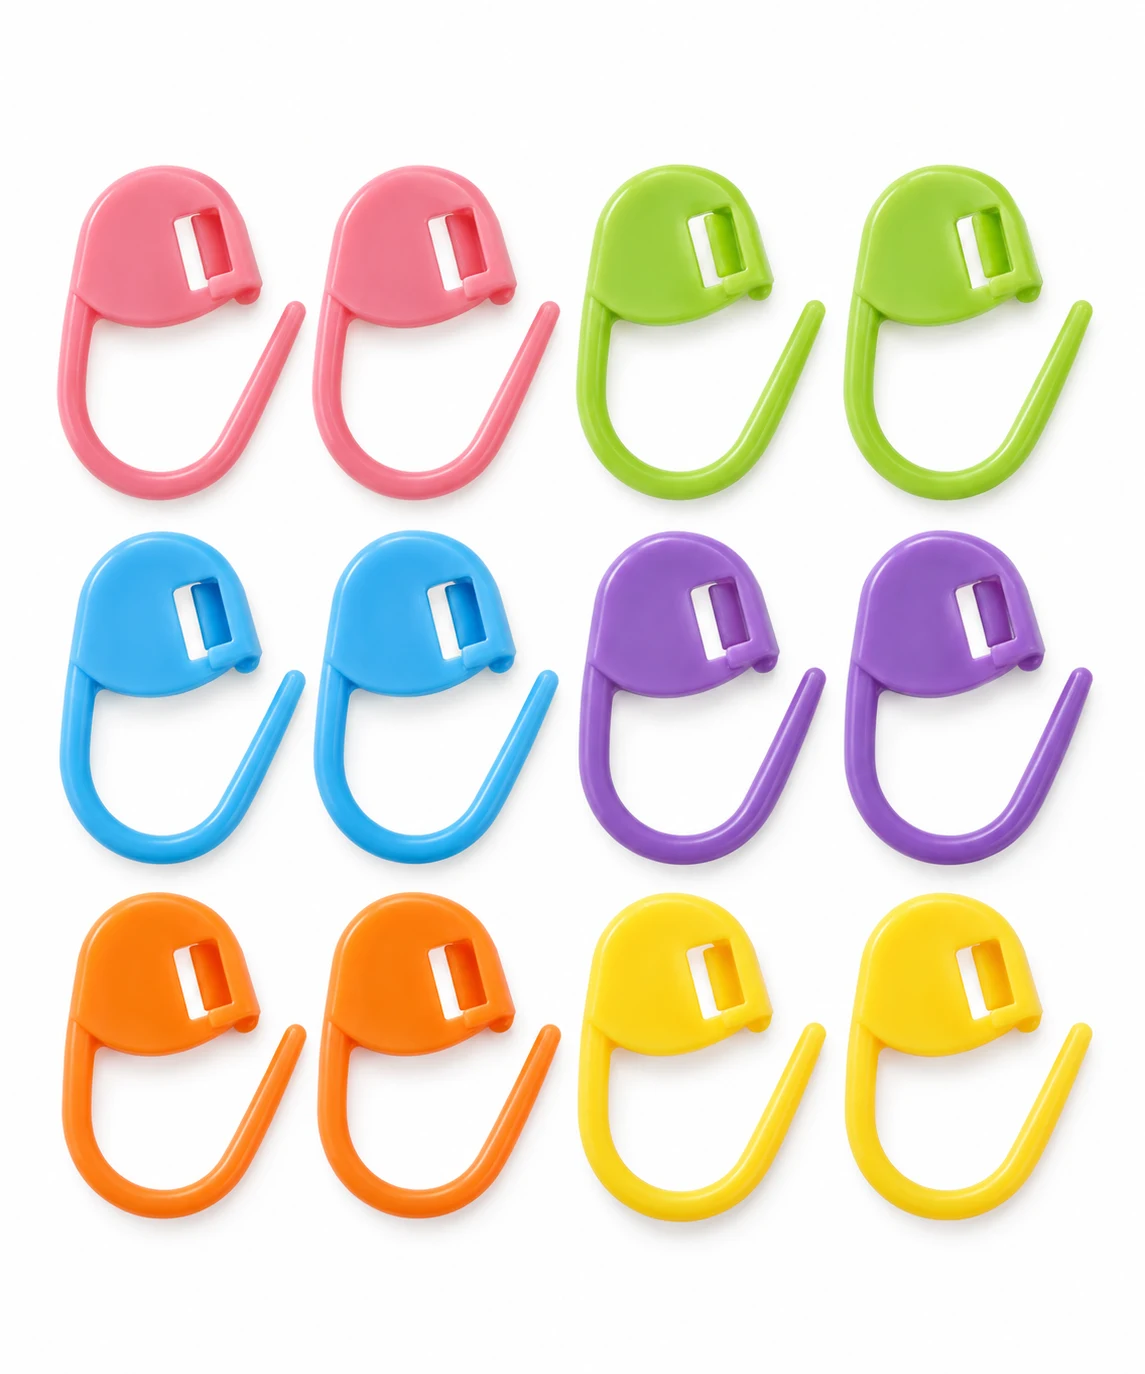
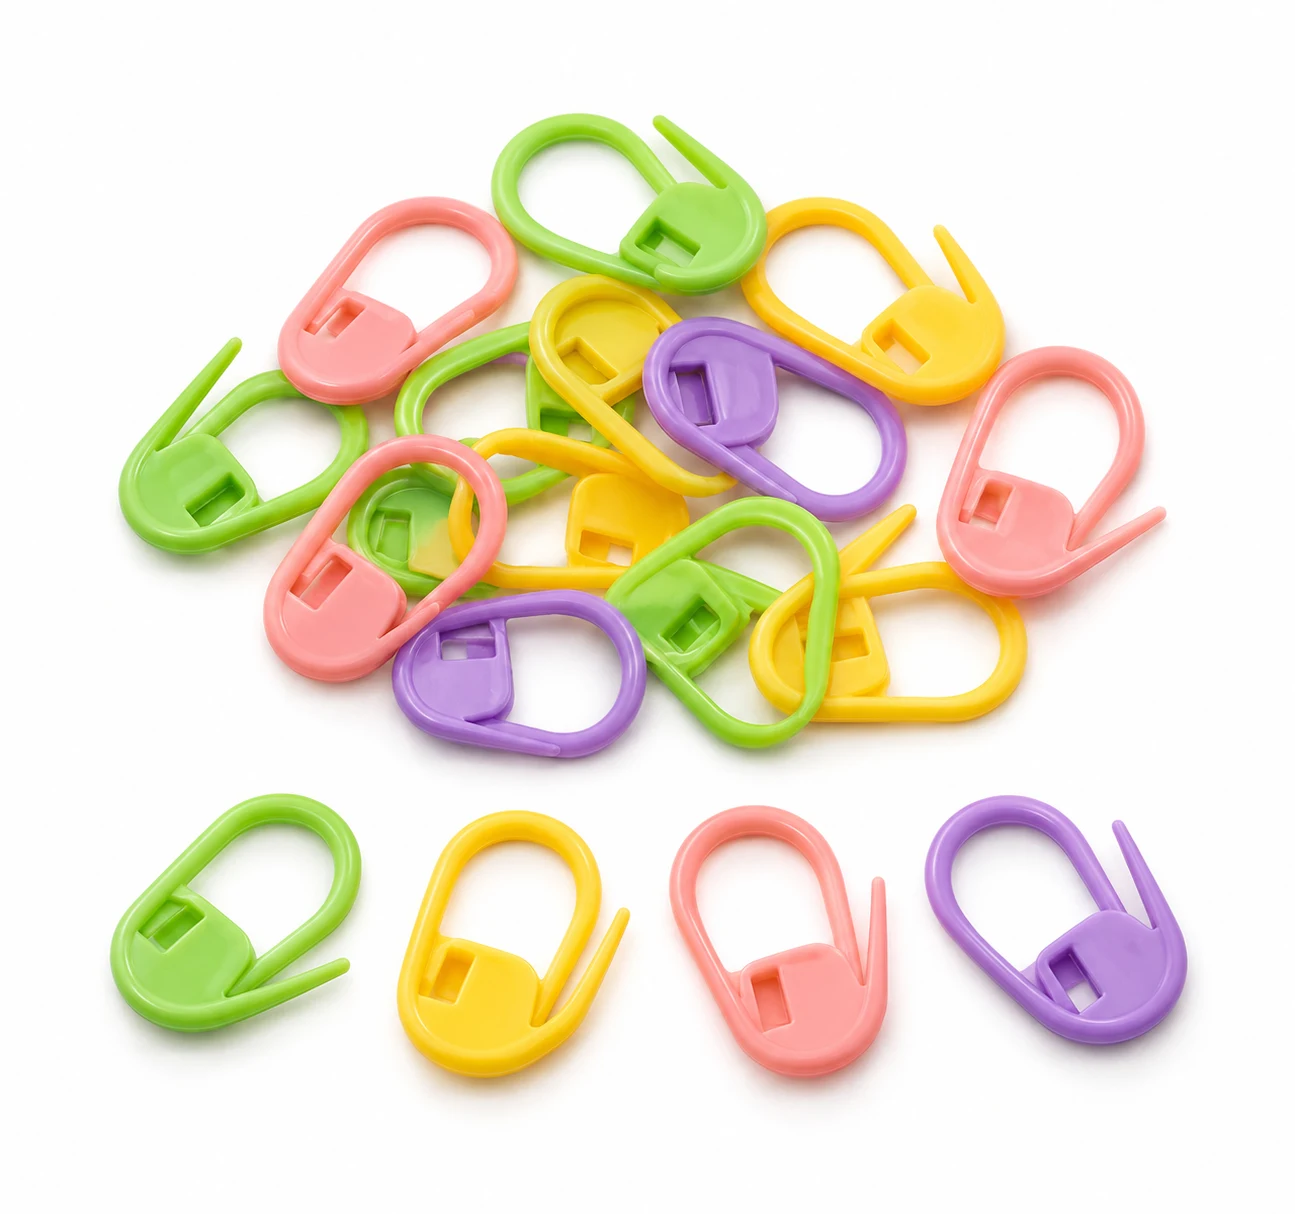
Stitch marker: 1, optional but helpful for marking the beginning of rounds.
Measuring tape: helpful for checking the finished dimensions.
Gauge (Approximate): approximately 13 single crochet stitches x 12 rows = 4 inches using the 5.5 mm hook; mesh gauge is approximately 9 mesh repeats x 8 rounds = 4 inches. Gauge can vary because this bag is intentionally flexible.
Quantity: 3 skeins of bulky yarn, approximately 459 yards total, for one standard-size bag.
Color: olive green.
The video calls for 3 skeins and a 5.5 mm crochet hook. The linked Michaels yarn is Loops & Threads Bulky Twist Solid Yarn, which is a bulky 50% cotton/50% acrylic blend; the solid version is listed at approximately 153 yards per 100 g skein.
Abbreviations / Terms Used
ch — chain
sc — single crochet
dc — double crochet
sl st — slip stitch
st/sts — stitch/stitches
sp — space
sk — skip
rep — repeat
rnd — round
RS — right side
WS — wrong side
ch-sp — chain space
BLO — back loop only
yo — yarn over
All instructions use standard US crochet terminology.
What You Should Keep in Mind
Keep your tension firm but relaxed. If you crochet extremely tightly, the bulky yarn can make the mesh stiff and difficult to insert your hook into.
The 5.5 mm hook is intentionally a little smaller than the hook commonly recommended for bulky yarn, giving this crochet market bag free pattern a more stable fabric and stronger handles.
Count your stitches at the end of every base row and mesh round. Missing one stitch around the rectangular base can make the bag gradually twist.
Because the bag is designed to carry groceries, avoid making the handle chains excessively loose. A slightly firmer tension through the handle section helps reduce stretching.
Free Pattern: crochet market bag free pattern
1. Foundation Chain — crochet
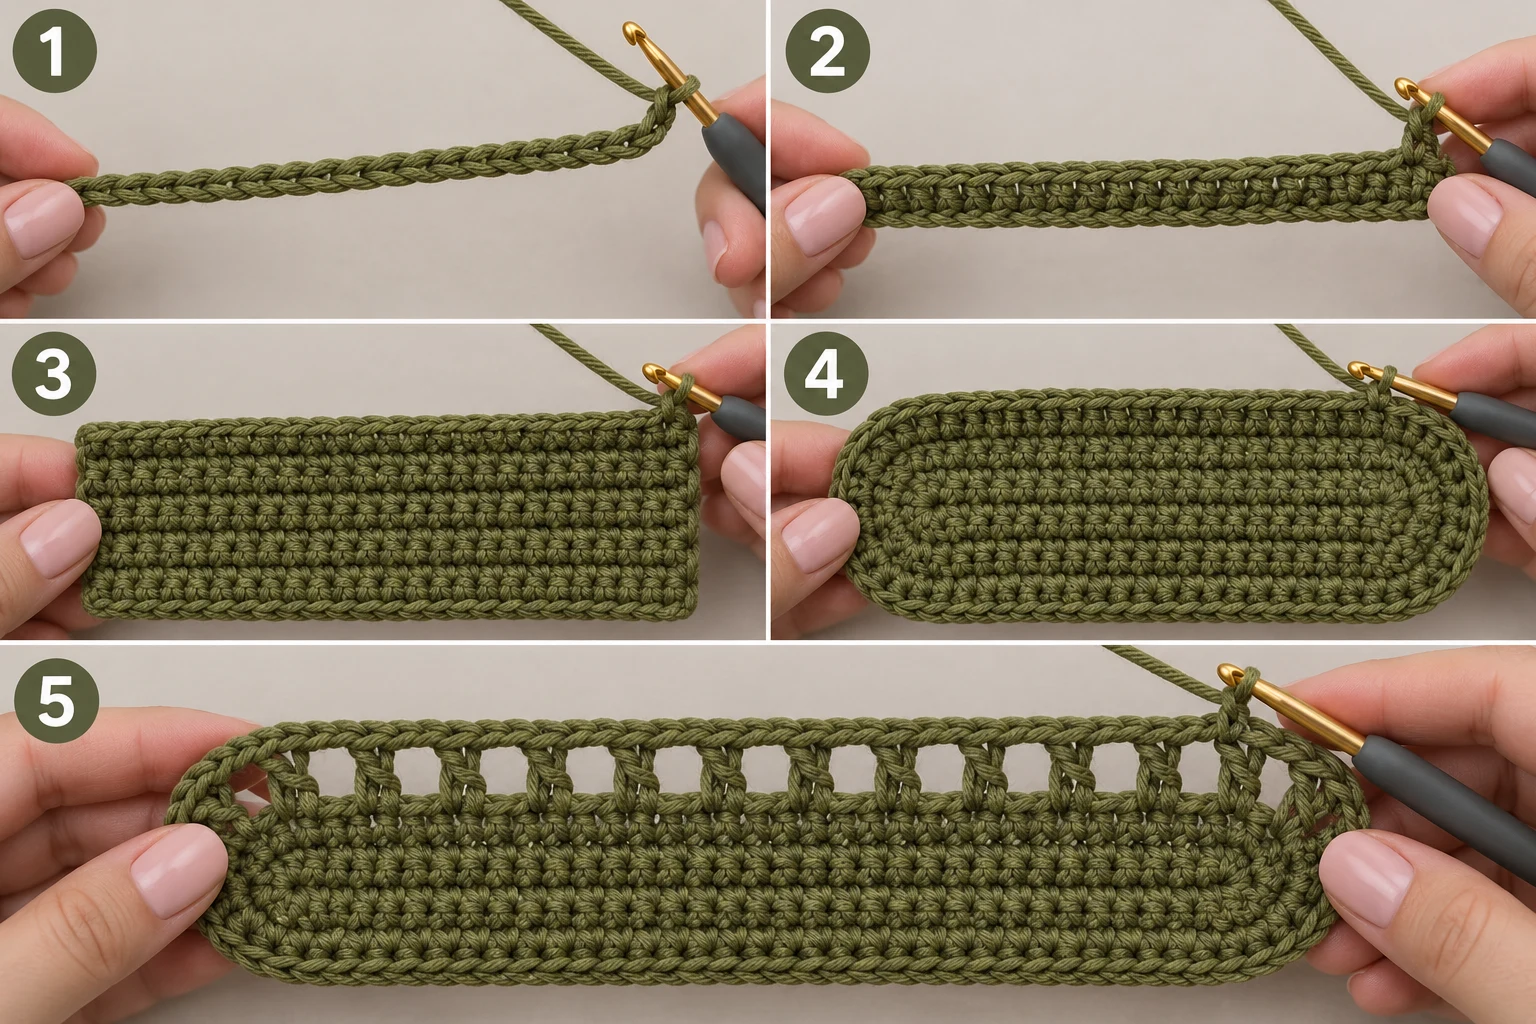
Action: Make a foundation chain of 31 chains with olive green yarn.
Detailed instructions: Make a slip knot on your 5.5 mm hook, then yarn over and pull through the active loop repeatedly until you have 31 chain stitches. Keep the chains relaxed rather than pulling them tight. Do not count the slip knot as a chain.
Expected result: You should have one straight foundation chain containing exactly 31 chains.
Check yourself: Count the visible V-shaped chain stitches from the hook backward; there should be 31.
2. First Foundation Row — crochet
Action: Work 30 single crochet stitches across the foundation chain.
Detailed instructions: Insert the hook into the second chain from the hook, yarn over, pull up a loop, yarn over again, and pull through both loops on the hook to complete the first sc. Continue with one sc in each remaining chain across. You will produce 30 sc stitches because the first chain is skipped for the turning height.
Expected result: You should have one compact foundation row measuring approximately 9–10 inches, with 30 clearly defined single crochet stitches.
Check yourself: Count 30 top V-shaped stitch loops along the completed row.
3. Rows 2 Through 7 — Build the Solid Base — crochet
Action: Work 6 rows of 30 single crochet stitches, turning after each row.
Detailed instructions: Chain 1 to turn, then work one sc into every stitch across. Repeat the same instruction for Rows 3–7, turning at the end of every row. Each row contains exactly 30 sc, and the chain-1 turning chain does not count as a stitch.
Expected result: You should have a firm rectangular base measuring approximately 9–10 inches wide by 2–2½ inches tall.
Check yourself: Every completed row should contain exactly 30 sc, and the rectangle should have seven total rows of crochet.
4. First Perimeter Round
Action: Work single crochet evenly around all four sides of the base, placing 3 sc in each corner.
Detailed instructions: Chain 1, then work sc stitches across the first long side, placing one sc in each available row-end stitch along the short side. At each corner, work 3 sc into the corner space to turn smoothly. Continue around all four sides and join with a sl st to the first sc. For this pattern, the completed perimeter contains 76 sc: 30 along each long side and 8 along the two short sides after corner shaping.
Expected result: The rectangular base is completely bordered with a continuous round of sc and has four softly rounded corners.
Check yourself: You should have 76 sc around the perimeter and a clearly defined corner at each end.
5. First Mesh Round
Action: Begin the open mesh body with 38 double crochet stitches separated by chain-1 spaces.
Detailed instructions: Chain 3, which counts as the first dc, then work a dc in the next perimeter stitch. Chain 1, skip the next perimeter stitch, and work a dc in the following stitch. Continue the dc, ch 1, skip 1 rhythm around the perimeter. Join with a sl st to the top of the beginning chain-3. The round contains 38 dc and 38 ch-1 spaces.
Expected result: The solid base now has its first open mesh round, with evenly spaced rectangular openings around the bag.
Check yourself: Count 38 dc posts around the round.
6. Mesh Rounds 2 Through 14
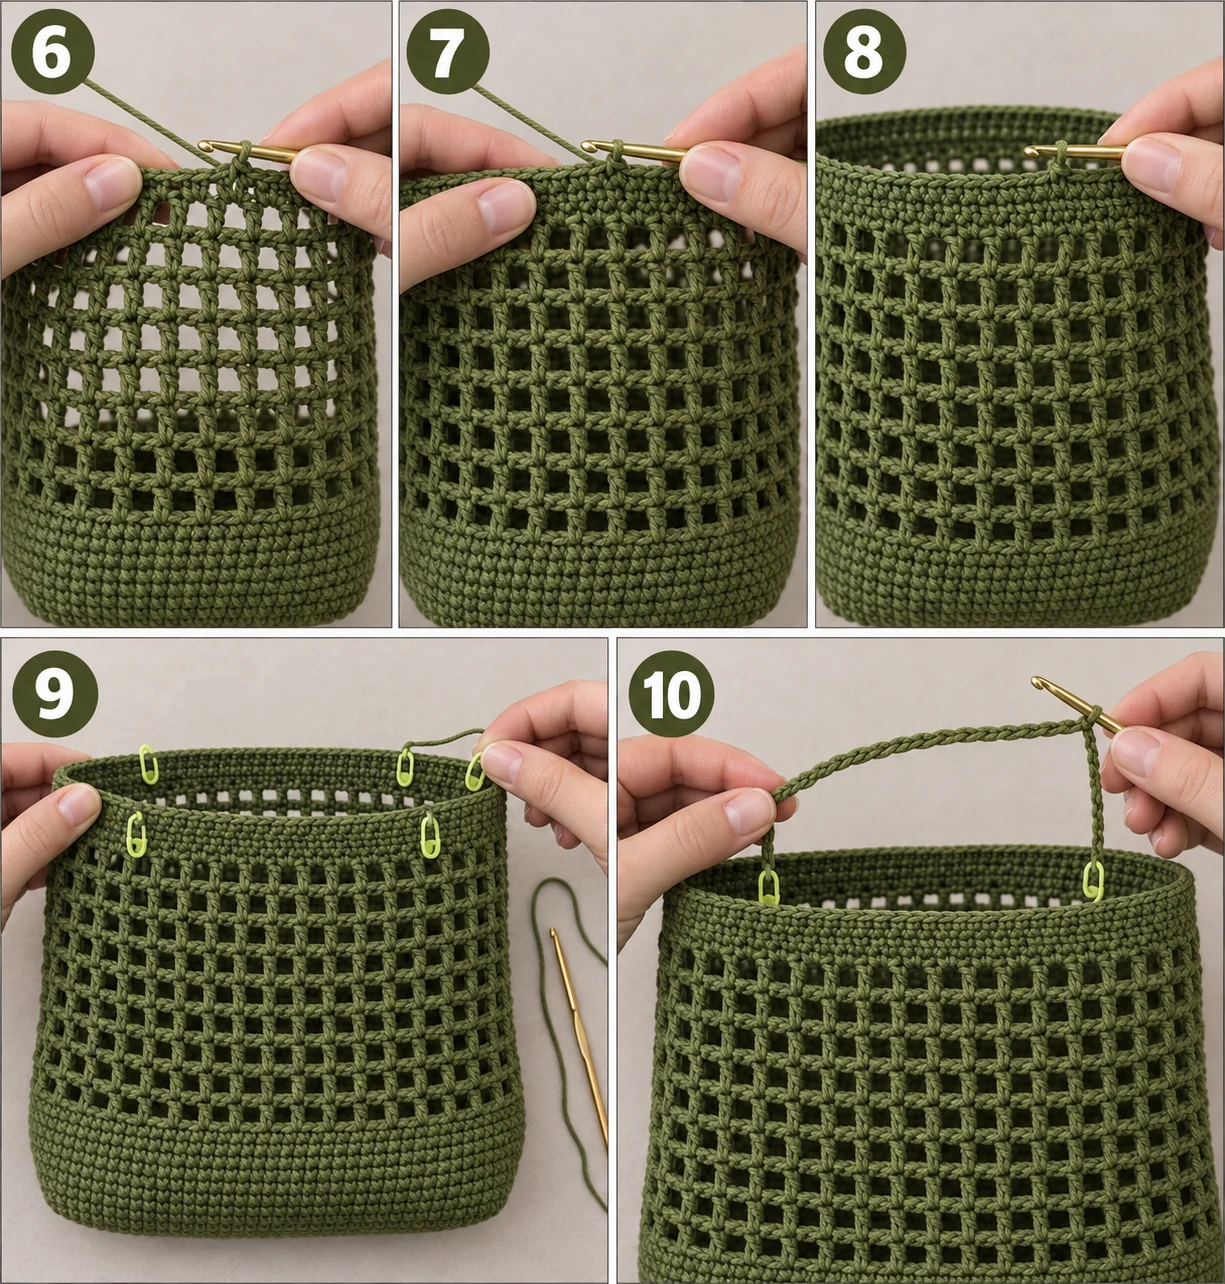
Action: Repeat the mesh round for 13 additional rounds.
Detailed instructions: For each round, chain 3, work 1 dc into the next dc, chain 1, skip the next chain-1 space, and work 1 dc into the following dc. Continue this pattern around the entire round and join with a sl st to the beginning chain-3. Each round contains 38 dc and 38 chain-1 spaces. Work Rounds 2–14 without increasing or decreasing.
Expected result: The bag body grows upward into an open rectangular mesh tube approximately 10–11 inches tall above the solid base.
Check yourself: After Round 14, you should have 14 total mesh rounds, each with 38 dc.
7. First Top-Edge Round
Action: Work one complete round of single crochet around the top edge.
Detailed instructions: Chain 1, then work 1 sc into every dc and every chain-1 space around the top edge, for 76 sc total. Join with a sl st to the first sc. Work evenly without tightening the mesh openings.
Expected result: The open top of the bag now has a firm, continuous single crochet edge.
Check yourself: Count 76 sc around the top and make sure the edge lies flat rather than ruffling.
8. Top-Edge Rounds 2 Through 3
Action: Work 2 additional rounds of 76 single crochet around the top edge.
Detailed instructions: For each round, chain 1 and work 1 sc into every stitch around. Join with a sl st to the first sc. Keep your tension firm and even. After the third edging round, fasten off only if you are continuing the handles from separate starting points; otherwise leave the working loop ready for the handle section.
Expected result: The bag has a three-round reinforced top edge measuring approximately ½–¾ inch.
Check yourself: You should have three complete rounds of 76 sc at the top edge.
9. Mark the Handle Positions
Action: Place stitch markers at the handle attachment points.
Detailed instructions: Lay the bag flat so the front and back top edges align. Count 19 stitches from one side seam along the front edge and place a stitch marker in the next stitch; count 19 stitches from the opposite side seam and place the second marker. Repeat on the back edge. This creates two handle zones with 38 stitches between attachment points on each side.
Expected result: Four markers identify two matching handle sections, centered evenly on the front and back.
Check yourself: When the bag is flattened, the four markers should line up in pairs.
10. Front Handle Foundation
Action: Crochet the first front handle across the marked section.
Detailed instructions: Join olive green yarn at the first front marker. Chain 31 to form the handle bridge, then skip the 38 marked top-edge stitches between the attachment points and single crochet into the stitch at the second marker to anchor the chain. The 31-chain bridge will form the handle opening.
Expected result: A long chain arch spans the front opening of the bag.
Check yourself: The chain should form a smooth handle-sized arch without twisting.
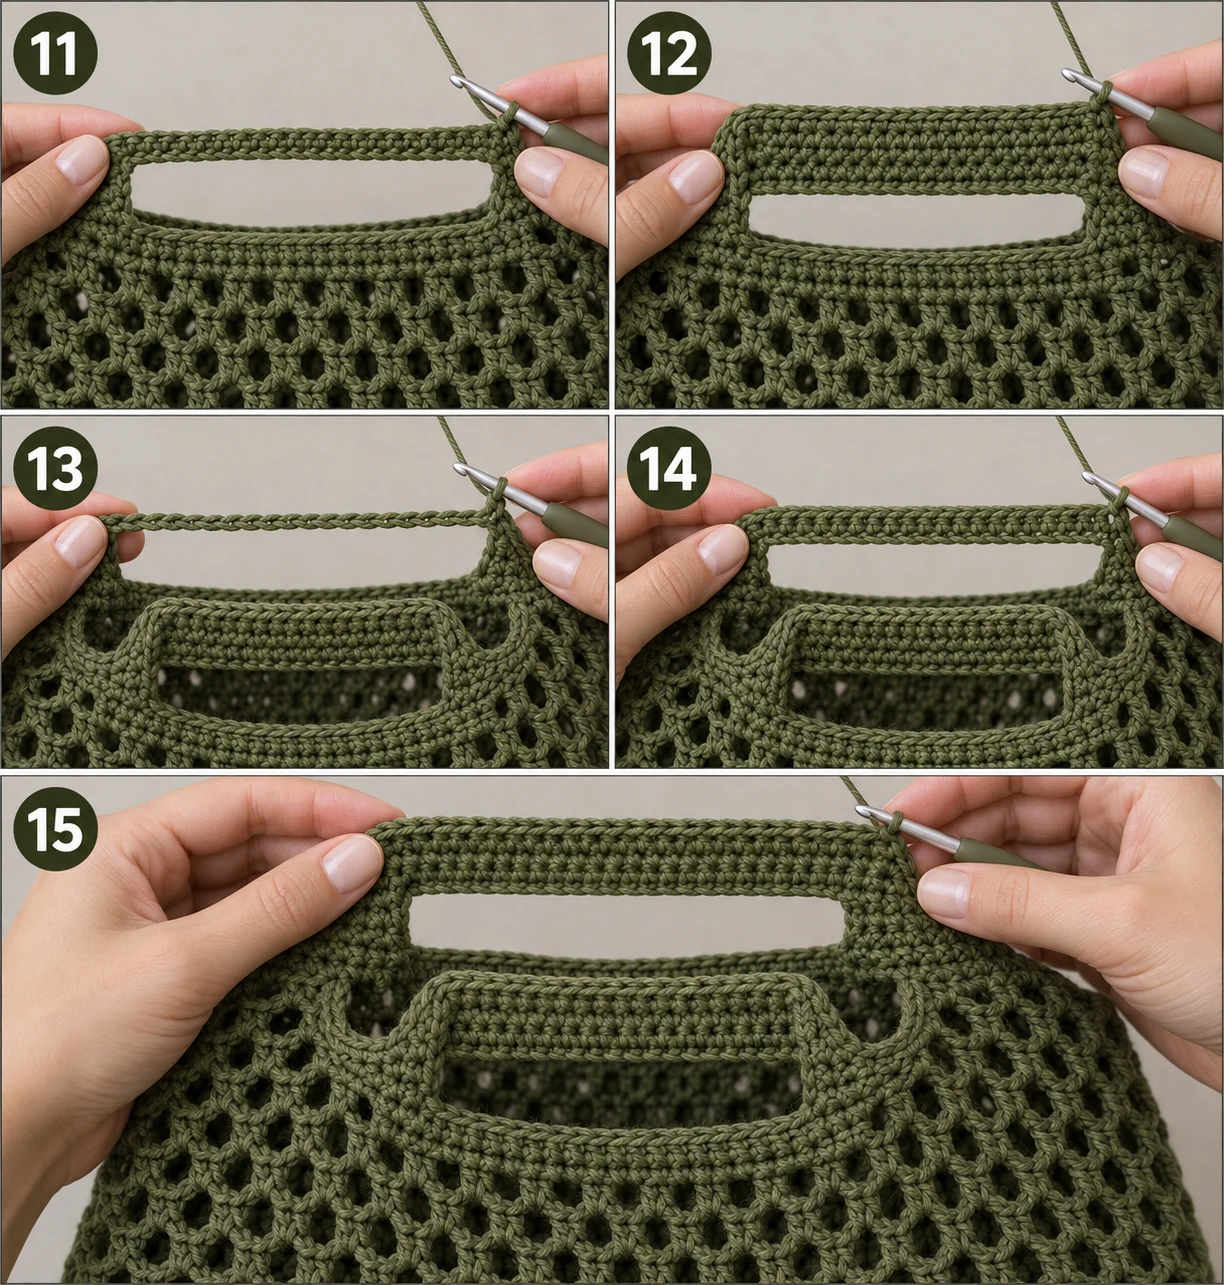
11. First Front Handle Reinforcement Row
Action: Work 31 single crochet stitches across the handle chain.
Detailed instructions: Chain 1 to turn, then work 1 sc into each of the 31 chain stitches across the handle. Work into the back bumps of the chain when possible for a neat, sturdy edge. Do not work into the bag body during this row.
Expected result: The handle chain becomes a flat strip of 31 sc stitches.
Check yourself: You should have exactly 31 sc across the handle.
12. Front Handle Reinforcement Rows 2 Through 4
Action: Work 3 additional rows of 31 single crochet across the front handle.
Detailed instructions: Chain 1 and turn after each row. Work one sc into every stitch across the handle for Rows 2–4, maintaining 31 stitches per row. Do not increase or decrease. Fasten off after Row 4 and leave a tail for weaving in.
Expected result: The first handle is now a sturdy four-row-wide strip approximately ¾–1 inch wide.
Check yourself: The finished handle should have four straight rows of 31 sc with no narrowing at the edges.
13. Back Handle Foundation
Action: Crochet the matching 31-chain bridge for the back handle.
Detailed instructions: Join olive green yarn at the first back marker. Chain 31, skip the 38 marked stitches between the attachment points, and anchor the chain at the second back marker with a single crochet.
Expected result: The back of the bag now has a second 31-chain handle arch matching the front handle.
Check yourself: Lay the bag flat and confirm the two 31-chain handles are the same length.
14. Back Handle Reinforcement Row
Action: Work 31 single crochet stitches across the back handle chain.
Detailed instructions: Chain 1, turn, and work 1 sc into each of the 31 handle-chain stitches. Work into the back bumps of the chain for a clean lower edge.
Expected result: The back handle has its first reinforcement row and matches the construction of the front handle.
Check yourself: Count exactly 31 sc across the handle.
15. Back Handle Reinforcement Rows 2 Through 4
Action: Work 3 additional rows of 31 single crochet across the back handle.
Detailed instructions: Chain 1 and turn after each row. Work one sc into every stitch across for Rows 2–4, keeping 31 stitches in each row. Fasten off after Row 4 and leave a yarn tail for weaving in.
Expected result: Both handles are now four rows wide, evenly matched, and securely attached to the bag body.
Check yourself: Compare the two handles side by side; both should contain four rows and have the same length and width.
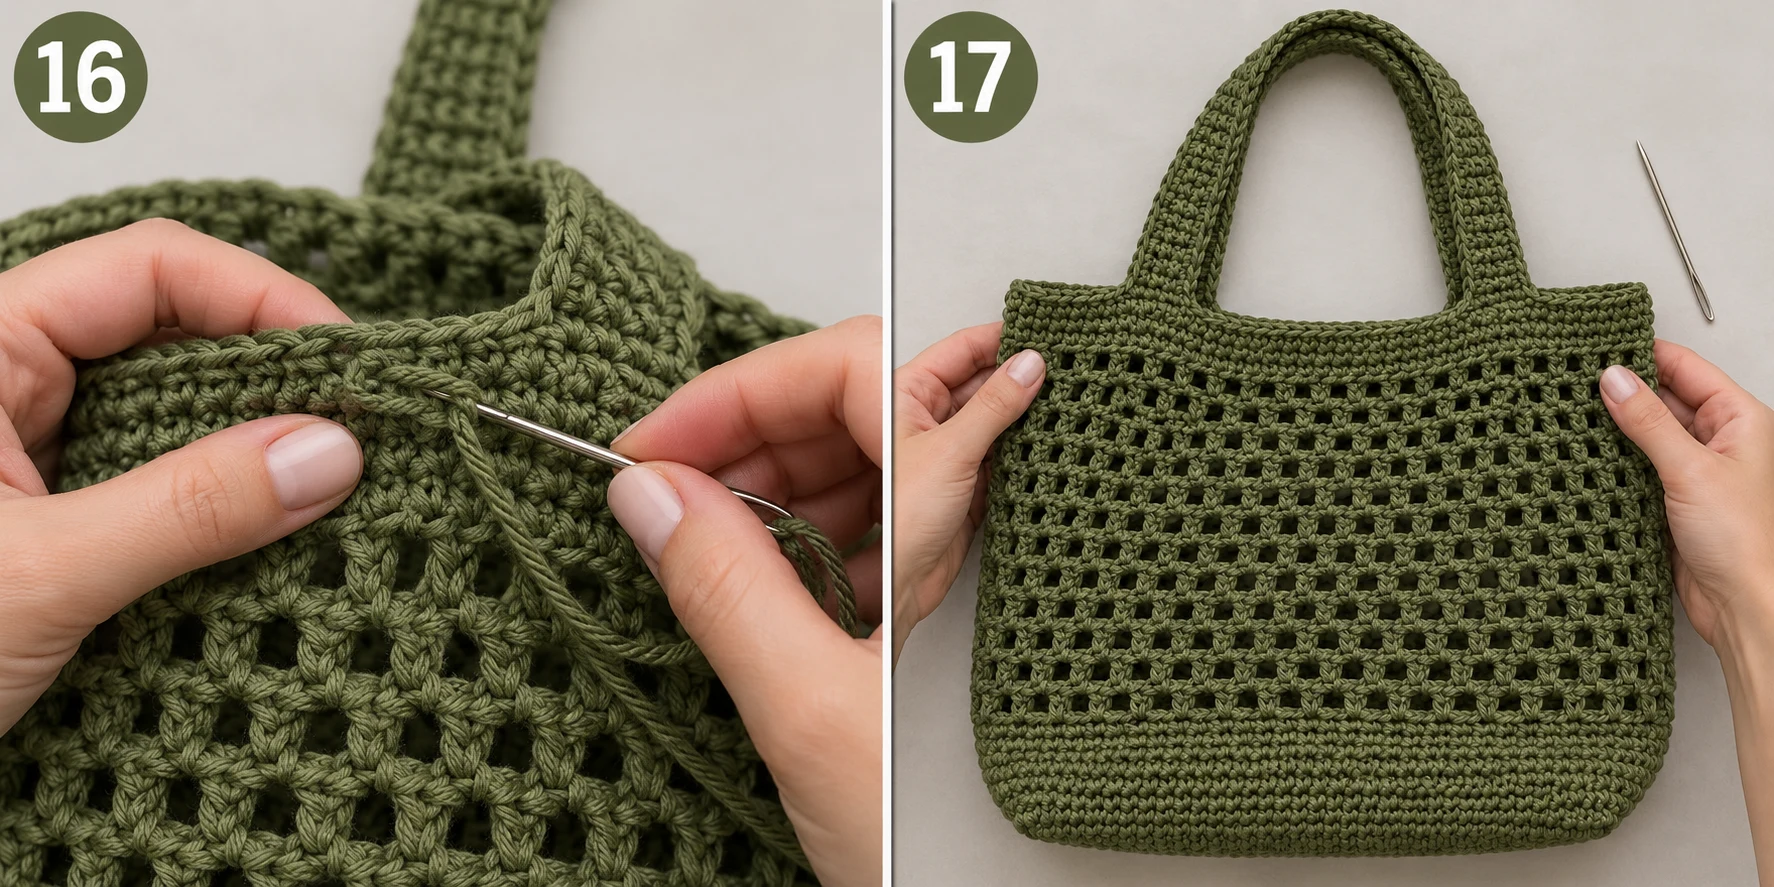
16. Weave In the Ends
Action: Weave all remaining olive green yarn tails securely into the wrong side of the fabric.
Detailed instructions: Thread the tapestry needle with each yarn tail one at a time. Weave the needle back and forth through several dense stitches on the wrong side, changing direction at least once before trimming the excess close to the fabric. Pay particular attention to the handle attachment tails because those areas receive the most tension.
Expected result: The finished bag has no loose yarn tails and the handle attachments look neat and secure.
Check yourself: Gently tug each handle and confirm that no woven end pulls loose.
17. Final Shape Check
Action: Lay the completed bag flat and gently straighten the mesh and handles.
Detailed instructions: Place the bag on a flat surface with the solid base at the bottom. Smooth the mesh without stretching it aggressively, then align the two handles so they lie evenly. Check that the finished body is approximately 9–10 inches wide at the base and 12–14 inches tall, with an approximately 18–20 inch handle drop when measured from the top edge over the handle arch.
Expected result: The crochet market bag free pattern has a balanced rectangular shape, open mesh body, sturdy base, and two matching handles.
Check yourself: The bag should sit flat without twisting, and both handles should match in length.
Quick Reference
Here is the quick-reference version of this crochet market bag free pattern for checking your stitch counts while you work.
Section Rows/Rounds Stitch Count Key Detail
Foundation chain — 31 ch Starting chain
Base Row 1 30 sc First solid row
Base Rows 2–7 30 sc each 7 total solid rows
Perimeter Round 1 76 sc 3 sc at each corner
Mesh body Round 1 38 dc + 38 ch-1 spaces Begin mesh
Mesh body Rounds 2–14 38 dc + 38 ch-1 spaces each 14 mesh rounds total
Top edge Round 1 76 sc First reinforcement
Top edge Rounds 2–3 76 sc each Three edging rounds total
Front handle Foundation 31 ch 38 stitches skipped
Front handle Rows 1–4 31 sc each Reinforced handle
Back handle Foundation 31 ch Matches front
Back handle Rows 1–4 31 sc each Reinforced handle
For anyone searching for a crochet market bag free pattern easy for beginners, the most important numbers to remember are 30 stitches across the base, 76 stitches around the perimeter, 38 double crochets per mesh round, and 31 stitches across each handle.
📺 Watch the Video Tutorial
Final Thoughts
And that’s it—you’ve finished your own crochet market bag free pattern! I absolutely love how the olive green yarn gives this bag such a clean, useful look while the mesh keeps it lightweight and roomy. This is one of those handmade projects you’ll reach for again and again, whether you’re heading to the grocery store or farmers market, according to The Spruce Crafts. Before using it, gently steam-block the finished bag from a safe distance to even out the mesh, but don’t flatten the openings. I’d love to see your finished crochet market bag free pattern, so share a photo and tag the blog when you make yours!
Tips for a Better Experience
Reinforce the handles: For especially heavy groceries, add a second line of slip stitches along the underside of each handle after finishing. This gives the attachment area extra structure without changing the overall design, according to Martha Stewart Crafts.
Watch the first perimeter round: The 3-sc corners are important. If you accidentally work only one stitch into a corner, the base will pull inward and the mesh body won’t sit squarely.
Keep the mesh consistent: Every body round should contain 38 dc and 38 chain-1 spaces. If you suddenly have 37 or 39, fix the count before continuing.
Customize the size carefully: For a wider crochet shopping bag free pattern, increase the foundation chain in even increments, then adjust the perimeter so the mesh begins with an even number of repeat spaces. Keep the handle openings centered.
FAQ
What is the easiest crochet market bag free pattern for beginners?
This crochet market bag free pattern is beginner-friendly because it uses chains, single crochet, double crochet, and slip stitches, with the same mesh repeat worked for most of the body.
How much yarn does this crochet market bag free pattern use?
This crochet market bag free pattern uses approximately 3 skeins or 459 yards of bulky #5 yarn in olive green, assuming the standard dimensions and tension given above.
Why use a 5.5 mm hook for this crochet market bag free pattern?
The 5.5 mm hook creates a slightly firmer fabric than a larger hook would, which helps the mesh body and handles hold their shape. The accompanying tutorial also specifies a 5.5 mm hook for this crochet market bag free pattern.
📚 You Might Also Like
- Crochet bag charm free pattern: 7 Ultimate DIY Ideas
Crochet bag charms are small handmade accessories that attach to a handbag, tote, backpack, or purse…
- Crochet market bag: 15 Best DIY Ideas for 2026
15 Crochet Market Bag Ideas That Make Grocery Runs More Fun Crochet market bag ideas are handmade, r…
- Black crochet bag: 16 Best DIY Ideas for 2026
16 Black Crochet Bag Ideas That Look Handmade, Not Homemade A black crochet bag is a handmade or cro…
- Crochet net bag: 12 Ultimate DIY Ideas for 2026
A crochet net bag is a lightweight openwork bag made with crochet stitches that create a flexible, a…
- Crochet bag keychain: 14 Chic DIY Ideas for 2026
A crochet bag keychain is a small handmade charm that combines crochet stitches with a keyring or cl…
🛍️ Shop the Look — crochet market bag free pattern
Our handpicked Amazon picks curated specifically for crochet market bag free pattern:
As an Amazon Associate I earn from qualifying purchases.