
Easy Crochet Mesh Tote Bag for Everyday Carry
Crochet tote bag tutorials are one of my favorite ways to make something practical without needing complicated shaping, and this simple mesh tote is exactly the kind of project I love for a relaxed weekend make. It has an airy net-like texture, comfortable shoulder straps, and a clean cream white finish that works with almost anything. I designed this crochet tote bag tutorial for beginners, so the construction stays wonderfully straightforward. You’ll work a firm crocheted base, build the open mesh upward, then finish with sturdy straps. Grab your supplies, get comfortable, and let’s make this one together!
A Simple Mesh Tote You’ll Reach For Every Day — crochet
This crochet tote bag tutorials project is worth making because a small collection of basic stitches turns into a lightweight, roomy market-style shoulder bag.
Materials Needed
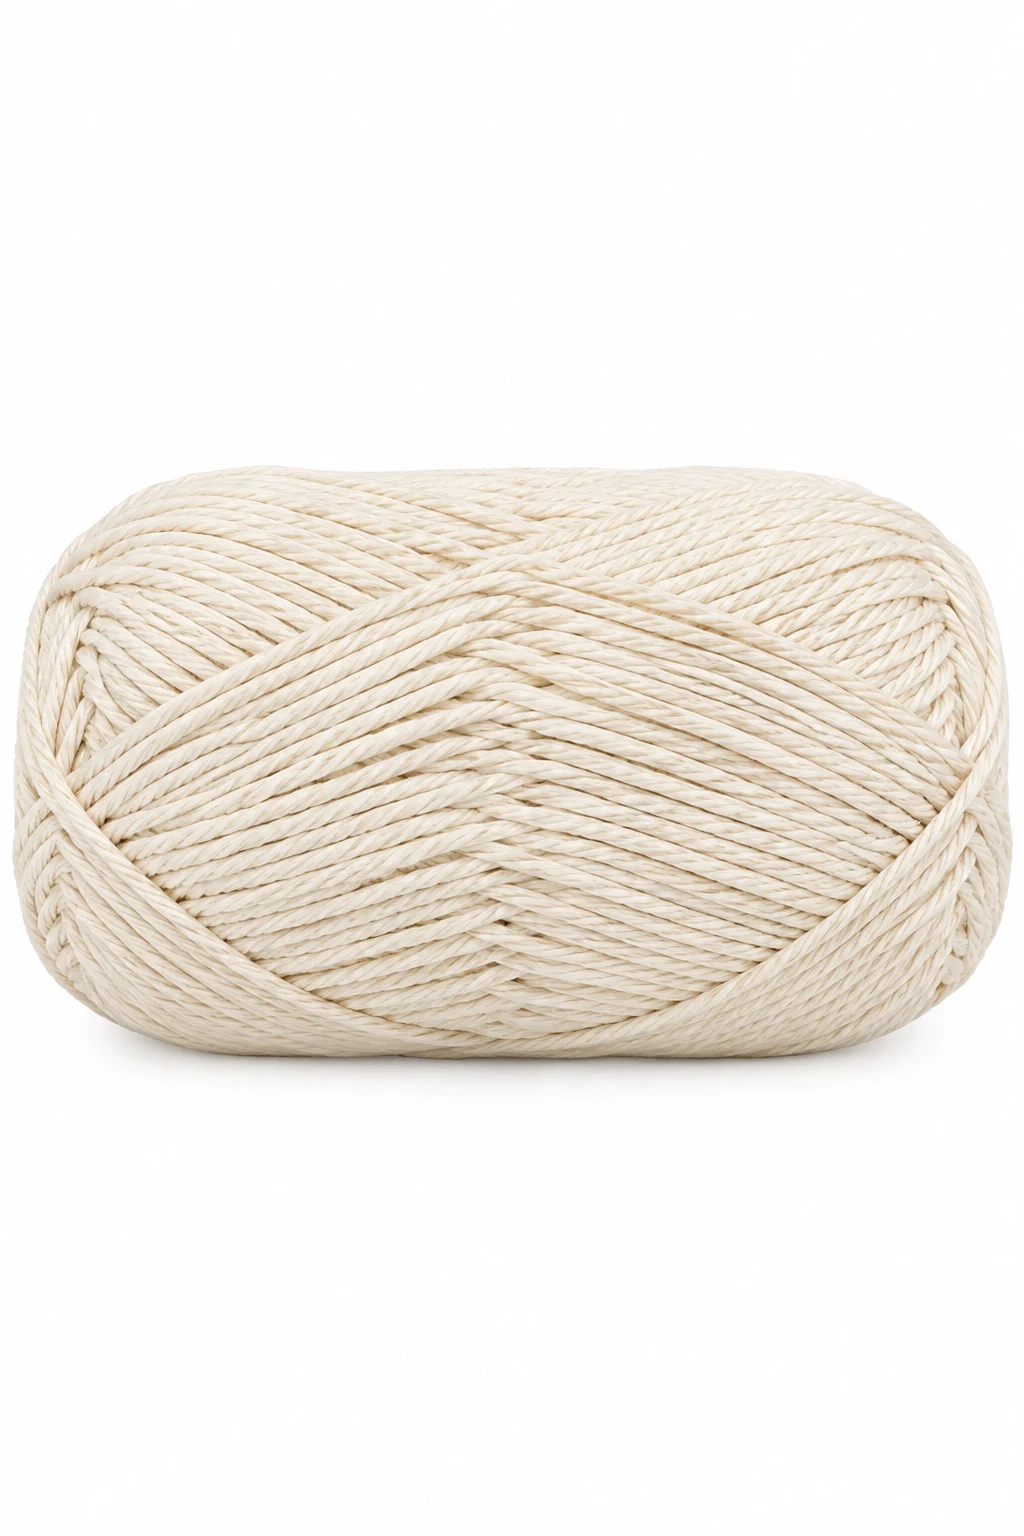
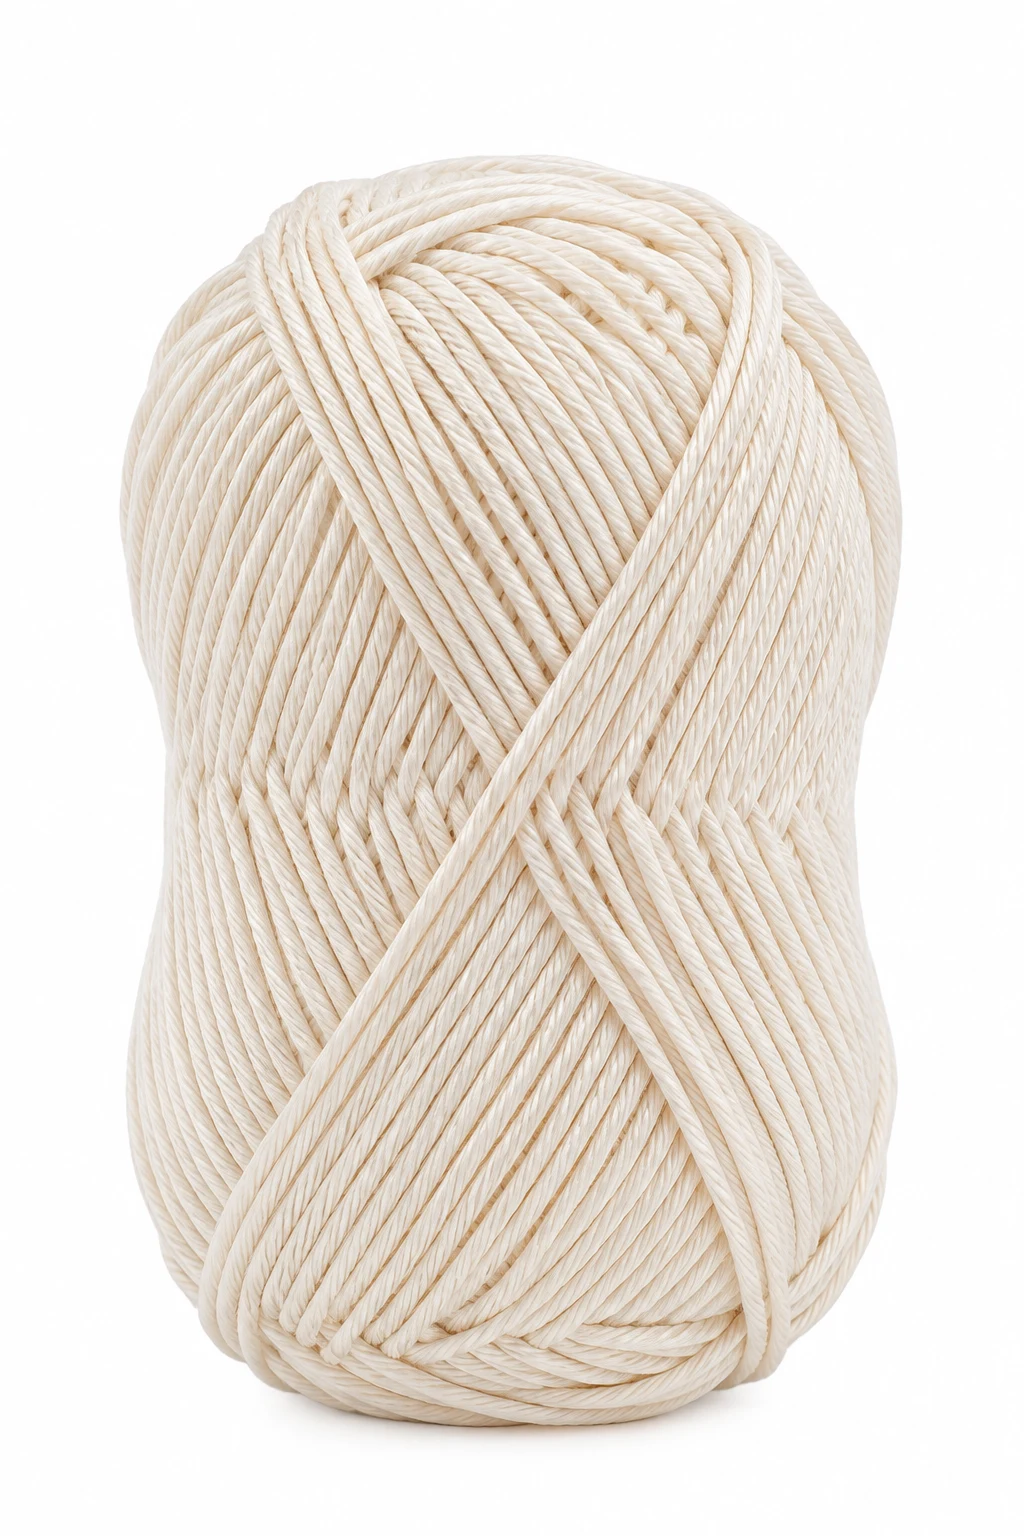
- Cream white cotton yarn, approximately 150 g total, in a lightweight DK/light-worsted cotton or cotton-blend yarn
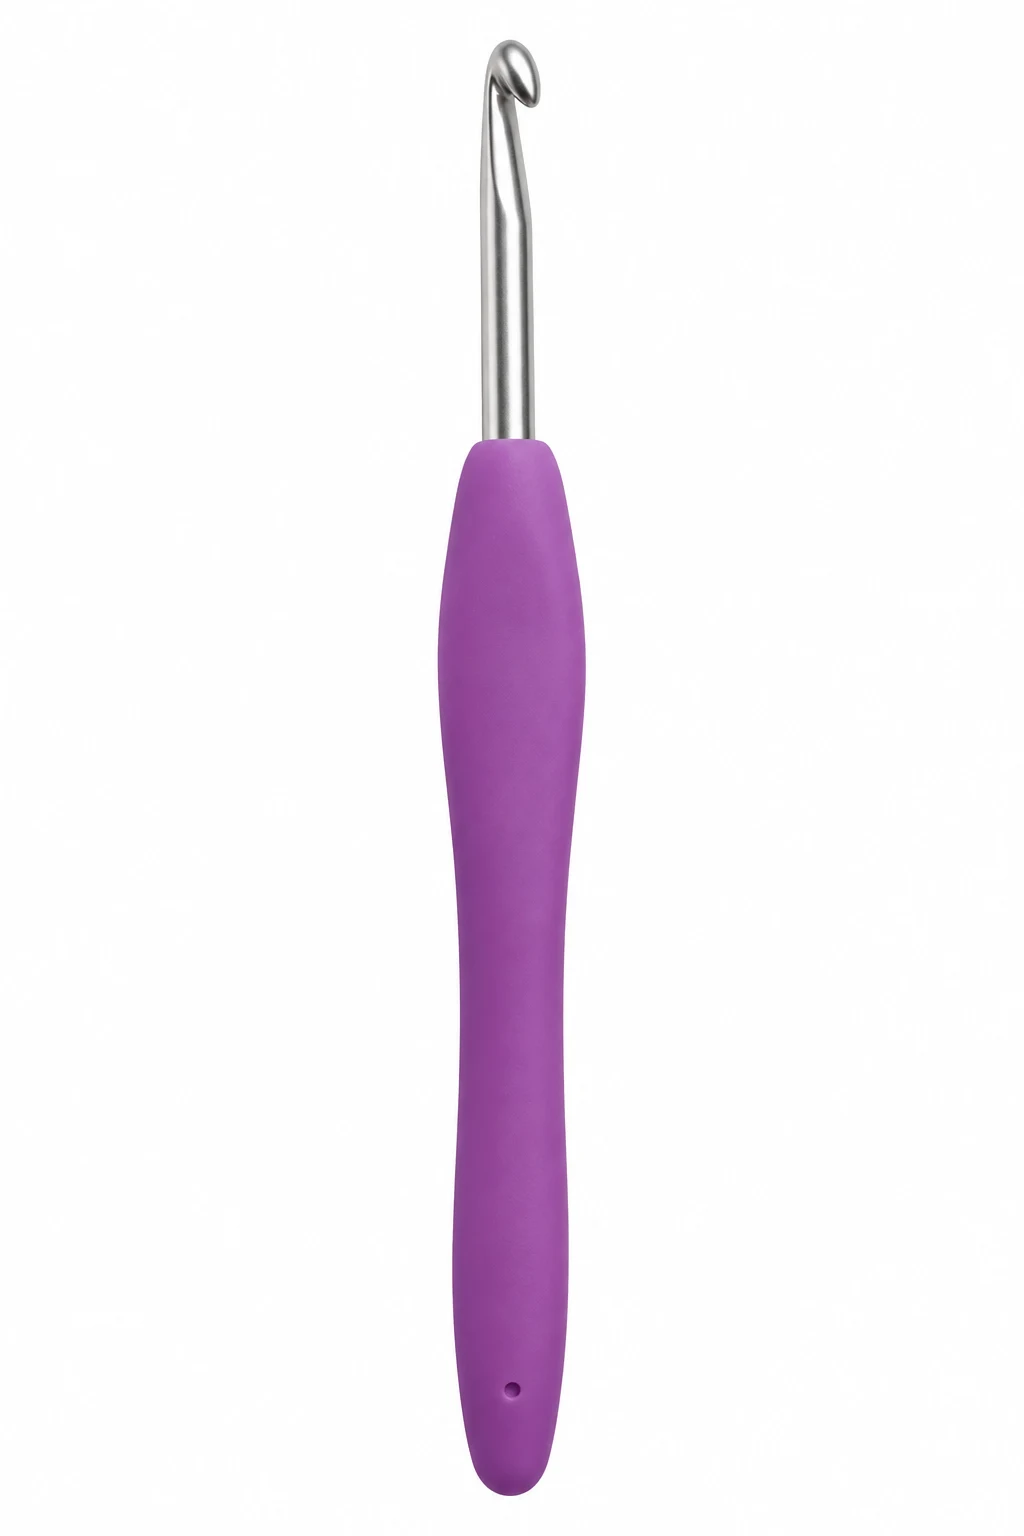
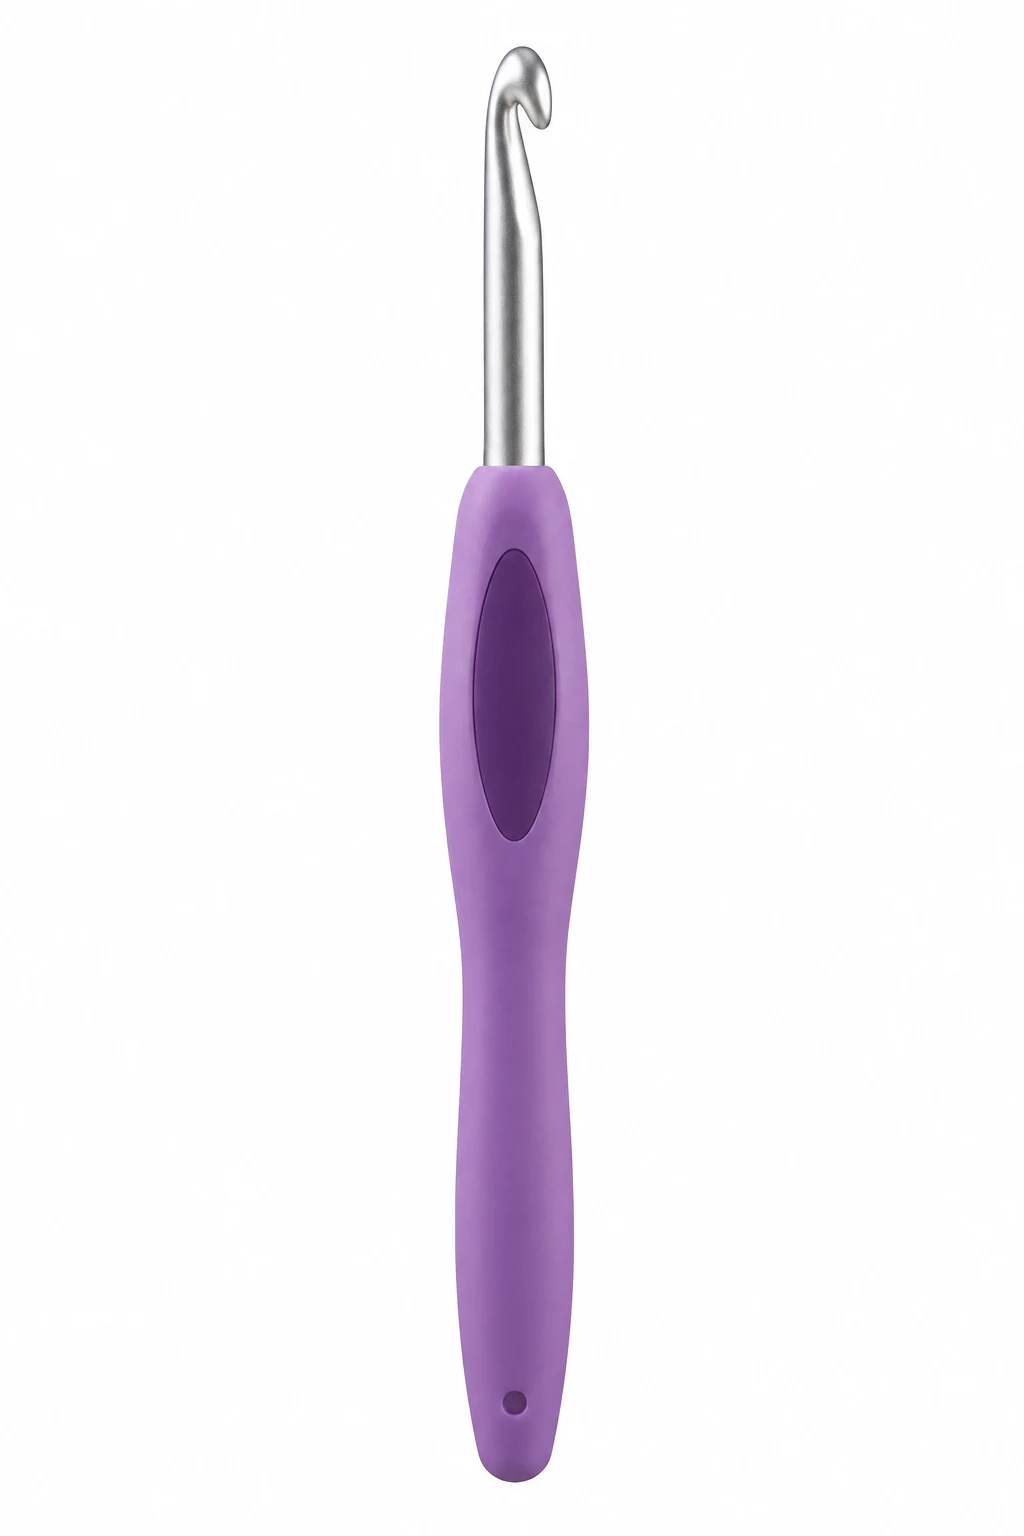
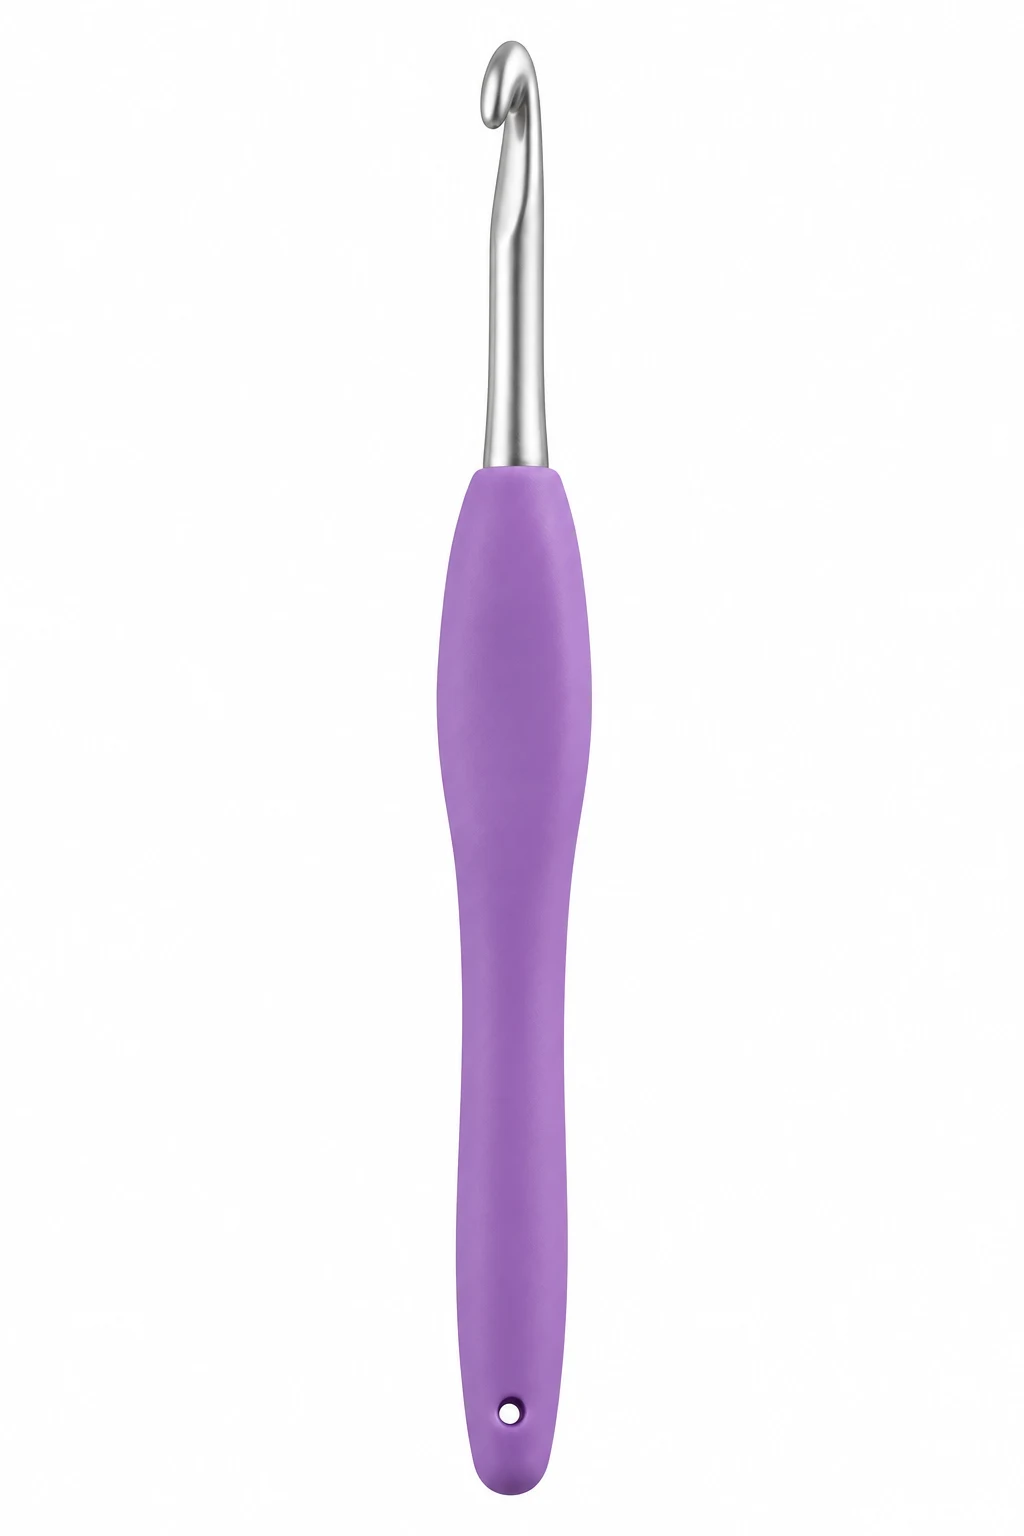
- 4.0 mm crochet hook
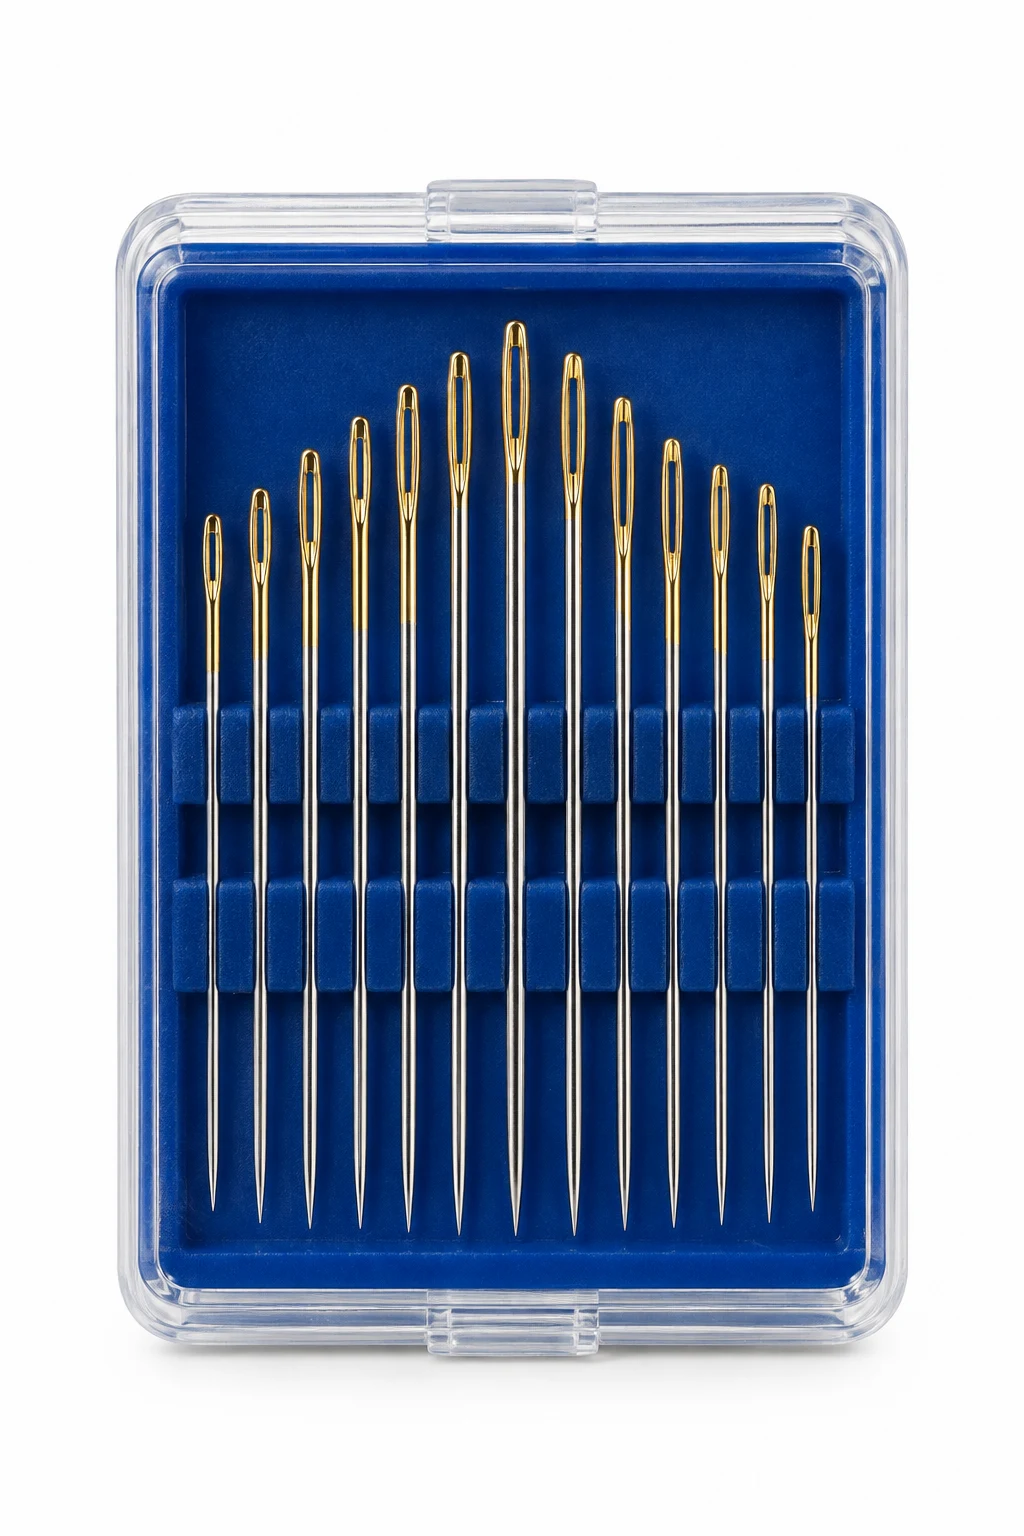
- Tapestry needle for weaving in ends
- Small scissors
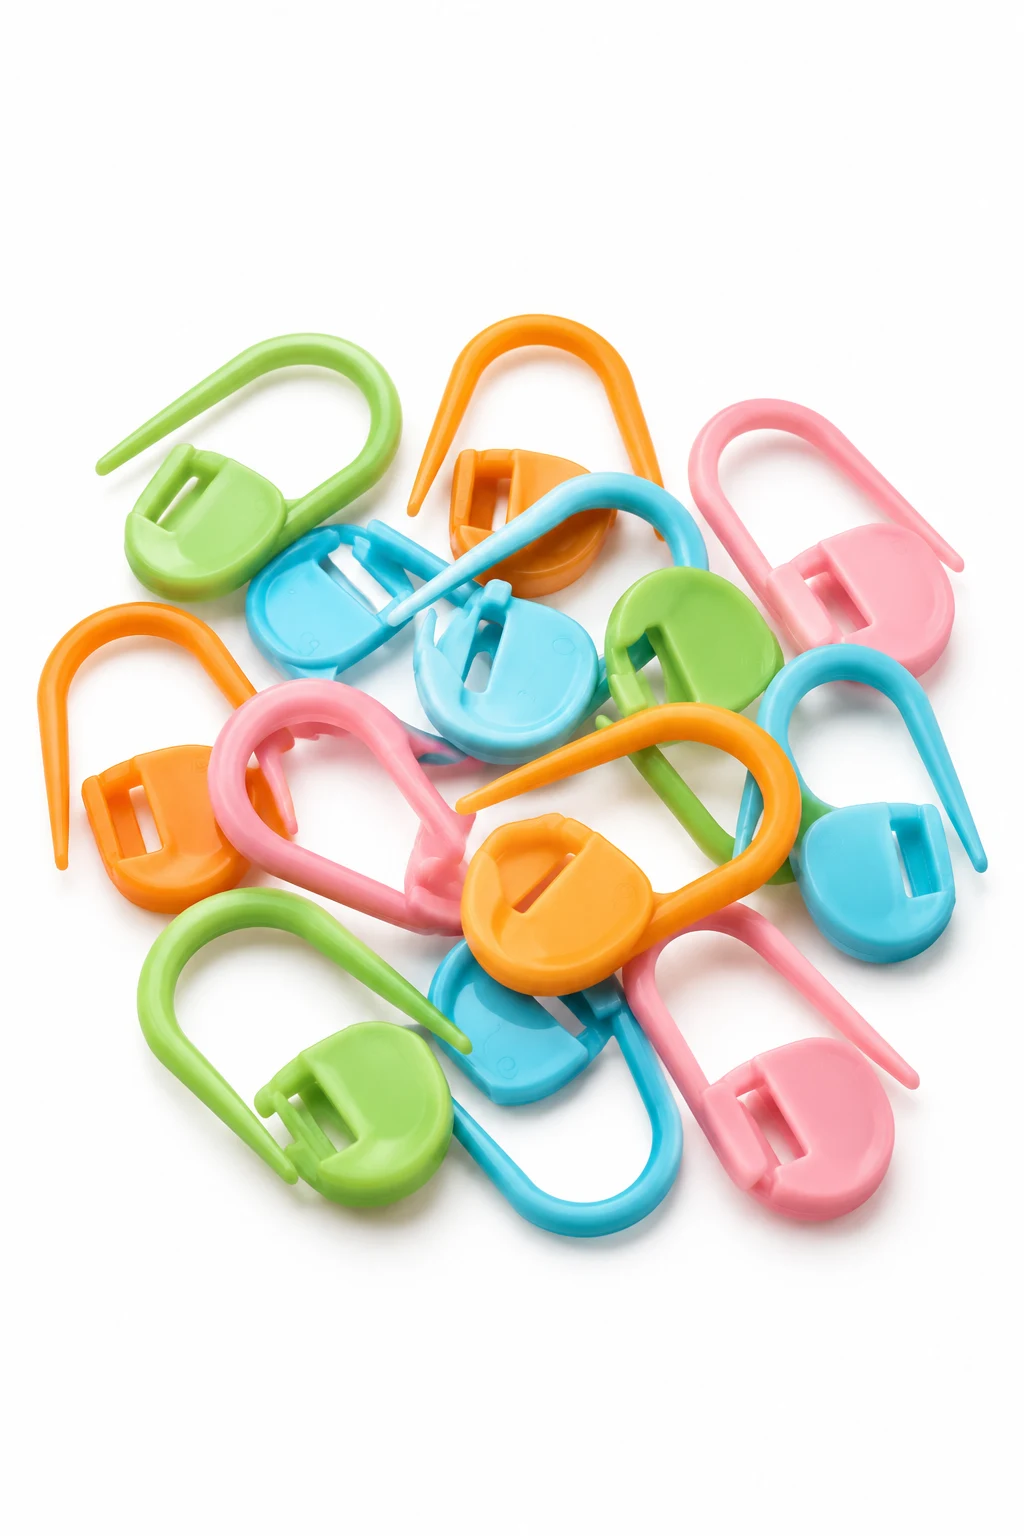
- Locking stitch marker, optional
- Measuring tape
- Cream white sewing thread, optional, if you want to reinforce the strap attachment points
- Gauge (Approximate): 4-inch / 10 cm swatch = approximately 16 single crochet stitches × 18 rows
- Quantity: 1 finished tote measuring approximately 13 inches / 33 cm wide × 14 inches / 36 cm tall, with two approximately 24-inch / 61 cm shoulder straps
- Color: cream white
The exact tension matters less for this beginner-friendly crochet tote bag tutorial than keeping your stitches even, but matching the approximate gauge will keep the finished proportions close to the measurements above.
Abbreviations / Terms Used
- ch — chain
- sc — single crochet
- sl st — slip stitch
- st / sts — stitch / stitches
- sk — skip
- sp — space
- ch-sp — chain space
- rep — repeat
- RS — right side
- WS — wrong side
- FO — fasten off
- YO — yarn over
What You Should Keep in Mind — crochet
- Keep your foundation chain relaxed. Pulling the chains too tightly will make the bottom edge narrower than the rest of the bag.
- For the mesh, aim for an even rhythm rather than tight tension. The open spaces should remain clearly visible without looking stretched.
- Count the base stitches carefully before beginning the mesh section. A misplaced stitch at this point can make the bag lean or change width.
- When working the straps, use a slightly firmer tension than you use for the mesh so the handles have enough structure for everyday carrying.
Free Pattern: crochet tote bag tutorials
This crochet tote bag tutorial uses a simple crocheted base followed by an easy chain-space mesh, then finishes with two long shoulder straps.
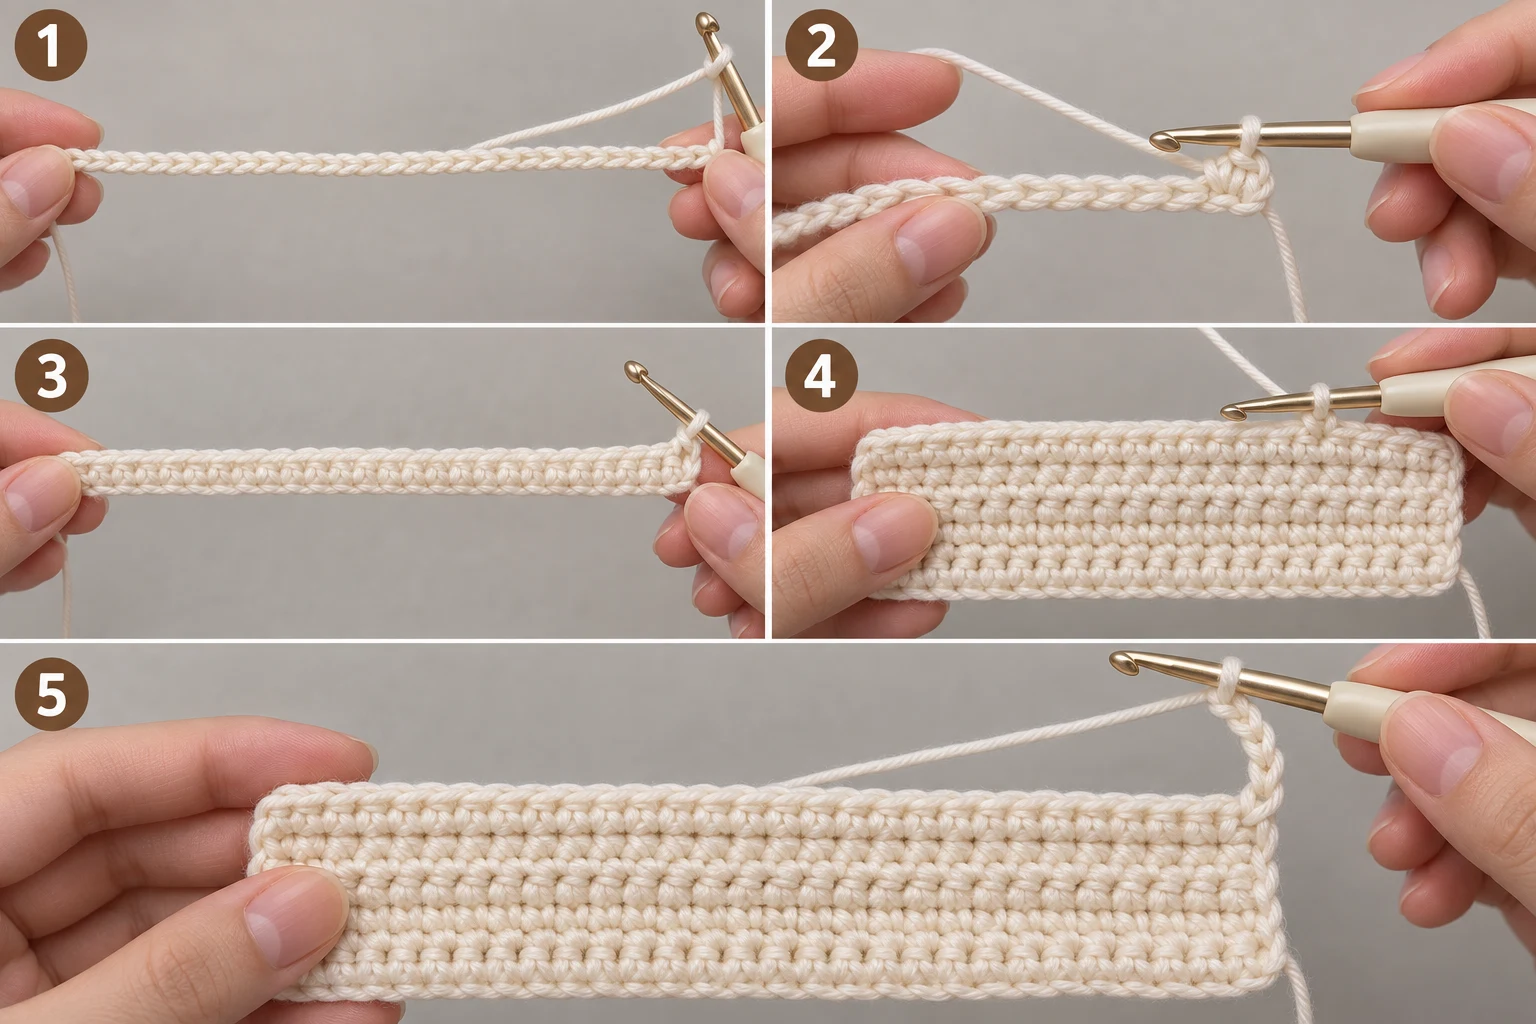
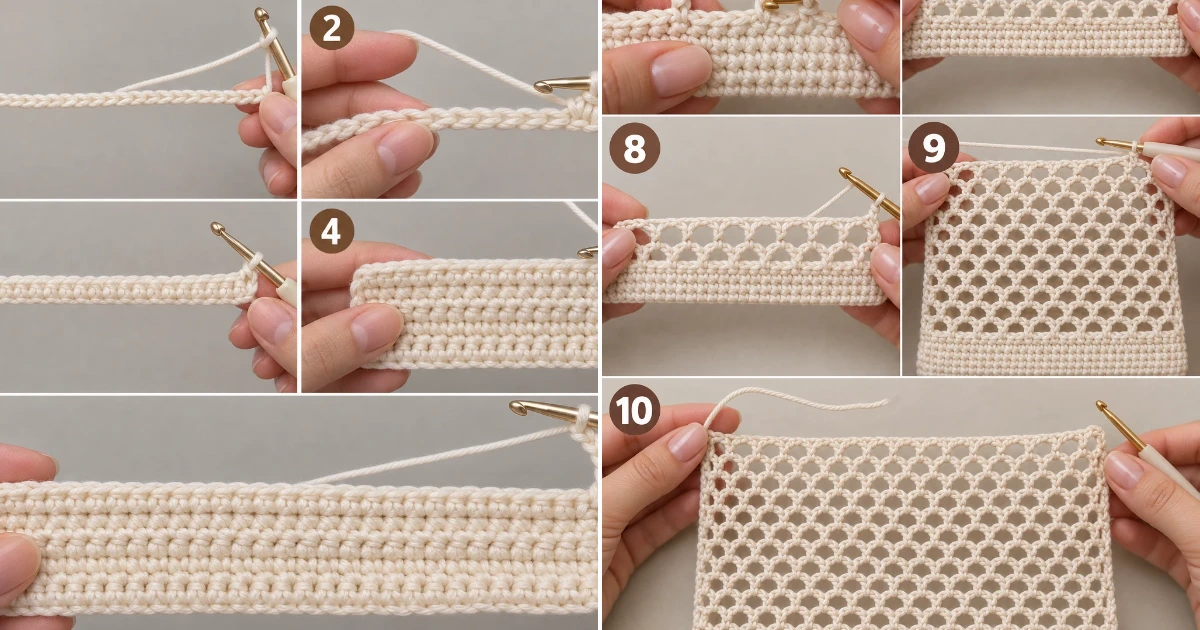
1. Make the Foundation Chain
Action: Chain 41 stitches in cream white.
Detailed instructions: Make a slip knot on your 4.0 mm hook, then yarn over and pull through the active loop repeatedly until you have 41 chain stitches. Keep every chain approximately the same size and avoid tightening the foundation as you work.
Expected result: You should have one straight foundation chain containing 41 clearly defined chain stitches.
Check yourself: Count the V-shaped chain stitches from the hook backward; there should be exactly 41.
2. Work the First Single Crochet
Action: Make one single crochet into the second chain from the hook.
Detailed instructions: Insert the hook under the top two loops of the second chain from the hook, yarn over, and pull up one loop so two loops sit on the hook. Yarn over again and pull through both loops to complete one single crochet.
Expected result: One single crochet sits at the beginning of the foundation chain, with the remaining chains extending below it.
Check yourself: You should have one completed sc and one active loop on the hook.
3. Complete the First Base Row
Action: Work one single crochet into each remaining chain across the foundation.
Detailed instructions: Continue inserting the hook into each successive chain, yarn over and pull up a loop, then yarn over and pull through both loops. Work one sc into every remaining chain until you reach the final chain. This produces 40 sc total across the row.
Expected result: You have a straight first row containing 40 single crochet stitches.
Check yourself: Lay the work flat and count 40 distinct sc tops across the row.
4. Build the Solid Base
Action: Work 5 additional rows of 40 single crochet stitches each.
Detailed instructions: Turn the work at the end of each row. For each row, work one sc into every stitch across, placing the hook under both top loops of each stitch. Do not increase or decrease. Repeat until you have completed Rows 2 through 6, keeping 40 sc in every row.
Expected result: A firm rectangular base approximately 10 inches / 25 cm wide and about 1½ inches / 4 cm tall is formed.
Check yourself: You should be able to count six horizontal rows of 40 sc stitches with straight side edges.
5. Start the Mesh
Action: Chain 5 to create the first mesh opening.
Detailed instructions: After completing Row 6, keep the active loop on the hook and chain 5 by yarning over and pulling through the active loop five times. Do not work a single crochet into the next stitch yet.
Expected result: A five-chain arch extends upward from the corner of the solid base.
Check yourself: You should see one open chain loop measuring approximately 1½ inches / 4 cm across.
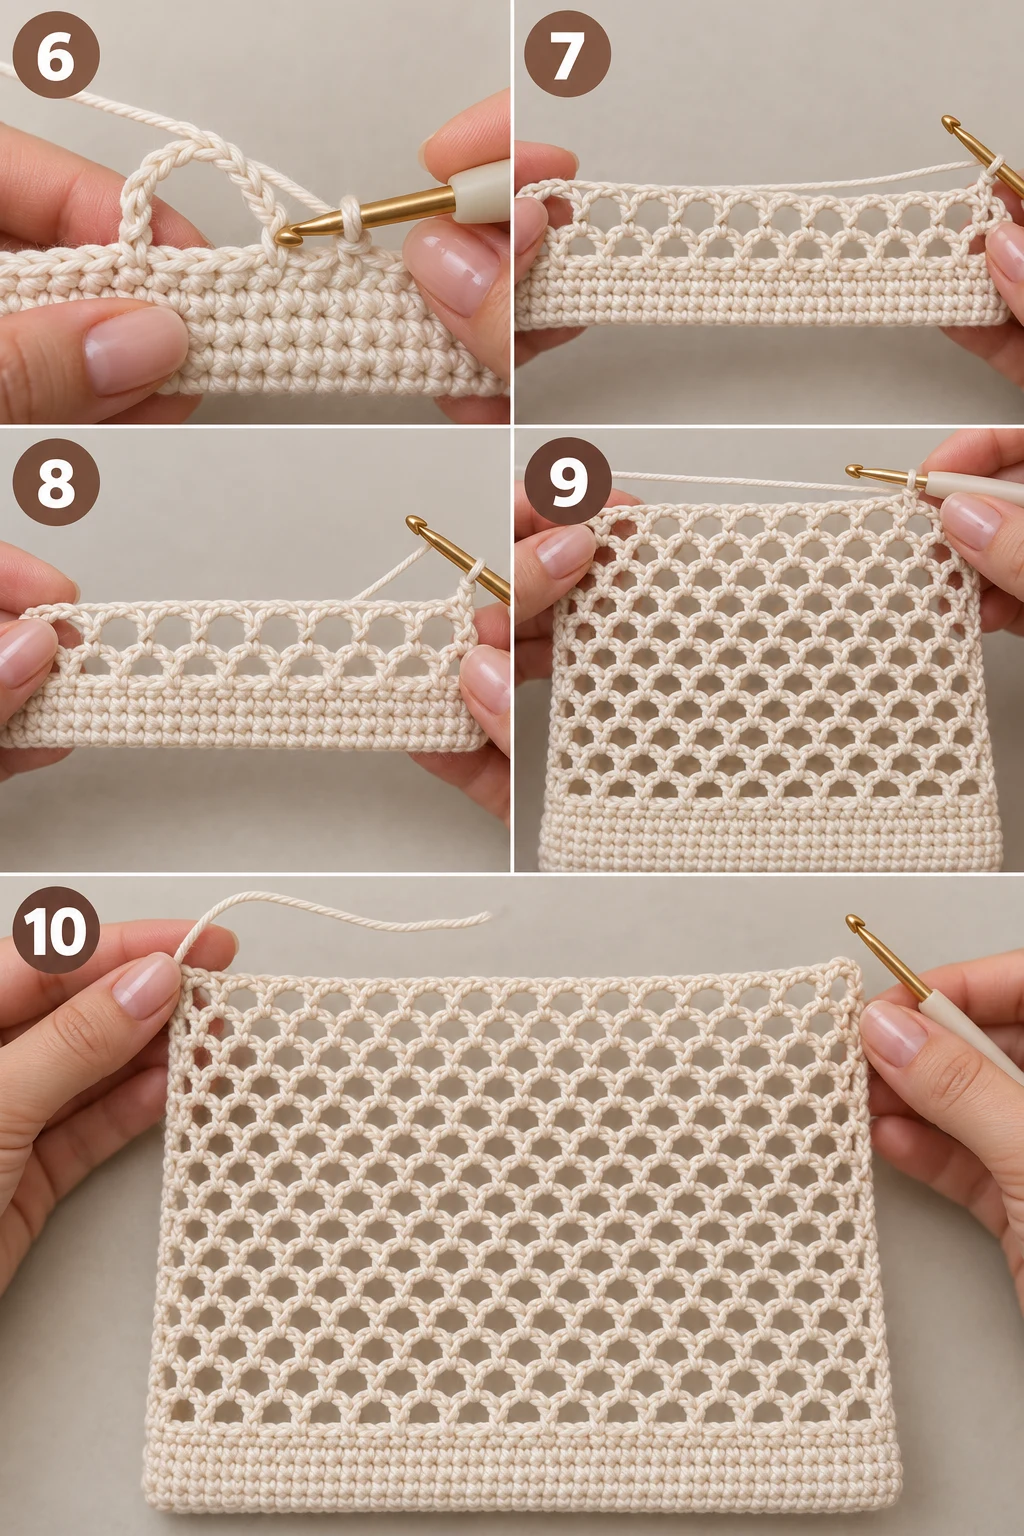
6. Anchor the First Mesh Space
Action: Make one single crochet into the second stitch of the base.
Detailed instructions: Skip the first stitch immediately beside the corner, insert the hook under both top loops of the second base stitch, yarn over and pull up a loop, then yarn over and pull through both loops. This anchors the five-chain arch and creates the first mesh opening.
Expected result: The first open mesh space is secured to the base by one single crochet.
Check yourself: The first chain arch should form a clear open window between the base corner and the new sc.
7. Repeat the Mesh Across the Base
Action: Repeat the five-chain-and-single-crochet sequence across the remaining base stitches.
Detailed instructions: Chain 5, skip the next base stitch, then work 1 sc into the following stitch. Continue this exact sequence across the row until you reach the opposite edge. With 40 base stitches, this creates 19 mesh spaces and finishes with the edge stitch at the far side.
Expected result: One complete row of evenly spaced open mesh windows sits above the solid base.
Check yourself: You should see 19 open five-chain spaces across the width.
8. Turn for the Second Mesh Row
Action: Turn the work so the next mesh row can be crocheted in the opposite direction.
Detailed instructions: Rotate the entire work so the completed mesh row faces you from the opposite working direction, keeping the active loop on the hook and the working yarn behind the work.
Expected result: The bag base remains flat while the mesh row is positioned to be worked back across the width.
Check yourself: The working yarn should exit from the corner where the next row will begin.
9. Continue Mesh Rows 2 Through 14
Action: Work 13 additional rows using the same five-chain, skip-one, single-crochet mesh sequence.
Detailed instructions: At the beginning of each row, chain 5, then work 1 sc into the next available anchoring sc from the previous row, repeating the five-chain arch and sc sequence across. Continue through Mesh Rows 2–14 without changing the stitch pattern. Each row contains 19 mesh spaces.
Expected result: The bag body grows into a tall rectangular open mesh panel approximately 11½–12 inches / 29–30 cm above the solid base.
Check yourself: Count 14 mesh rows total, with 19 open spaces visible in each row.
10. Finish the Mesh Body
Action: Fasten off after completing Mesh Row 14.
Detailed instructions: Cut the working yarn leaving an approximately 6-inch / 15 cm tail, yarn over with the hook, and pull the cut tail completely through the active loop to secure it. Do not begin the straps from this tail.
Expected result: The open mesh body is complete with a secure yarn tail at one upper corner.
Check yourself: The active loop should no longer be on the hook, and gently tugging the tail should not unravel the final stitch.
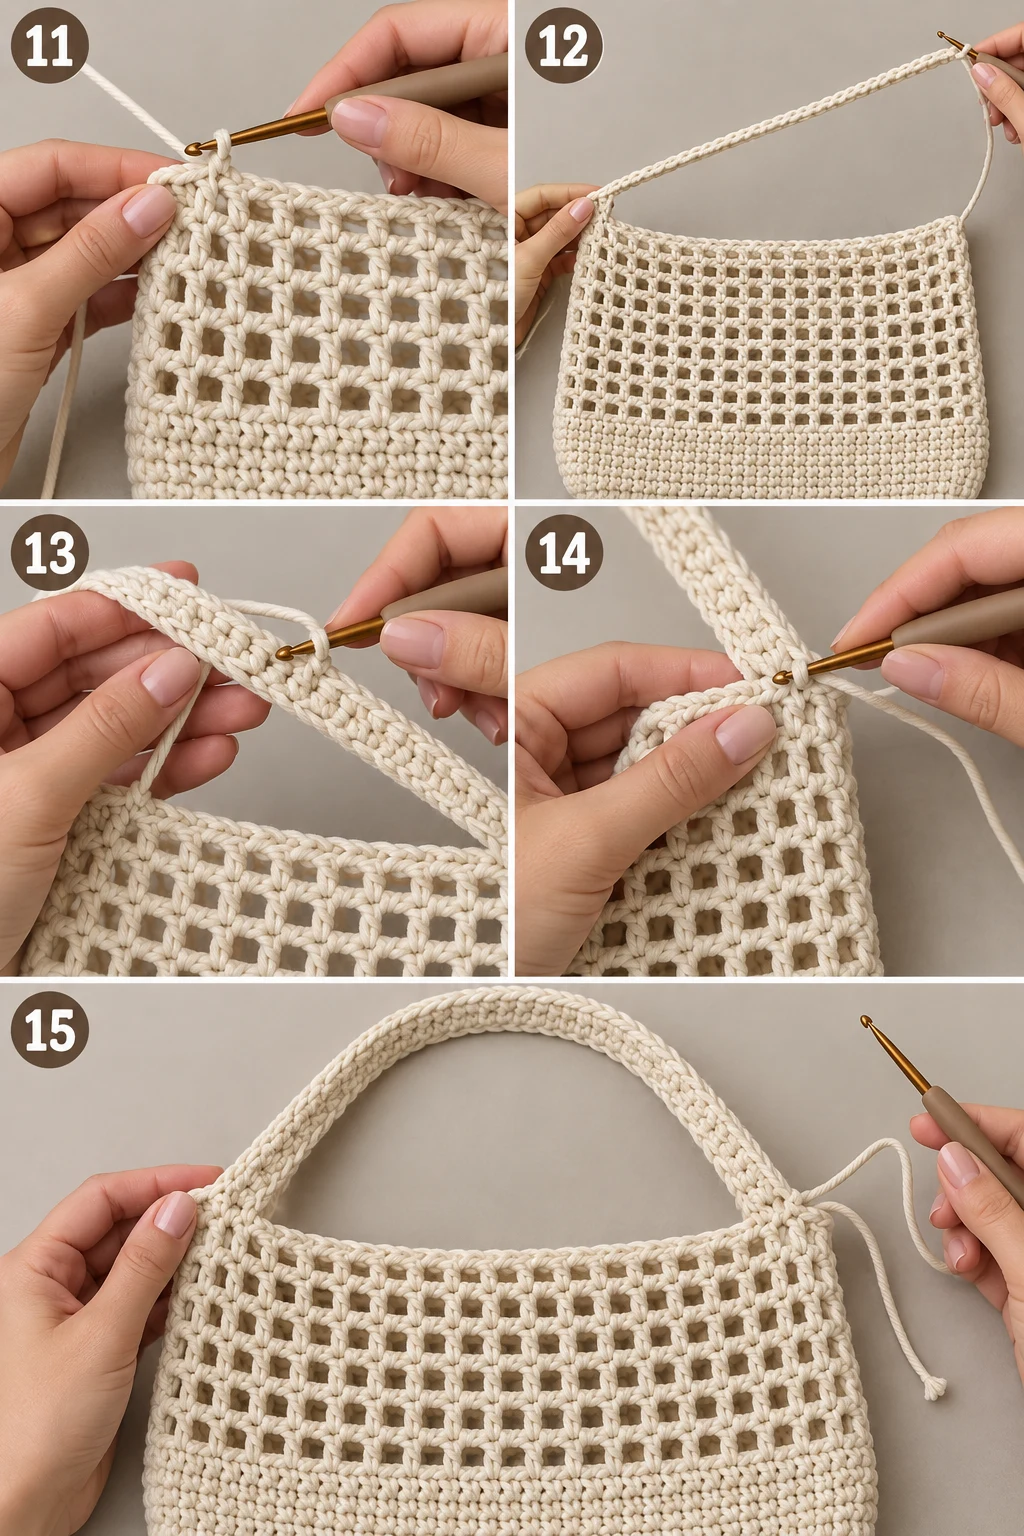
11. Attach the Yarn for the First Strap
Action: Join cream white yarn to the upper-left corner of the mesh body.
Detailed instructions: Insert the hook through the corner stitch at the top edge, place a fresh strand of cream white yarn on the hook, and pull it through the corner stitch to create a new active loop.
Expected result: A new working loop is attached securely at the first strap position.
Check yourself: The new strand should emerge directly from the upper-left corner without shifting the mesh edge.
12. Chain the First Strap
Action: Chain 70 stitches to form the first shoulder strap.
Detailed instructions: From the corner attachment loop, yarn over and pull through the active loop 70 times to create a long chain. Keep the chain relaxed and evenly tensioned because this chain will determine the strap length.
Expected result: A long cream white chain extends from the upper-left corner of the bag.
Check yourself: Count 70 chain stitches before moving to the return row.
13. Reinforce the First Strap
Action: Work one single crochet into every chain across the 70-chain strap.
Detailed instructions: Insert the hook into each chain along the underside of the strap, yarn over and pull up a loop, then yarn over and pull through both loops. Continue across all 70 chains until you return to the bag body.
Expected result: The first strap becomes a flat, reinforced crocheted handle approximately 24 inches / 61 cm long.
Check yourself: You should have 70 sc stitches running continuously along one side of the chain.
14. Secure the First Strap
Action: Slip stitch the completed strap into the upper-right corner of the bag.
Detailed instructions: Align the opposite end of the strap with the upper-right corner, insert the hook through the corner stitch and the final strap stitch, yarn over, and pull the yarn through all loops on the hook in one motion to make a slip stitch.
Expected result: The first shoulder strap is attached at both corners and forms one continuous reinforced loop.
Check yourself: Lift the strap gently; both ends should remain firmly attached without twisting.
15. Fasten Off the First Strap
Action: Fasten off the first strap and leave a 6-inch / 15 cm tail.
Detailed instructions: Cut the yarn, yarn over with the hook, pull the cut tail completely through the active loop, and gently tighten the finishing knot without pulling the strap attachment out of shape.
Expected result: The first strap is completely secured and ready for its ends to be woven in.
Check yourself: Tug gently on the center of the strap; neither attachment point should loosen.
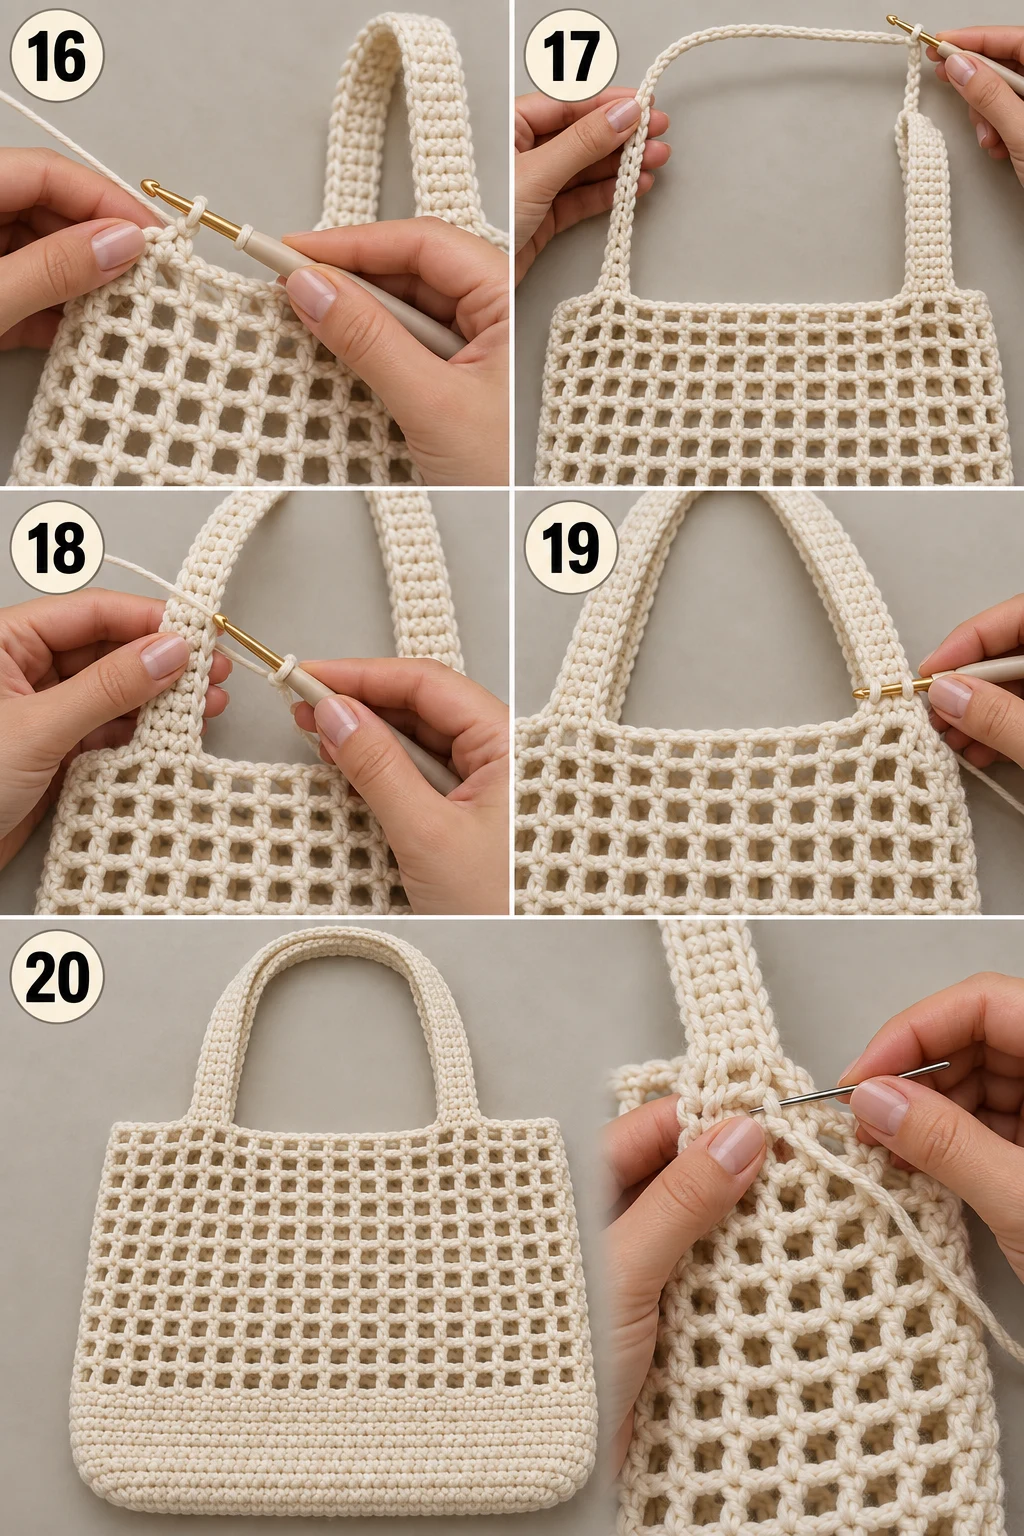
16. Attach the Yarn for the Second Strap
Action: Join cream white yarn to the opposite upper-left corner for the second strap.
Detailed instructions: Insert the hook into the upper-left corner stitch, place a fresh strand of cream white yarn on the hook, and pull it through to create one active loop.
Expected result: A fresh working loop is securely attached at the starting point for the second shoulder strap.
Check yourself: The new loop should sit directly beside the first strap’s attachment point without disturbing it.
17. Chain the Second Strap
Action: Chain 70 stitches for the second shoulder strap.
Detailed instructions: Yarn over and pull through the active loop 70 times, maintaining the same relaxed tension used for the first strap. Keep the chain untwisted as it grows.
Expected result: A second 70-chain strap extends from the remaining upper-left corner.
Check yourself: The two strap chains should be the same length when placed side by side.
18. Reinforce the Second Strap
Action: Work 70 single crochet stitches back across the second strap chain.
Expected result: The second strap matches the first strap in width, texture, and length.
Check yourself: Count 70 sc stitches across the second strap and compare its length with the first.
19. Secure the Second Strap
Action: Slip stitch the second strap into the remaining upper-right corner.
Detailed instructions: Bring the reinforced strap across without twisting it, align its final stitch with the opposite upper-right corner, insert the hook through both pieces, yarn over, and pull through all loops to make one secure slip stitch.
Expected result: Both shoulder straps are attached at all four upper attachment points.
Check yourself: Lay the bag flat and confirm that both straps form matching loops without twists.
20. Fasten Off and Weave In the Ends
Action: Fasten off the second strap and weave all loose yarn tails into the wrong side of the bag.
Detailed instructions: Cut the yarn leaving a 6-inch / 15 cm tail, pull the tail through the final loop to fasten off, then thread the tapestry needle and weave each loose end back and forth through several neighboring stitches on the wrong side. Trim the excess close to the fabric.
Expected result: The cream white mesh tote is completely finished, with clean strap joins and no loose working ends.
Check yourself: Turn the bag inside out and gently pull each strap; no tail should slip free.
Quick Reference
This quick chart makes the crochet tote bag tutorials pattern much easier to check while you work.
| Section | Stitch Count | Rows / Repeats | Result |
|---|---|---|---|
| Foundation chain | 41 ch | 1 | Starting chain |
| Solid base | 40 sc | 6 rows | Firm rectangular base |
| Mesh | 19 mesh spaces | 14 rows | Open net body |
| Each mesh space | 5 ch | Repeated across row | Open square/arched window |
| Strap 1 | 70 ch + 70 sc | 1 strap | Approx. 24 in / 61 cm |
| Strap 2 | 70 ch + 70 sc | 1 strap | Approx. 24 in / 61 cm |
| Finished width | — | — | Approx. 13 in / 33 cm |
| Finished height | — | — | Approx. 14 in / 36 cm |
If you’re following crochet tote bag tutorials from a video, this table is especially handy because you can pause and compare your work at each major construction point.
📺 Watch the Video Tutorial
Final Thoughts
And there you have it — your very own lightweight cream white mesh tote! I’m so happy with how simple this crochet tote bag tutorial feels once the first few rows are established. The open texture gives it that relaxed market-bag look while the reinforced straps make it practical enough for everyday use. If you enjoyed making this crochet tote bag tutorials project, I’d love to see yours! Share your finished bag and tag the blog so I can admire it. For care, gently hand-wash the finished tote and lay it flat to dry; reshape the mesh and straps while damp so everything dries neatly.
Tips for a Better Experience
- Keep both straps exactly 70 stitches. If you want a longer shoulder drop, increase both straps by the same number of chains rather than changing only one.
- Check the mesh count before moving upward. Every mesh row should contain 19 open spaces; catching a missing space early is much easier than correcting it later.
- Reinforce the strap joins. For a frequently used bag, weave the finishing tails through several neighboring stitches around each corner rather than trimming them immediately.
- Customize the size from the base. For a wider crochet tote bag tutorial, increase the foundation chain by an even number and maintain the same skip-one mesh rhythm, checking that the two sides remain symmetrical.
FAQ
What makes these crochet tote bag tutorials beginner friendly?
The project uses a solid single crochet base, a repeating chain-space mesh, and straightforward single crochet straps. There are no complicated increases, decreases, or shaped motifs.
How do I follow a crochet tote bag tutorial for beginners with the video?
Use the video for visual guidance on hand position and mesh formation while using this crochet tote bag tutorials pattern for the written stitch counts, measurements, and checkpoints.
Why does my crochet tote bag tutorial look wider or narrower?
The most common reason is tension. If your mesh spaces or foundation chains are noticeably tighter or looser than the approximate gauge, the finished crochet tote bag pattern will change size.
📚 You Might Also Like
- Crochet Applique Patterns Free Unicorn: 7 Magical Ideas You’ll Want to Stitch Today
Crochet applique patterns free unicorn are decorative crocheted unicorn motifs that can be attached…
- Ideas a crochet granny square pattern: 20 Ultimate DIY
ideas a crochet granny square pattern can turn a few balls of yarn into everything from a colorful b…
- Crochet grocery bag: 11 Gorgeous DIY Ideas for 2026
12 Crochet Grocery Bag Ideas You’ll Actually Want to Make A crochet grocery bag is a reusable handma…
- Crochet net bag: 12 Ultimate DIY Ideas for 2026
A crochet net bag is a lightweight openwork bag made with crochet stitches that create a flexible, a…
- Crochet market bag: 15 Best DIY Ideas for 2026
15 Crochet Market Bag Ideas That Make Grocery Runs More Fun Crochet market bag ideas are handmade, r…
🛍️ Shop the Look — crochet tote bag tutorials
Our handpicked Amazon picks curated specifically for crochet tote bag tutorials:
As an Amazon Associate I earn from qualifying purchases.
✨ For more inspiration, check out The Spruce Crafts and Martha Stewart Crafts — our go-to sources for the latest trends.