
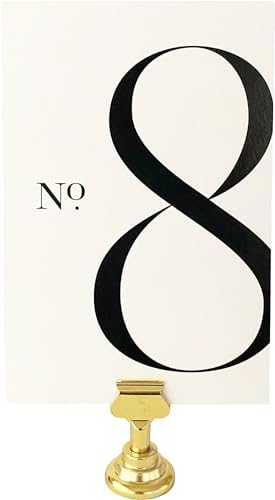
Your wedding day is all about love and joy, and every detail counts. Wedding table numbers help guide your guests and add elegance to your reception. Making your own DIY wedding table numbers is a fun way to make your wedding truly yours.
By crafting your own wedding table numbers, you can make sure they fit your theme perfectly. In this article, we’ll show you 7 creative DIY projects. You can do them this weekend and add a special touch to your big day.
Key Takeaways
- 7 unique DIY wedding table number projects
- Easy-to-follow instructions for each project
- Tips for personalizing your wedding decor
- Ideas for matching your table numbers to your wedding theme
- Benefits of creating your own DIY wedding decorations


Why Wedding Table Numbers Matter for Your Big Day
Your wedding table numbers are more than just a guide for guests. They are a key part of your reception’s design. They help guests find their seats and add to the beauty of your big day.
Guiding Guests to Their Seats Efficiently
Wedding table numbers are essential for guiding guests to their seats. This is very important for big weddings with lots of space. Clear and visible table numbers make it easier for guests to find their way. This helps create a relaxed and fun atmosphere for everyone.
Creating a Cohesive Reception Design
Wedding table numbers also play a big role in your reception’s design. They can match your wedding theme and colors. You can choose elegant calligraphy, rustic signs, or modern displays to make them beautiful.
By picking a design that fits with your other decorations, you create a cohesive and harmonious visual experience for your guests. Plus, you can add personal touches to make the reception even more special.
Planning Your DIY Wedding Table Numbers Project
Start by planning your DIY wedding table numbers with your wedding style in mind. Think about what will match your wedding decor. This ensures your table numbers will look great with everything else.
Assessing Your Crafting Skills and Time Availability
Before starting, check your crafting skills and how much time you have. See what materials you already have and what you might need to buy. This helps pick a project that’s doable and fun for you.
If you’re new to crafting, choose something simple. But if you’re good at it and have lots of time, go for something more detailed.
Aligning Table Numbers with Your Wedding Aesthetic
Your DIY table numbers should match your wedding’s look. Think about your wedding’s colors, textures, and style. For example, a rustic wedding might use wood or burlap for numbers.
| Wedding Theme | Table Number Ideas |
|---|---|
| Rustic | Wooden slices, burlap, twine |
| Elegant | Crystal, metallic frames, calligraphy |
| Vintage | Old book pages, lace, distressed wood |
Essential Materials and Tools for DIY Wedding Table Numbers
Starting your DIY wedding table numbers project means first gathering the right materials. You’ll need a mix of basic supplies to make your numbers both beautiful and practical.
Basic Supplies Checklist
Here’s what you’ll need to begin:
- Cardstock or thick paper for durability
- Scissors or a craft knife for cutting
- Glue or adhesive for assembly
- Markers or paint for decoration
- Any additional embellishments you desire, such as ribbons or glitter
Where to Find Budget-Friendly Craft Materials
Finding affordable craft materials is simple. Look at:
- Local craft stores for a wide selection
- Online retailers for convenience and competitive pricing
- Dollar stores for basic supplies at a low cost
- Repurposing items you already own to save money and add a personal touch
Being smart and planning ahead helps you make stunning DIY wedding table numbers without spending a lot.
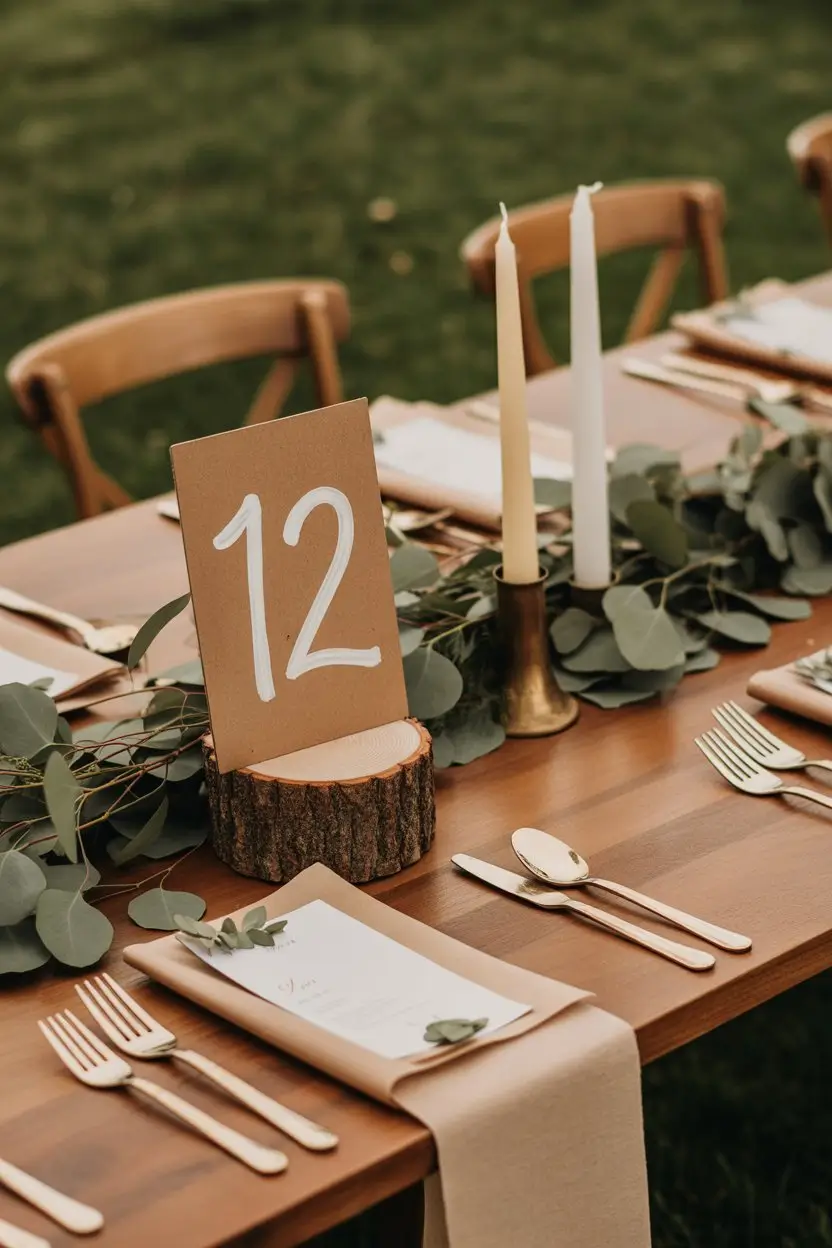
Project 1: Rustic Wood Slice Table Numbers
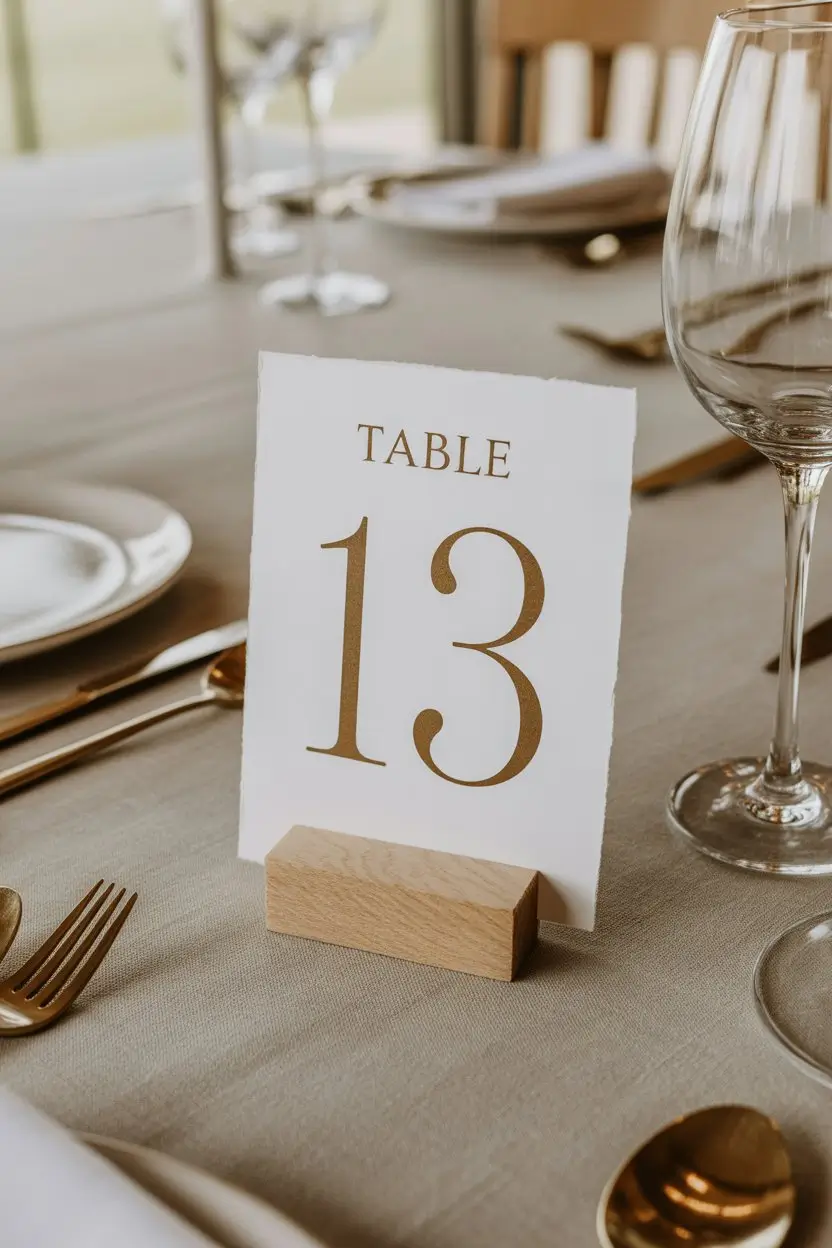
For a wedding with a rustic feel, wood slice table numbers are perfect. They make a lasting impression on guests. They’re also a great DIY project for adding a personal touch to your decor.
Materials Needed
To make your wood slice table numbers, you’ll need a few things. These include:
- Wood slices (various sizes)
- Paint or wood stain
- Paintbrushes
- A sealant (optional)
- Twine or ribbon for hanging
Types of Wood to Consider
Choose wood that looks natural and rustic. Popular choices are:
- Pine
- Cedar
- Oak
Paint and Finishing Options
The finish you pick can change how your table numbers look. You can use a natural stain to show off the wood grain. Or, paint them for a splash of color.
Step-by-Step Instructions
Making your wood slice table numbers is easy. Here’s how to do it:
- Clean and prepare your wood slices.
- Paint or stain them with your numbers and design.
- Let the paint or stain dry completely.
- If you want, add a sealant to protect the wood.
- Attach twine or ribbon to hang them.
Display Ideas for Wood Slice Numbers
After making your table numbers, think about how to show them off. Here are some ideas:
- Hanging them from a wooden dowel or branch
- Placing them on a decorative tray or platter
- Using them as part of a centerpiece with candles, flowers, or greenery
By following these steps and tips, you can make beautiful, unique rustic wood slice table numbers. They’ll add a personal touch to your wedding decor.
Project 2: Elegant Photo Frame Table Numbers
Add a touch of sophistication to your wedding decor with elegant photo frame table numbers. This creative project turns beautiful photo frames into functional and decorative elements for your reception. By using photo frames as table numbers, you can add a personal touch to your wedding decor while guiding your guests to their seats.
Materials Needed
To create your photo frame table numbers, you’ll need the following materials:
- Photo frames (various sizes)
- Cardstock or paper
- Printer
- Scissors
- Glue or adhesive
- Decorative items (optional)
Frame Selection Tips
When choosing frames, consider the style and theme of your wedding. For a cohesive look, select frames that complement your overall wedding decor ideas. You can opt for uniform frames or mix and match different styles for a more eclectic feel.
Paper and Printing Considerations
For the table numbers, choose cardstock or paper that complements your wedding colors. You can print the numbers using a font that matches your wedding stationery or theme. Consider using a high-quality printer or a professional printing service for the best results.
Step-by-Step Instructions
Follow these steps to create your elegant photo frame table numbers:
- Select and prepare your photo frames by cleaning and removing any glass or backing.
- Design and print your table numbers on cardstock or paper.
- Cut the printed numbers to fit within the frames.
- Adhere the numbers to the frames using glue or another suitable adhesive.
- Add any decorative elements, such as ribbons or flowers, to enhance the frames.
Styling Your Framed Numbers
Once your photo frame table numbers are complete, consider how you’ll display them. You can place them on tables as is, or add them to a larger decorative arrangement. For a cohesive look, incorporate your framed numbers into your centerpieces or use them as standalone decorative elements that reflect your wedding decor ideas.
By following these steps, you’ll create beautiful and elegant wedding table numbers that add a personal touch to your special day.
Project 3: Wine Bottle Table Numbers with String Lights
Make your wedding decor stand out with wine bottle table numbers lit up by string lights. This project mixes the beauty of wine bottles with the charm of twinkling lights. It makes your reception warm and welcoming for your guests.
Materials Needed
To make your wine bottle table numbers, you’ll need a few things:
Bottle Preparation Techniques
- Empty wine bottles
- Bottle cleaning solution
- Labels and adhesive remover
Lighting Options
- String lights or fairy lights
- Batteries
- Optional: timer or dimmer switch
| Material | Description | Quantity |
|---|---|---|
| Empty wine bottles | Clean, dry bottles for table numbers | As needed |
| String lights | Fairy lights for illumination | 1 set |
| Batteries | Power source for string lights | Depends on light set |
Step-by-Step Instructions
Here’s how to make your wine bottle table numbers:
- Clean and prepare the wine bottles by removing labels and residue.
- Wrap the string lights around the bottles, securing them with floral wire or a similar material.
- Place a table number on each bottle, either by attaching it directly or using a small stand.
- Test the lights and ensure they’re working properly.
Creating a Glowing Centerpiece Effect
To make your tables even more special, group your wine bottle table numbers together. Add candles, flowers, or other decorations around them. This creates a glowing focal point for your reception tables.
By using string lights wedding decor for your table numbers, you’ll have a unique and memorable DIY centerpiece. It will show off your personal style and wedding theme.
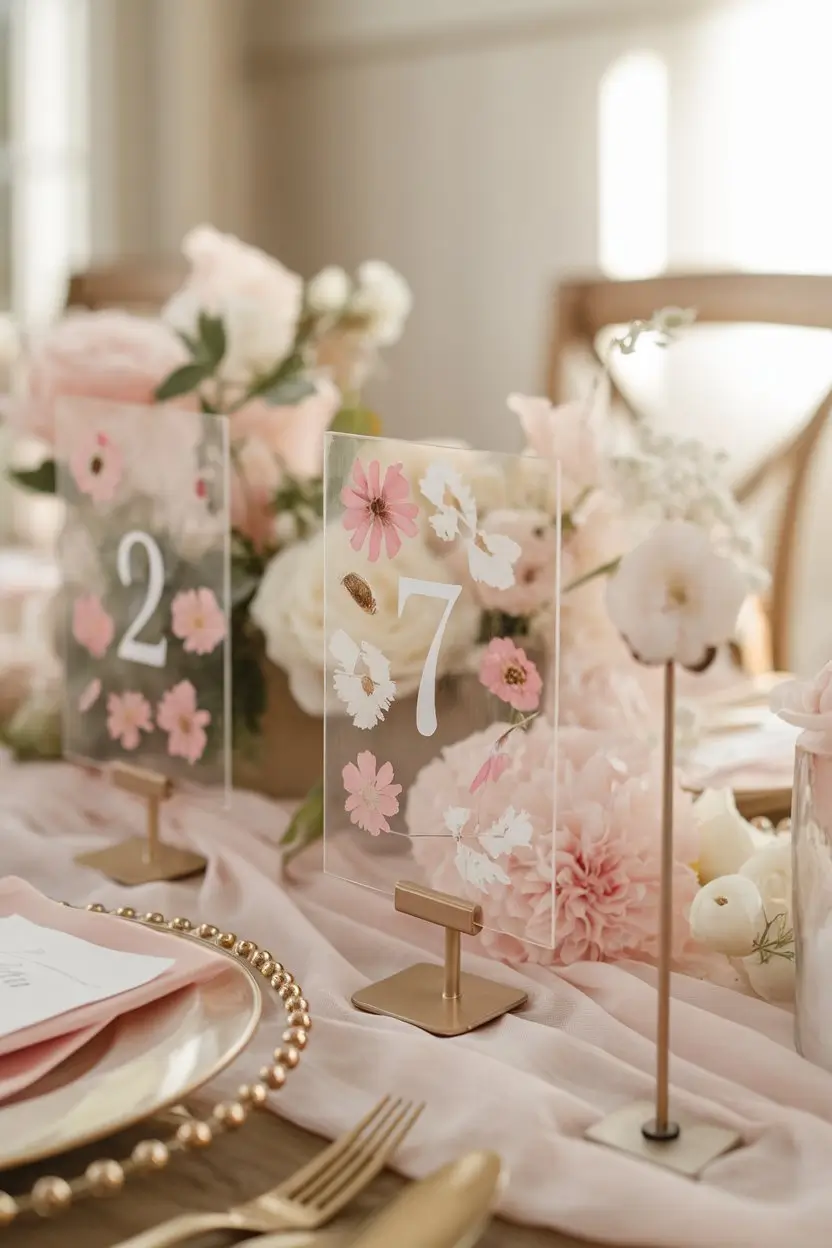
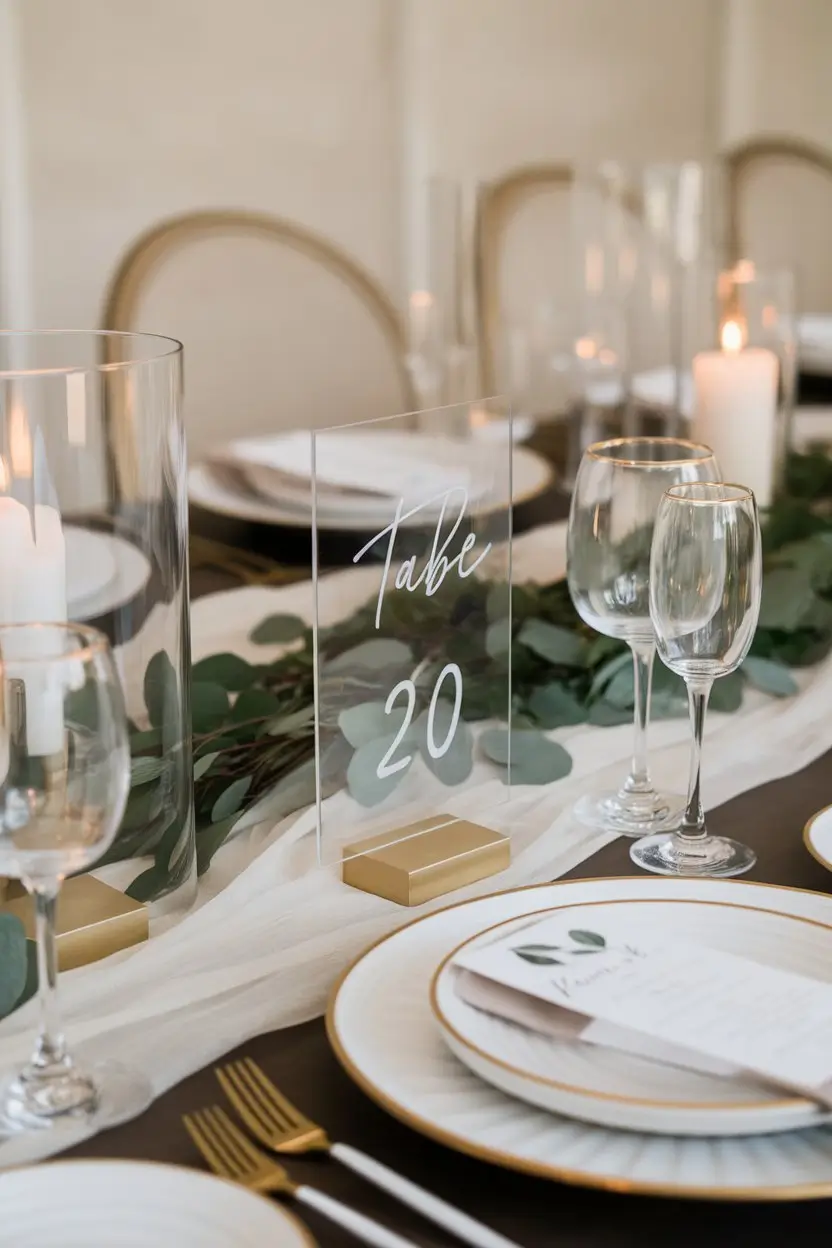
Project 4: Pressed Flower Acrylic Table Numbers

Creating pressed flower acrylic table numbers is a delicate and sophisticated wedding decor idea. It combines the beauty of botanicals with modern acrylic elements. This results in a unique and elegant table numbering system.
Materials Needed
To make your pressed flower acrylic table numbers, you’ll need a few things. These include:
- Pressed flowers (various colors and types)
- Acrylic sheets (clear or colored)
- Adhesive (suitable for acrylic)
- Number stickers or printed numbers
- Scissors
- Tweezers
Flower Selection and Pressing Methods
Choosing the right flowers is key for this project. Pick flowers that are flat and have a delicate look. To press flowers, use a flower press or a heavy book. Place the flowers between sheets of paper towel and weigh them down for a few weeks. This will dry and flatten them fully.
Acrylic Sheet Options
Acrylic sheets come in different thicknesses and colors. For elegance, choose clear or lightly tinted acrylic. Make sure the sheets are cut to the right size for your table numbers.
| Material | Description | Thickness |
|---|---|---|
| Clear Acrylic | Transparent and modern | 1/8 inch |
| Colored Acrylic | Matches your wedding colors | 1/8 inch |
| Thick Acrylic | More durable and sturdy | 1/4 inch |
Step-by-Step Instructions
Here’s how to make your pressed flower acrylic table numbers:
- Cut the acrylic sheets to the desired size.
- Arrange the pressed flowers on the acrylic sheet.
- Apply a small amount of adhesive to secure the flowers.
- Attach the number stickers or printed numbers.
- Allow the adhesive to dry completely.
Preserving Your Botanical Display
To keep your botanical wedding decor looking good, avoid direct sunlight and moisture. Store them in a cool, dry place when not in use. With the right care, your pressed flower acrylic table numbers will stay beautiful for years.
Project 5: Hand-Lettered Ceramic Tile Table Numbers
Add a personal touch to your wedding decor with hand-lettered ceramic tile table numbers. This project combines handmade charm with ceramic durability. It makes a beautiful and useful wedding detail.

Materials Needed
To make your hand-lettered ceramic tile table numbers, you’ll need a few basic supplies. Start by gathering:
- Ceramic tiles (white or off-white work best)
- Paint or markers suitable for ceramics
- Sealant (optional)
- Tile stands or holders
Tile Selection Guide
When picking ceramic tiles, think about size and color that fits your wedding theme. Larger tiles make a bold statement, while smaller ones are more subtle. White or off-white tiles are great for your lettering.
Paint and Marker Options
For DIY wedding signs like these, use paint or markers made for ceramics. Acrylic paint and ceramic markers are good choices. Always follow the manufacturer’s instructions for use and drying times.
Step-by-Step Instructions
Creating your hand-lettered table numbers is easy:
- Prepare your tiles by cleaning them well.
- Sketch your lettering lightly with a pencil.
- Use your chosen paint or markers to letter the numbers.
- Allow the paint to dry completely.
- Apply a sealant if desired to protect the tiles.
Creating Stands for Your Tile Numbers
To show off your ceramic tile table numbers, you’ll need stands or holders. You can buy these or make your own from wood or metal. Choose a design that matches your wedding decor.
By following these steps, you’ll have stunning, hand-lettered ceramic tile table numbers. They’ll guide your guests to their seats on your big day.
Project 6: Vintage Book Page Table Numbers
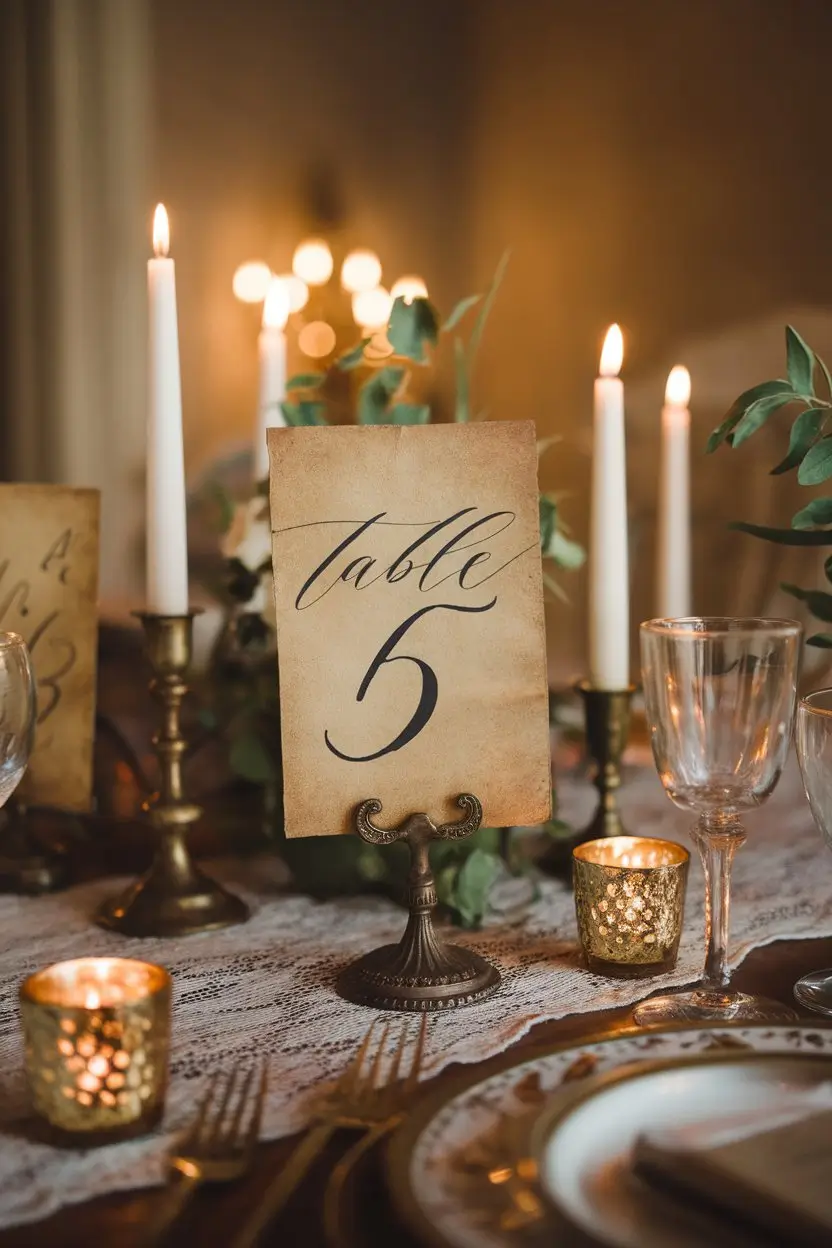
For couples who love books, vintage book page table numbers are a special touch. They mix romance and nostalgia, making your wedding unforgettable for guests.
Materials Needed
To make your vintage book page table numbers, you’ll need a few things:
- Old book pages (get them ethically)
- Cardboard or cardstock
- Scissors
- Glue
- Decorative items (optional)
Sourcing Old Books Ethically
Look for old books at thrift stores, library sales, or online. Make sure you’re not harming rare books.
Aging and Distressing Techniques
To make your pages look old, try tea staining, crumpling, or coffee stains. These methods will make your vintage book page table numbers look authentic.
Step-by-Step Instructions
Here’s how to make your DIY wedding decor:
- Cut out the table numbers from cardboard or cardstock.
- Stick the aged book pages to the numbers.
- Add decorations if you like.
- Seal with a protective layer to keep them safe.
Incorporating Literary Themes
Use literary wedding themes by picking books that mean something to you. Show the book covers or quotes with your vintage book page table numbers for a unified look.
By doing this, you’ll add a unique, book-loving touch to your wedding.
Project 7: Embroidery Hoop Floral Table Numbers
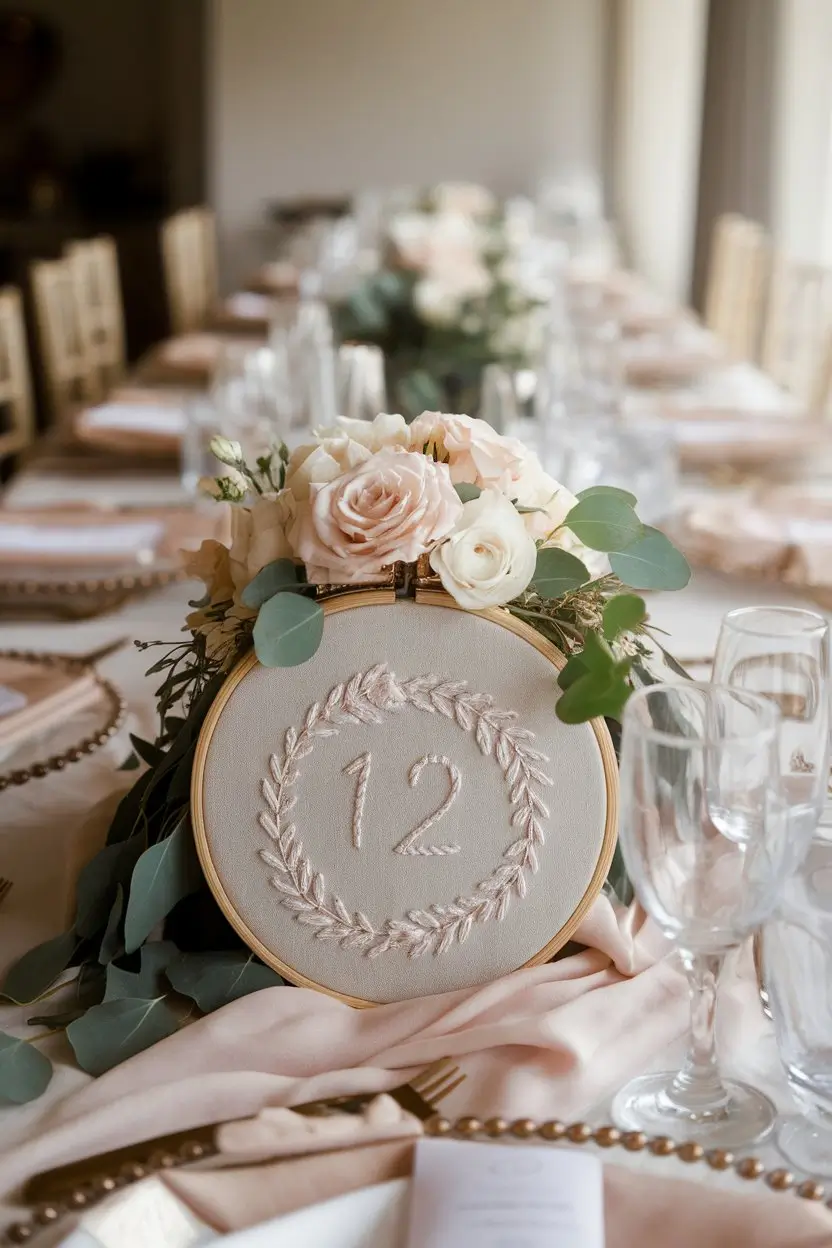
Embroidery hoop floral table numbers bring a unique touch to your wedding decor. They make your reception stand out. This DIY project combines floral elegance with embroidered details, creating a memorable guest experience.
Materials Needed
To make your embroidery hoop floral table numbers, you’ll need some basic supplies. You’ll need embroidery hoops, fabric, floral decorations, and embroidery floss.
Fabric Selection Tips
- Choose a fabric that matches your wedding colors and theme.
- Think about the fabric’s texture and durability.
- Lace or linen can add a vintage or rustic feel.
Embroidery Basics for Beginners
If you’re new to embroidery, start with simple stitches. Try the running stitch or backstitch. Online tutorials can help you learn the basics.
| Material | Description | Cost Estimate |
|---|---|---|
| Embroidery Hoops | Available in various sizes, these are the foundation of your project. | $5-$10 each |
| Floral Decorations | Choose flowers that match your wedding theme. | $3-$5 per arrangement |
| Embroidery Floss | Select colors that complement your wedding palette. | $2-$3 per skein |
Step-by-Step Instructions
Start by stretching your fabric over the embroidery hoop and securing it tightly. Then, embroider the table number with your chosen floss and stitch. Decorate the hoop with floral arrangements, using floral wire or hot glue to secure them.
Adding Dimensional Elements
To add depth to your embroidery hoop floral table numbers, consider beads, sequins, or layered floral arrangements. These elements enhance the visual appeal and make the numbers more engaging for your guests.
By following these steps and tips, you can create beautiful embroidery hoop floral table numbers. They add a personal and elegant touch to your wedding reception.
Creative Ways to Display Your Wedding Table Numbers
Your wedding table numbers are more than just functional; they can be a beautiful part of your decor. Once you’ve created your unique table numbers, it’s time to think about how to display them effectively.
Centerpiece Integration Ideas
Integrating your table numbers into your centerpieces can create a cohesive and stunning visual effect. Consider placing your table numbers among floral arrangements or candles. For a more dramatic effect, you can suspend your table numbers above the table or incorporate them into a garland that complements your centerpiece. This approach not only adds visual interest but also helps to tie the different elements of your table decor together.
Freestanding Display Options
If you prefer not to integrate your table numbers into your centerpieces, freestanding displays are a great alternative. You can use elegant stands or decorative easels to showcase your table numbers. For a more rustic or vintage look, consider using old wooden crates or metal lanterns as display bases. Freestanding displays give you the flexibility to place your table numbers in a location that complements your reception’s layout and flow.
Whether you choose to integrate your table numbers into your centerpieces or use freestanding displays, the key is to ensure that they complement your overall wedding decor. By doing so, you’ll create a beautiful and cohesive look that will impress your guests and enhance your wedding celebration.
Matching Wedding Table Numbers to Different Reception Themes
When planning your wedding, every detail matters, including your table numbers. They help create a cohesive and memorable experience for your guests. Make sure they match your reception theme.
Rustic and Outdoor Celebrations
For rustic and outdoor weddings, use natural elements like wood, burlap, or flowers. Wooden slices, tree branches, or vintage doors can add a touch of the outdoors. Here are some ideas:
- Use wooden signs with hand-painted numbers
- Incorporate wildflowers into your table number displays
- Make a lantern-style table number using mason jars
Modern and Industrial Venues
Modern and industrial venues need sleek, contemporary table numbers. Use materials like metal, glass, or acrylic for a sophisticated look. Here are some ideas:
- Use metallic signs with bold, modern fonts
- Incorporate geometric shapes into your table number displays
- Create a minimalist table number using clear acrylic
Classic and Romantic Settings
For classic and romantic weddings, choose elegant table number designs. Use materials like lace, pearls, or soft pastels for a romantic ambiance. Here are some ideas:
- Use lace-wrapped candles with numbers attached
- Incorporate floral arrangements into your table number displays
- Create a vintage-inspired table number using distressed wood
Choosing table numbers that match your reception theme creates a cohesive and memorable experience. Whether it’s a rustic outdoor wedding or a classic romantic affair, your table numbers set the tone for your special day.
Time-Saving Strategies for Weekend DIY Projects
Working on DIY wedding table numbers can be a challenge. With a packed wedding schedule, it’s key to use your weekend wisely. This ensures you get everything done without stress.
Batch Production Methods
Batch production is a great time-saver. It means making several table numbers at once. For example, paint or decorate all your numbers together. This method saves time and keeps your designs consistent.
Enlisting Help from Your Wedding Party
Getting your wedding party involved is another smart move. Ask your bridesmaids or groomsmen to help out. You can give each person a specific task based on their skills. This makes the work fun and helps everyone feel part of the team.
With these tips, you can make stunning DIY wedding table numbers over the weekend. You’ll stay on track and enjoy the process.
Troubleshooting Common DIY Wedding Table Number Challenges
DIY wedding projects can sometimes go wrong, but we’re here to help. Making your own wedding table numbers can be fun and rewarding. But, you might face some challenges. We’ll cover common issues and offer solutions to help you fix them.
Fixing Mistakes Without Starting Over
Mistakes are part of DIY projects, but they don’t have to be a problem. For small errors, you can find creative fixes. For example, if you’ve painted or written on your numbers and made a mistake, you can cover it up with a small decoration. Think outside the box and see how you can make the mistake a unique feature.
Weather-Proofing for Outdoor Receptions
Outdoor receptions mean your DIY table numbers need protection from the weather. Use a clear varnish or sealant to keep them dry. You can also pick materials like metal or plastic that resist weather better.
| Weather Condition | Protection Method |
|---|---|
| Rain | Clear varnish or sealant |
| Direct Sunlight | UV-resistant materials or coating |
| Wind | Weighted bases or secure fastening |
Budget-Friendly Alternatives for Stunning Wedding Table Numbers
With a little creativity, you can make gorgeous wedding table numbers on a budget. Your wedding decor should show your style without costing too much. There are many ways to get beautiful table numbers without spending a lot.
Upcycling Items You Already Own
One of the best ways to save money is by upcycling items you already have. Think about using old frames, vintage plates, or wooden slices from home. Upcycling not only saves money but also makes your wedding decor special. You can paint or decoupage numbers on these items to make them wedding-themed.
Dollar Store Transformations
The dollar store is full of budget-friendly wedding decor options. You can find plain picture frames, candles, or decorative boxes for just a dollar. With a bit of creativity, you can turn these items into beautiful table numbers. Just add some paint, glitter, or a ribbon to make them special.
By using dollar store transformations and upcycling, you can get stunning wedding table numbers on a budget. These DIY projects let you add a personal touch to your wedding decor while keeping costs low.
Preserving Your DIY Wedding Table Numbers as Keepsakes
Your DIY wedding table numbers can become beautiful keepsakes. They will remind you of your special day for years. You can use them to make lasting memories of your wedding.
Displaying your wedding table numbers in your home is a great idea. It lets you see your wedding memories every day.
Display Ideas for Your Home
Think about adding your wedding table numbers to your home decor. You can put them on a shelf or mantle. Or, create a special display case for them.
| Display Idea | Description |
|---|---|
| Shelf Display | Place your wedding table numbers on a decorative shelf to add a personal touch to your living room. |
| Mantle Display | Arrange your keepsakes on your fireplace mantle for a beautiful and meaningful display. |
| Shadow Box | Create a shadow box to showcase your wedding table numbers along with other wedding memorabilia. |
Gifting Options for Family Members
Consider gifting your wedding table numbers to family members. It’s a thoughtful way to share your wedding memories with them.
You could give them to your parents as a special memento. Or, use them as a unique gift for your bridesmaids or groomsmen.
Conclusion
As you wrap up your wedding planning, adding DIY touches like personalized table numbers can really make a difference. We’ve shown you 7 unique DIY projects that match any wedding theme or style.
These creative ideas, from rustic wood slices to elegant photo frames, do more than just show where to sit. They add warmth and personality to your reception. By making your own table numbers, you’ll leave a lasting impression on your guests.
Starting your DIY wedding decor journey means the details are key. Your table numbers can beautifully tell your love story. With a bit of creativity, they become special keepsakes. So, get inspired, start crafting, and make your wedding planning unforgettable.
FAQ
What are some creative wedding table numbers ideas?
Creative ideas for wedding table numbers include using rustic wood slices and elegant photo frames. You can also try wine bottles with string lights or pressed flowers in acrylic. Hand-lettered ceramic tiles, vintage book pages, and embroidery hoops with floral designs are other options.
How can I make my wedding table numbers match my reception theme?
To match your wedding table numbers to your reception theme, think about the style and decor. For a rustic theme, use natural materials like wood or burlap. For a modern theme, choose sleek and minimalist designs.
What materials do I need to make DIY wedding table numbers?
The materials needed for DIY wedding table numbers depend on the project. You might need wood, paint, frames, string lights, flowers, ceramic tiles, book pages, embroidery hoops, and fabric. Repurposing items you already own can also save money.
How can I display my wedding table numbers creatively?
To display your wedding table numbers creatively, integrate them into your centerpieces. You can also use freestanding display options. Adding decorative elements like candles, flowers, or greenery can enhance the look.
Can I make wedding table numbers on a budget?
Yes, making wedding table numbers on a budget is possible. Upcycle items you already own or shop at dollar stores. Use affordable materials like paper or cardboard. Getting help from friends or family can also make it more enjoyable and cost-effective.
How can I preserve my DIY wedding table numbers as keepsakes?
To preserve your DIY wedding table numbers, display them in a shadow box or frame. Store them in a protective container. You can also give them as gifts or use them as home decor.
What are some time-saving strategies for making DIY wedding table numbers?
To save time, consider batch production and enlisting your wedding party’s help. Break the project into smaller tasks. Prepare materials in advance and work on it during downtime.
How can I troubleshoot common DIY wedding table number challenges?
To troubleshoot common DIY wedding table number challenges, fix mistakes without starting over. Weather-proof for outdoor receptions. Seek advice from craft experts. Having a backup plan is also wise.