
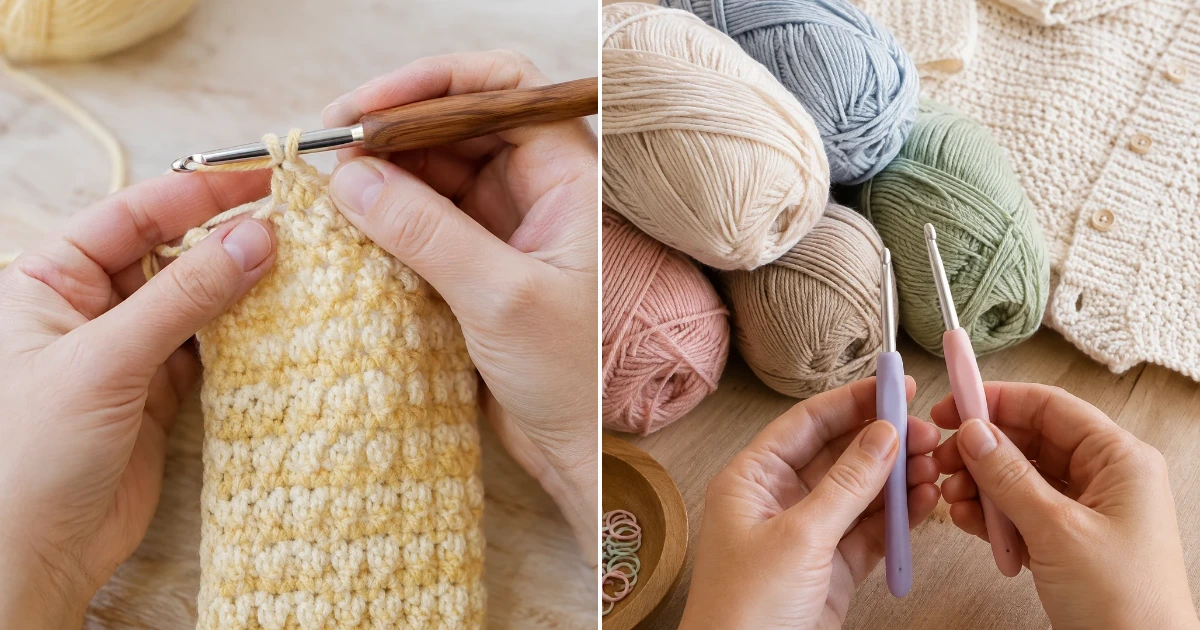
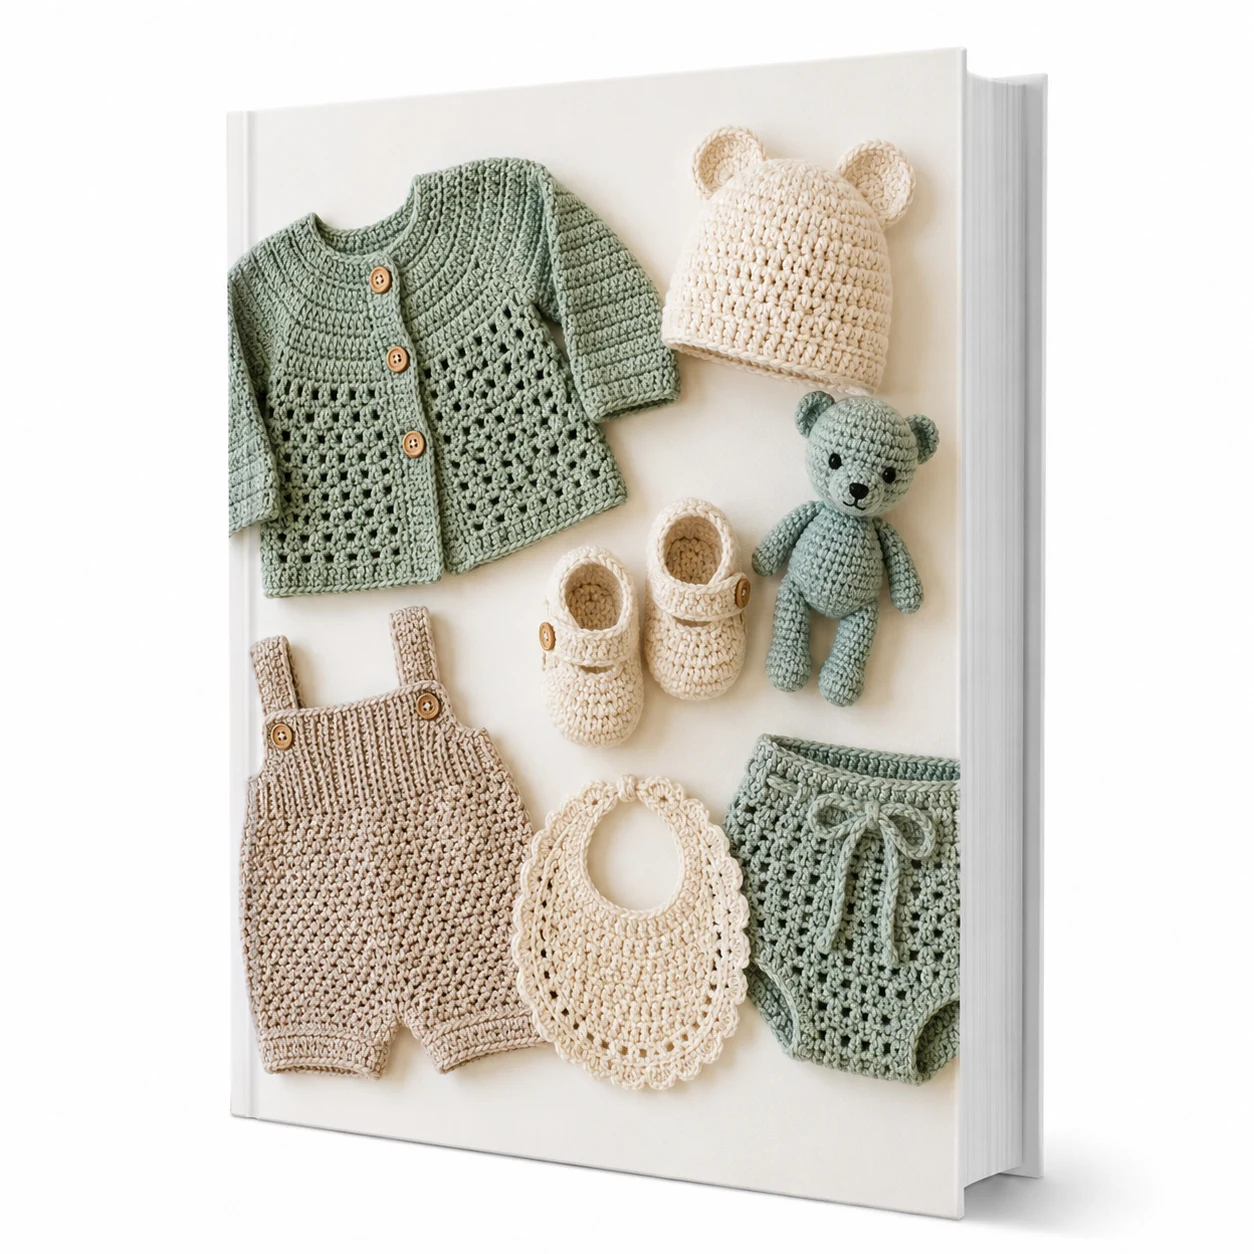
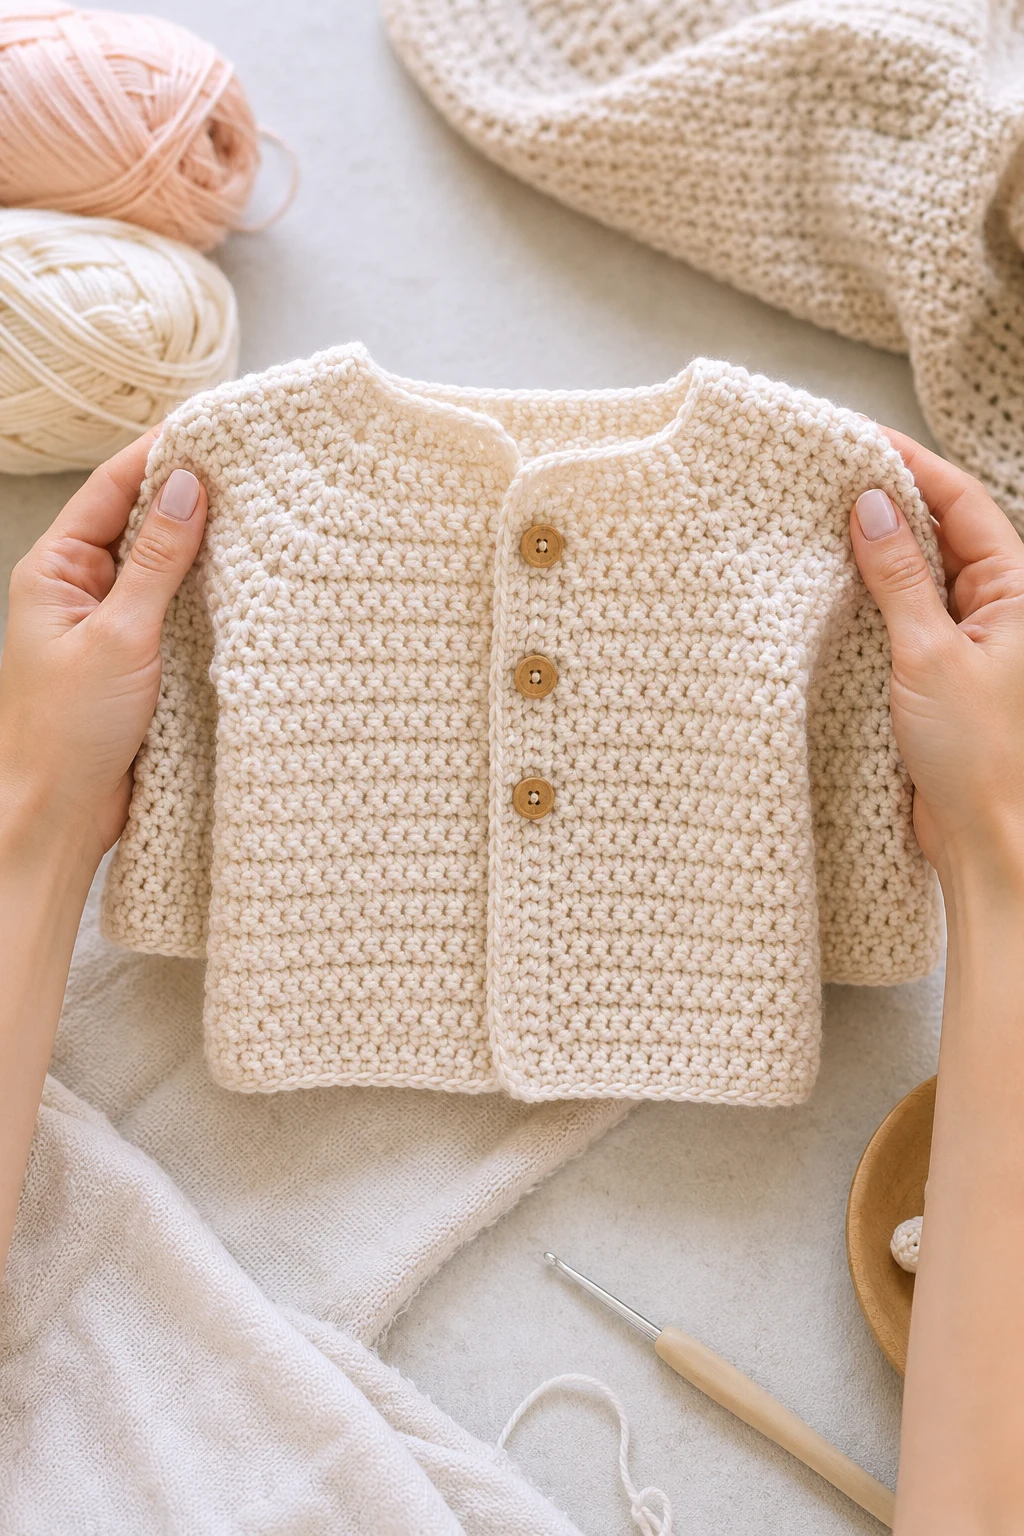
This crochet baby jacket free pattern is one of my favorite little makes when I want something sweet, practical, and genuinely fun to crochet. I designed this jacket with a simple lemon peel stitch, soft DK-weight yarn, and an easy drop-shoulder construction, so there is no complicated shaping to worry about. According to The Spruce Crafts,The finished jacket has a cozy fit, a neat button front, and gently structured sleeves that make it perfect for everyday baby wear. I’m so excited to share this pattern with you for free! Grab your supplies, get comfortable, and let’s make something adorable together.
Materials Needed
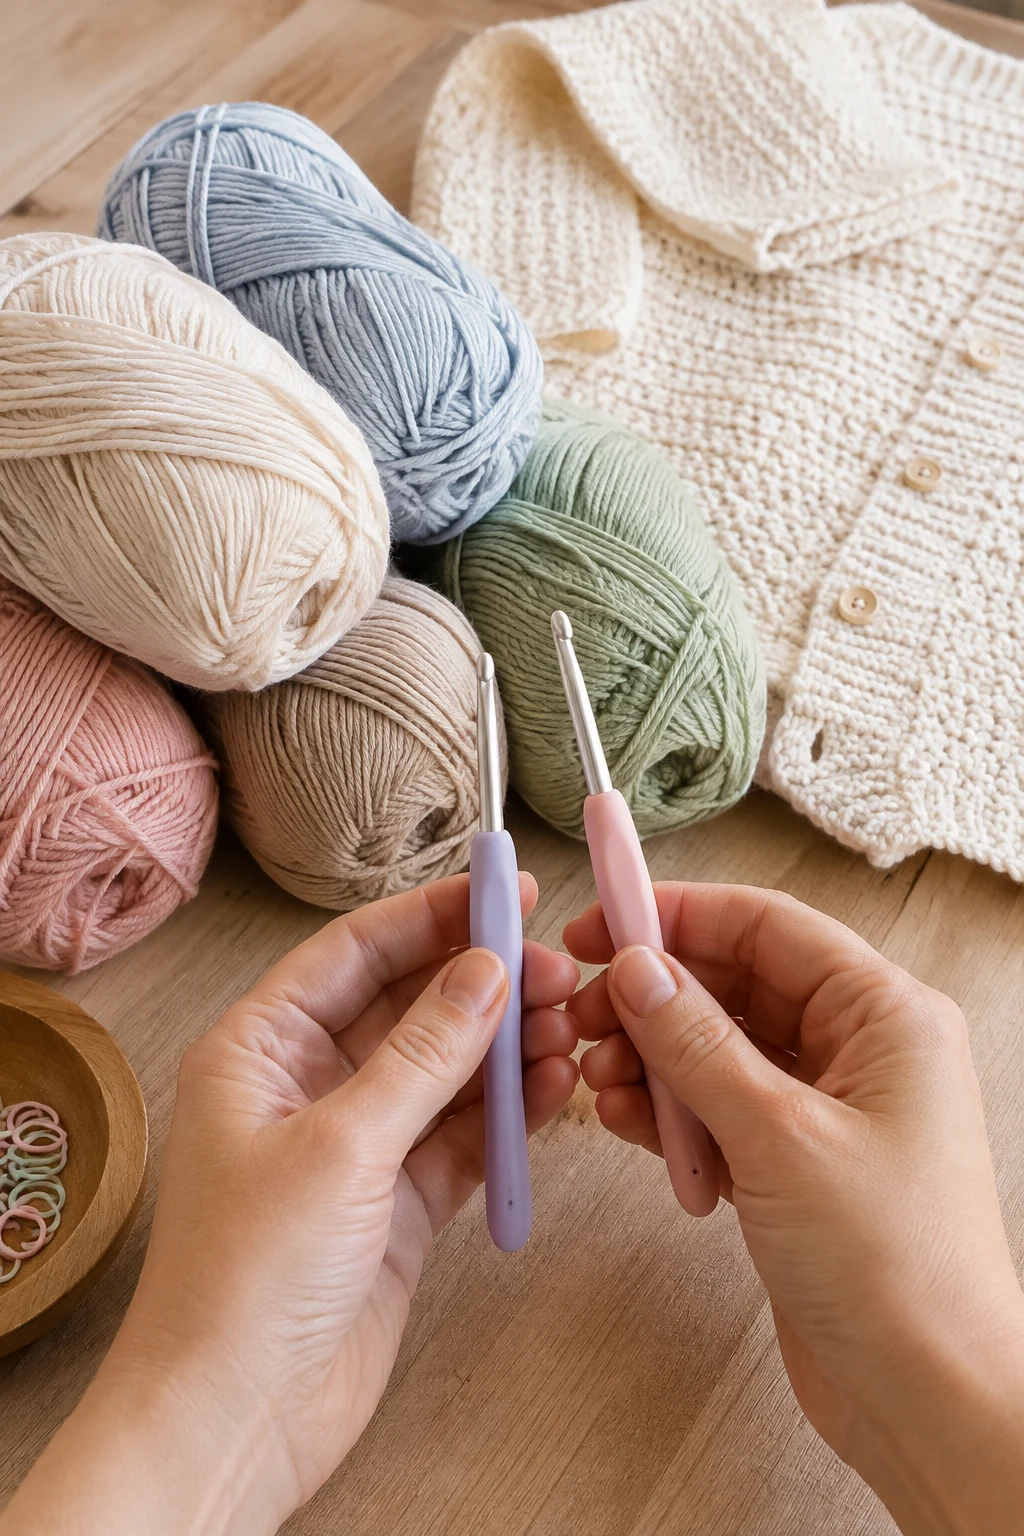
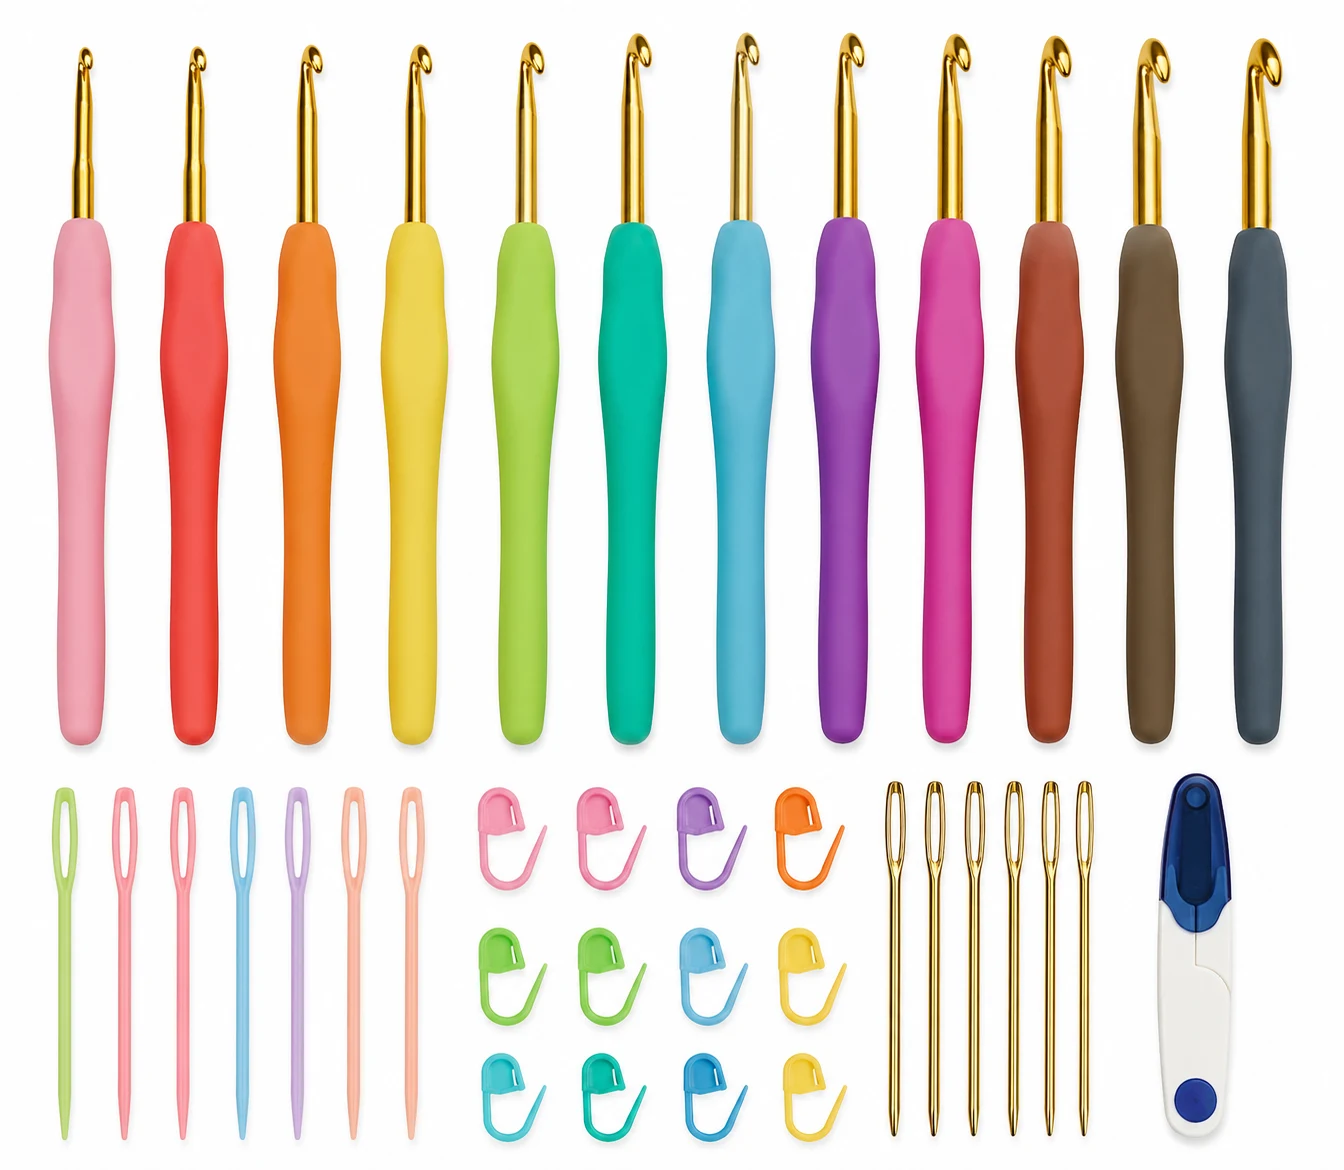
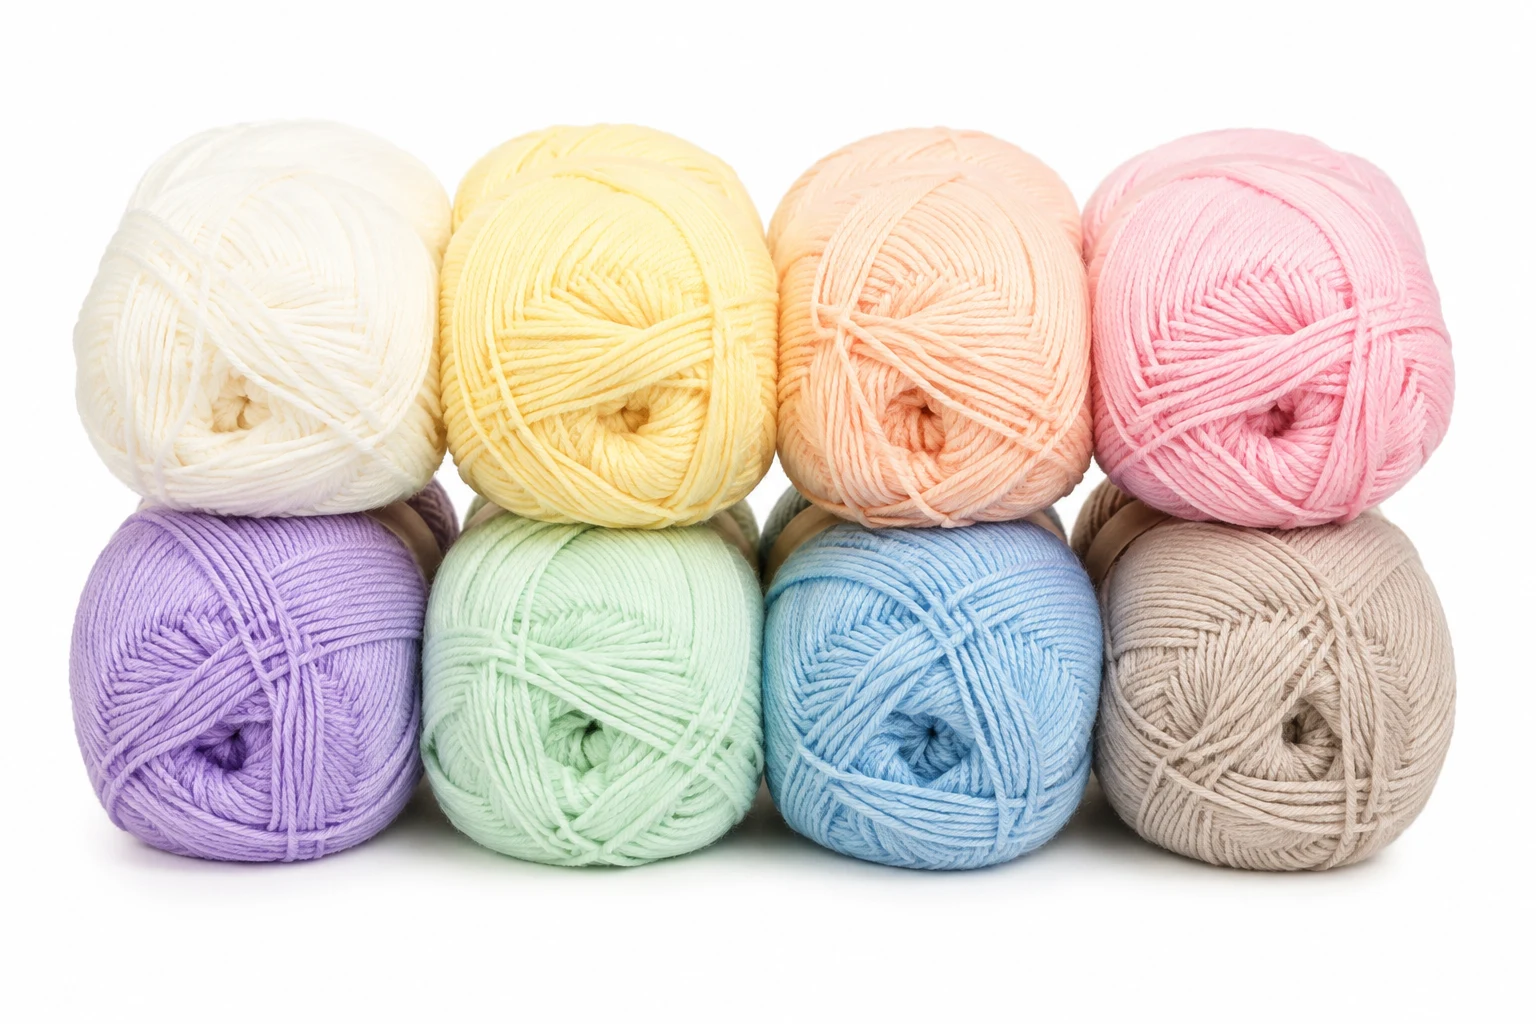
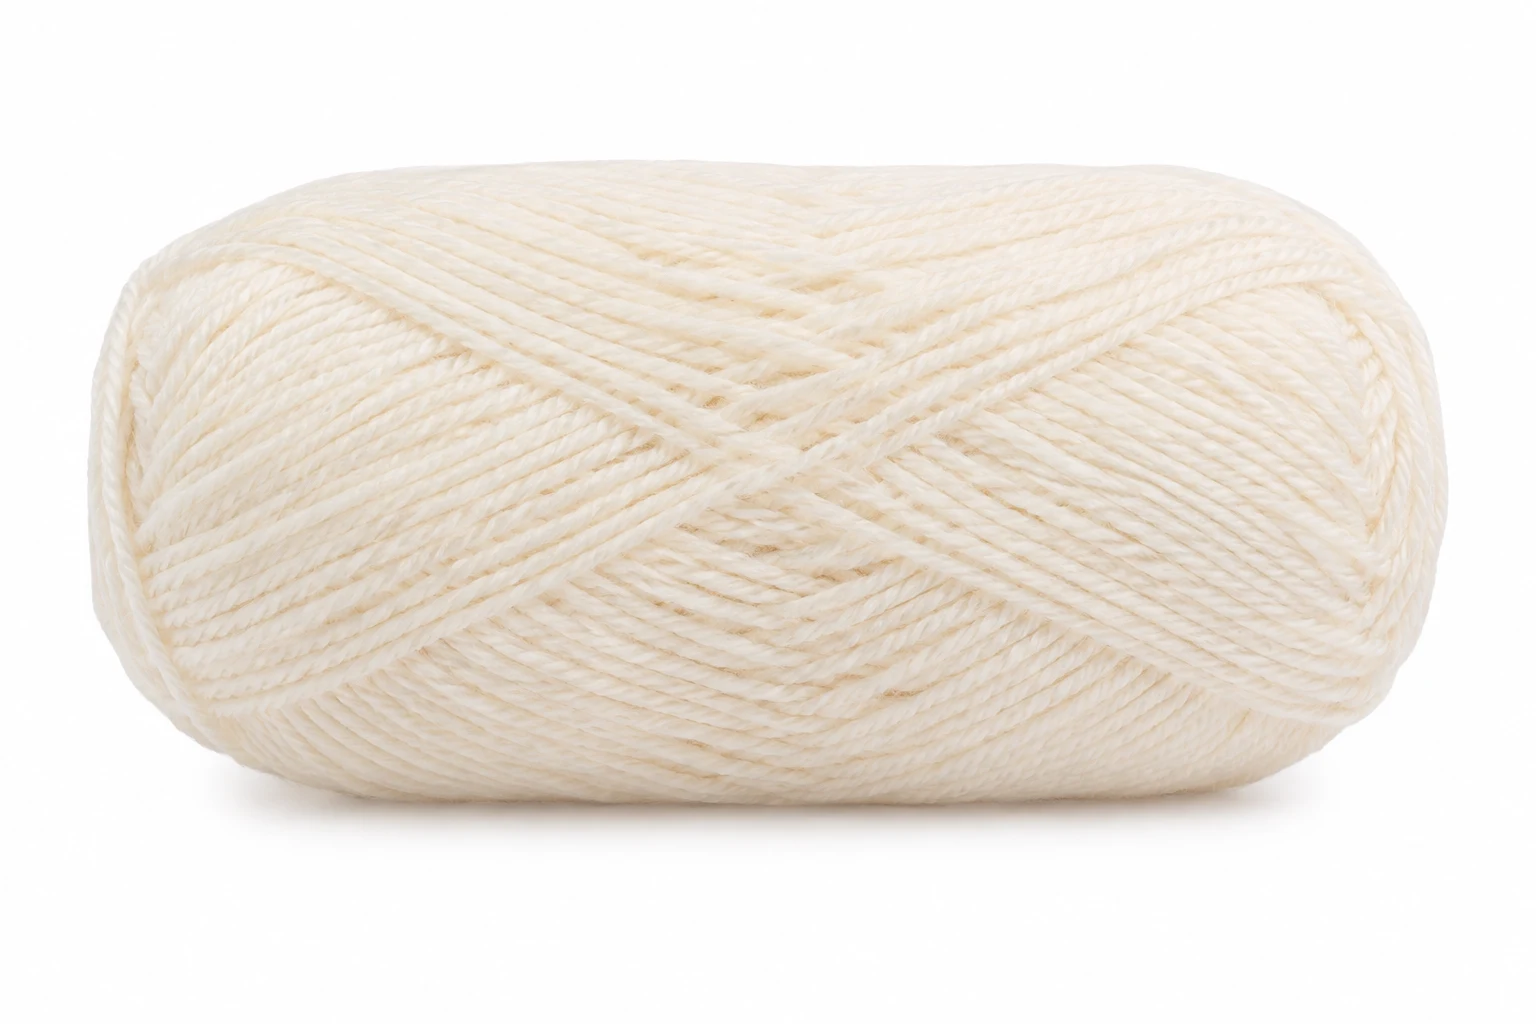
DK/light worsted weight baby yarn: approximately 180 g / 600 yards (550 m) in a soft pastel shade such as cream, dusty blue, blush pink, sage, or oatmeal
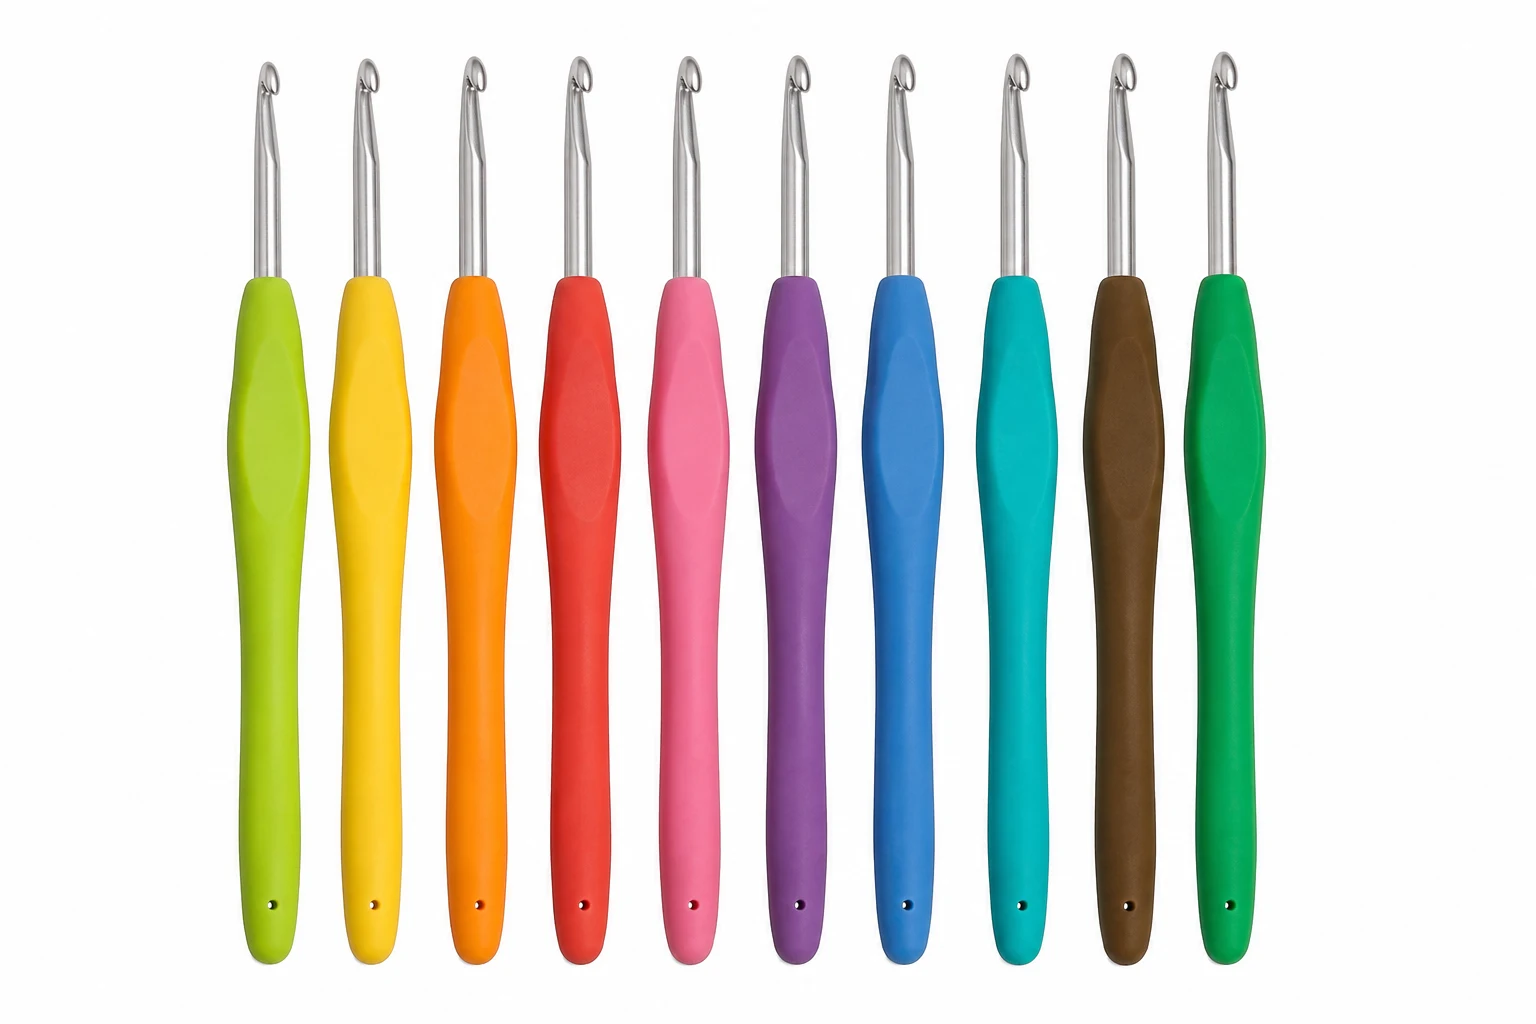
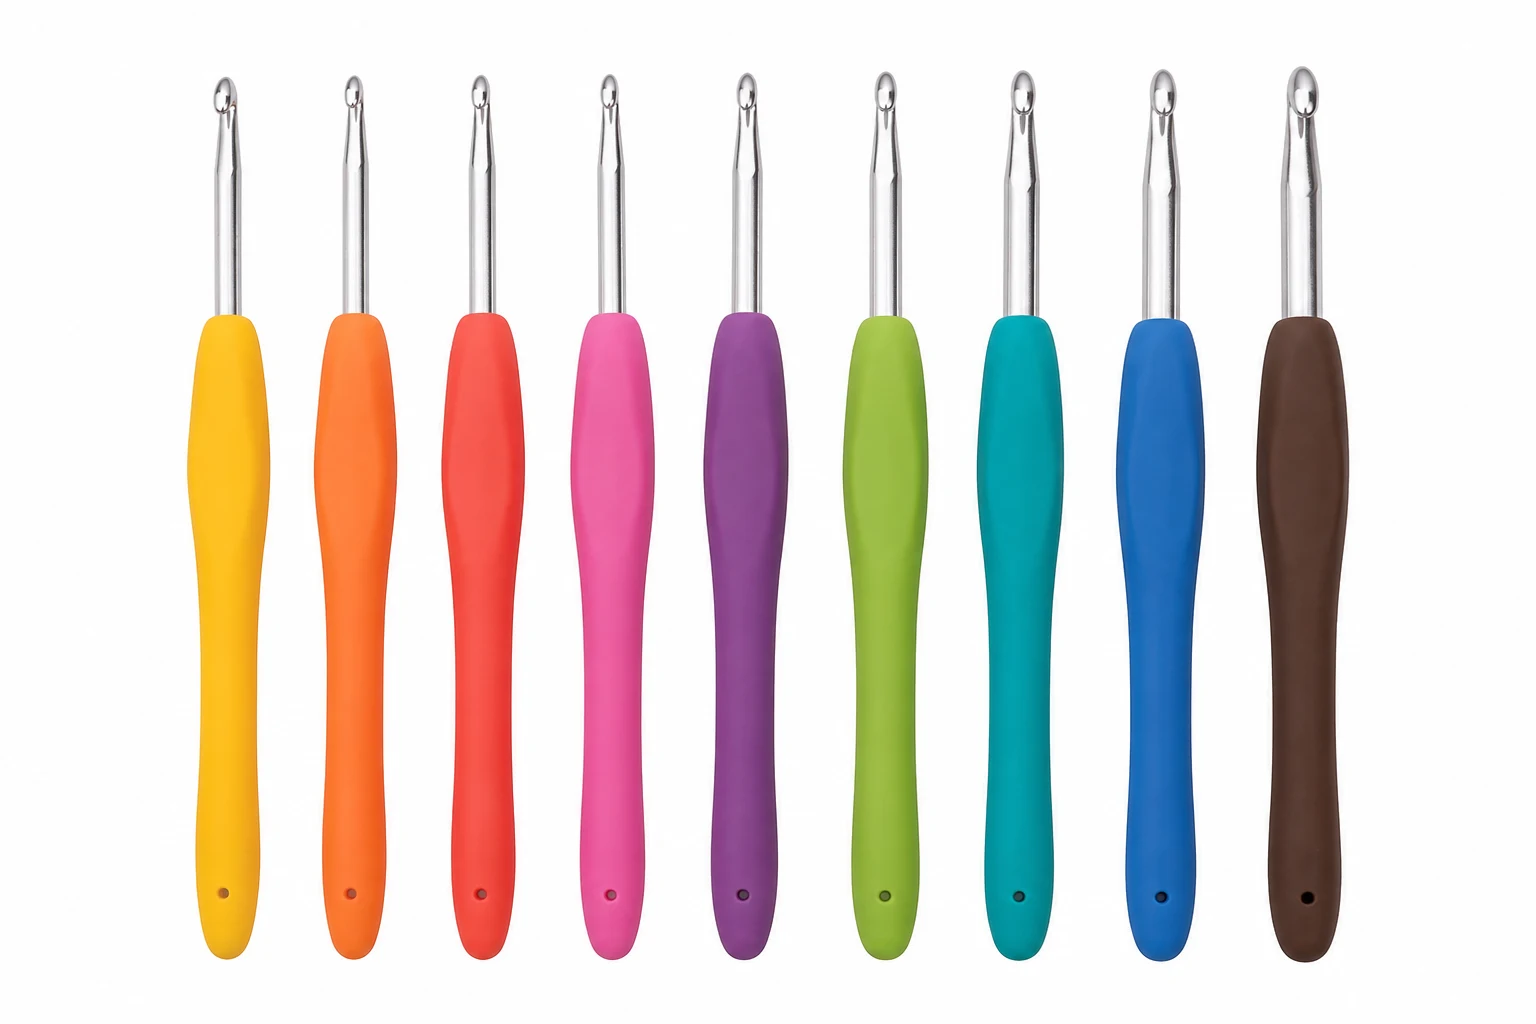
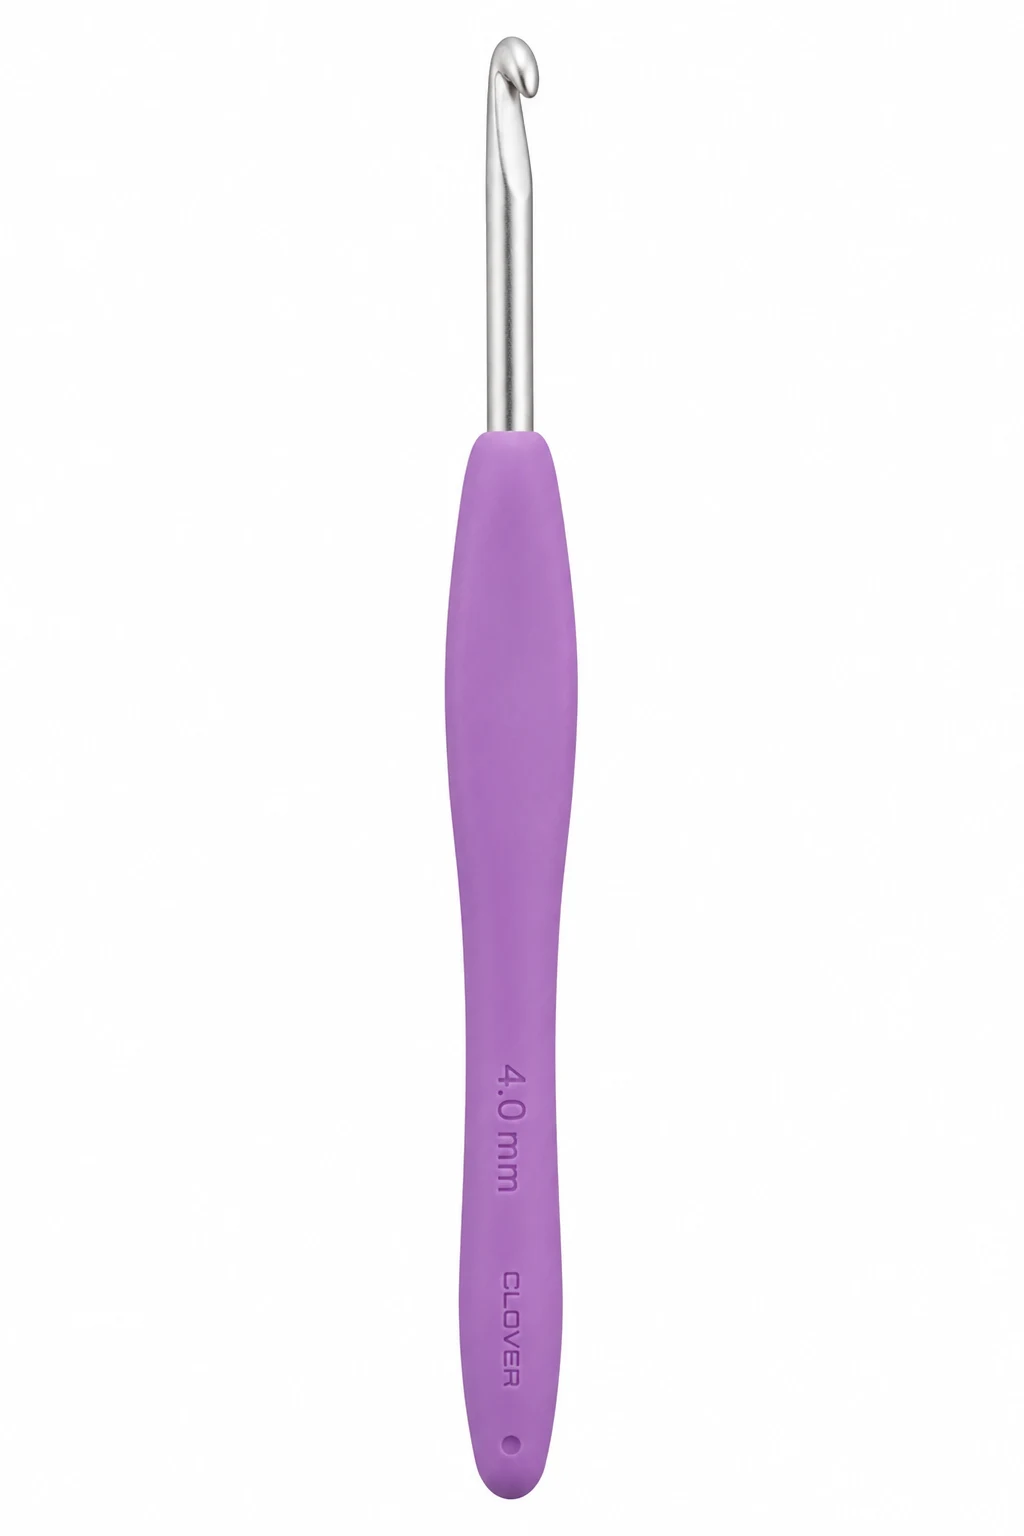
4.0 mm crochet hook
4.0 mm or 4.5 mm crochet hook for a slightly looser button band, if preferred
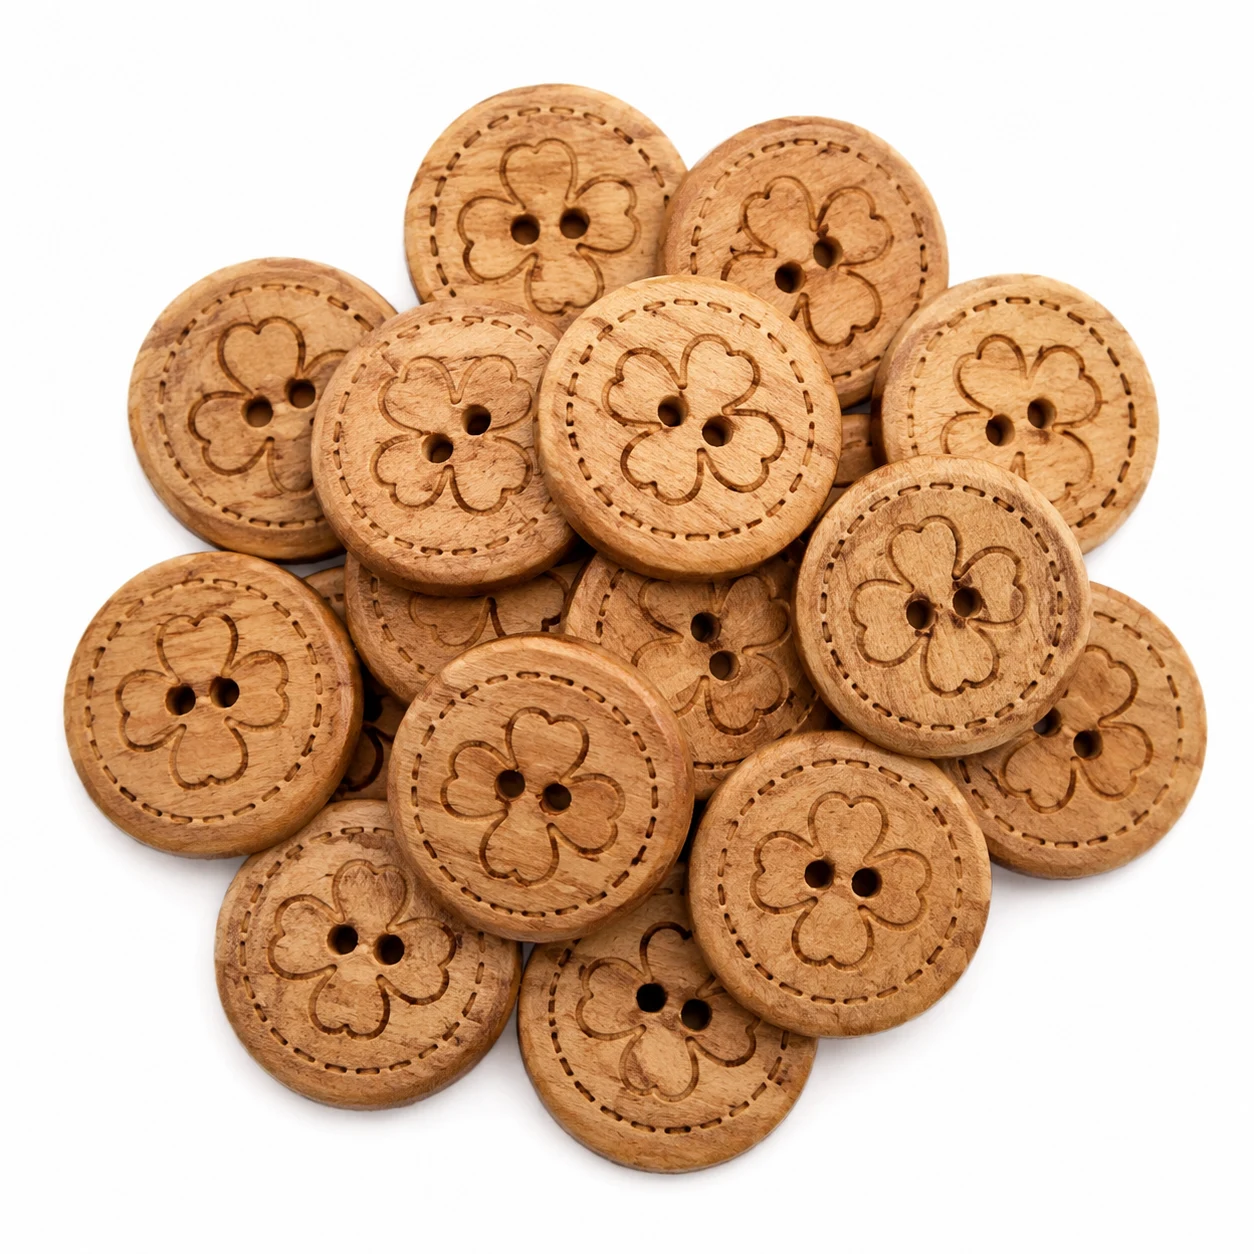
3 small baby-safe buttons, approximately 15 mm (5/8 inch) diameter
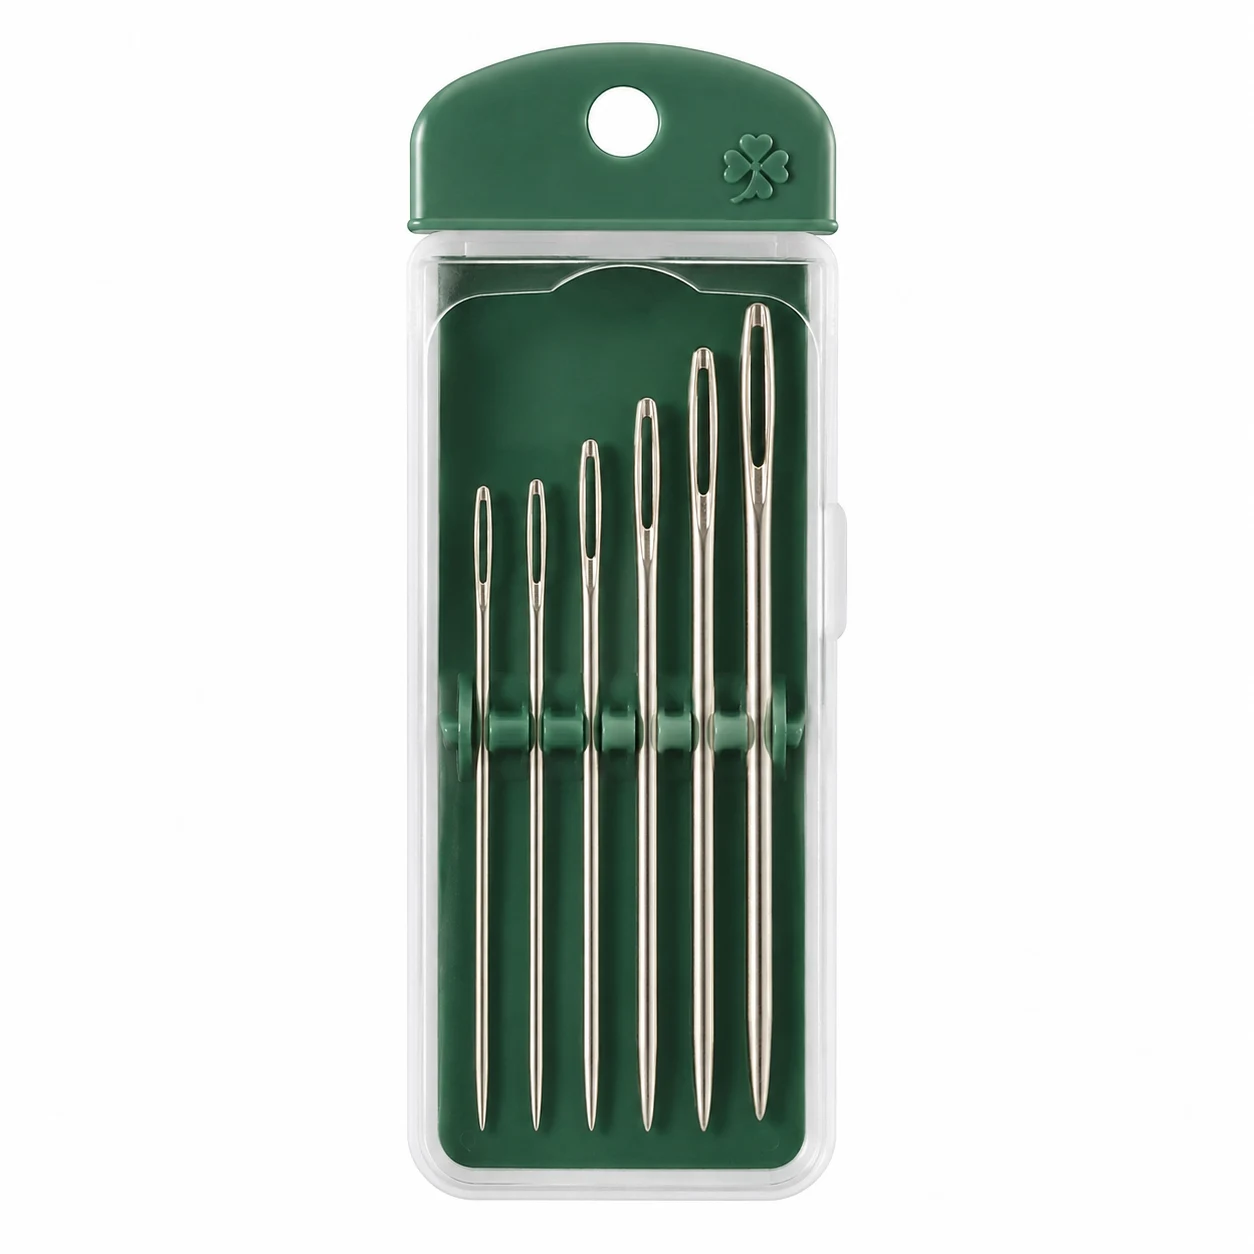
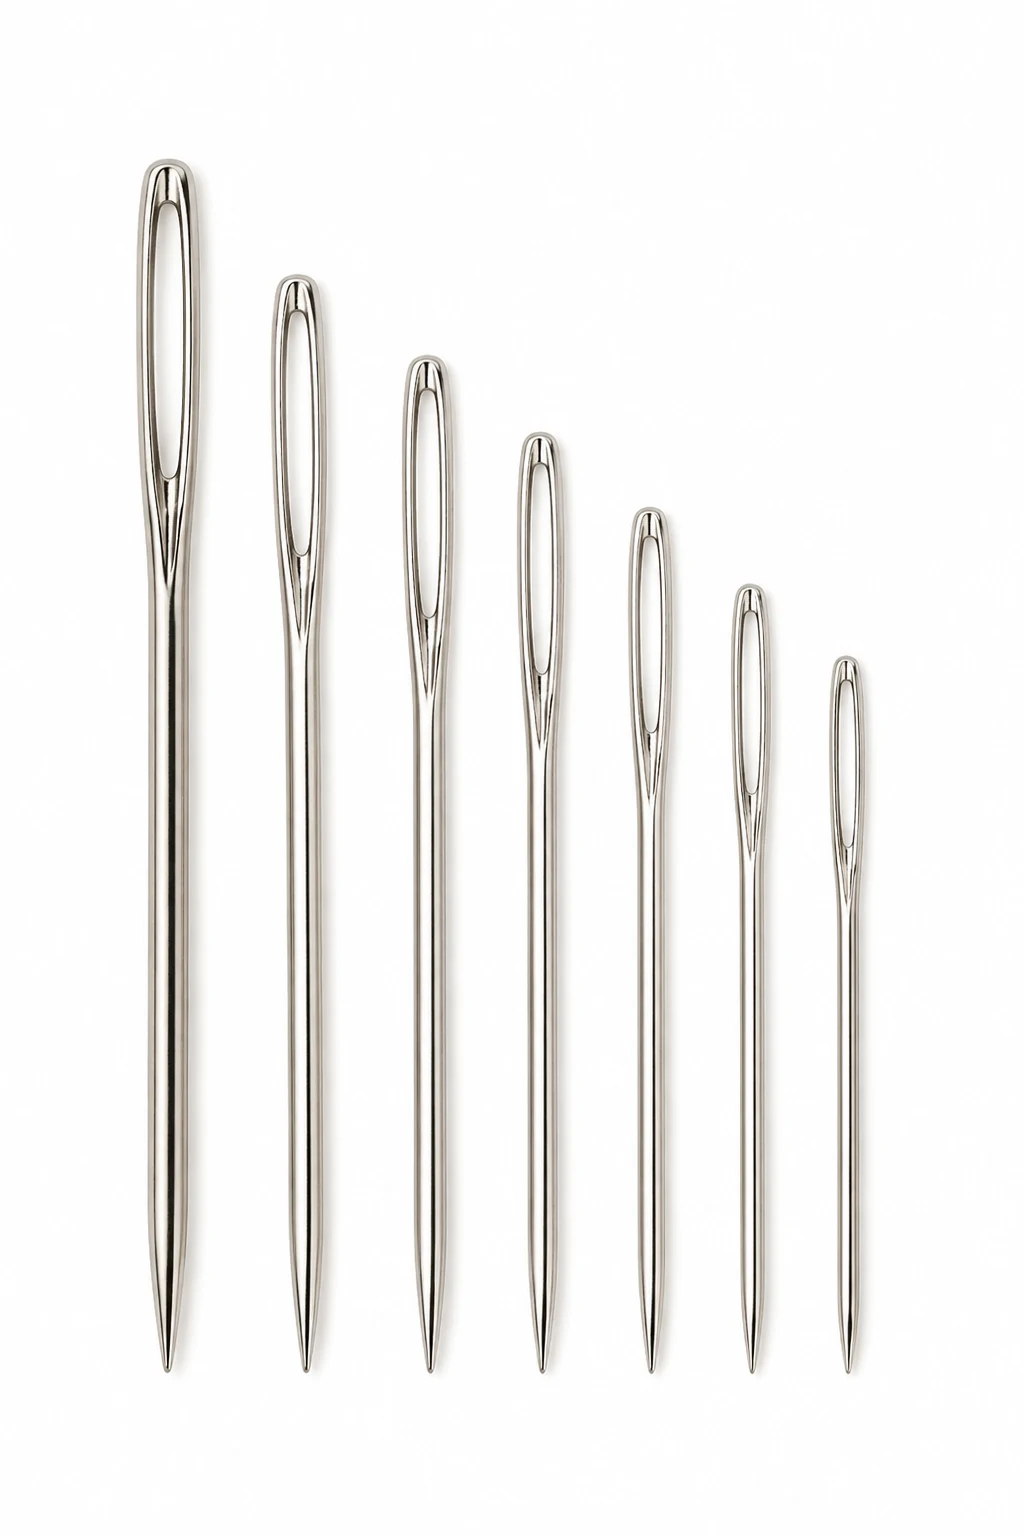
Yarn needle with a blunt tip
Stitch markers, 4 optional
Small scissors
Measuring tape
Blocking mat and rust-resistant pins, optional but recommended
A small amount of matching sewing thread for securing buttons
Finished Size
This pattern makes approximately a 6–12 month baby jacket.
Finished measurements:
Chest circumference: approximately 56 cm / 22 in
Body length from shoulder to hem: approximately 27 cm / 10½ in
Sleeve length from shoulder: approximately 23 cm / 9 in
Sleeve circumference: approximately 20 cm / 8 in
The jacket is designed with a little wearing ease. If your baby is between sizes, I recommend choosing the larger size or adjusting the body length.
Gauge
Work 18 stitches × 20 rows in lemon peel stitch = 10 × 10 cm (4 × 4 in) after light blocking.
Pro tip: Always make a gauge swatch before starting. Baby garments are much easier to adjust before you’ve crocheted the entire jacket!
Abbreviations / Terms Used
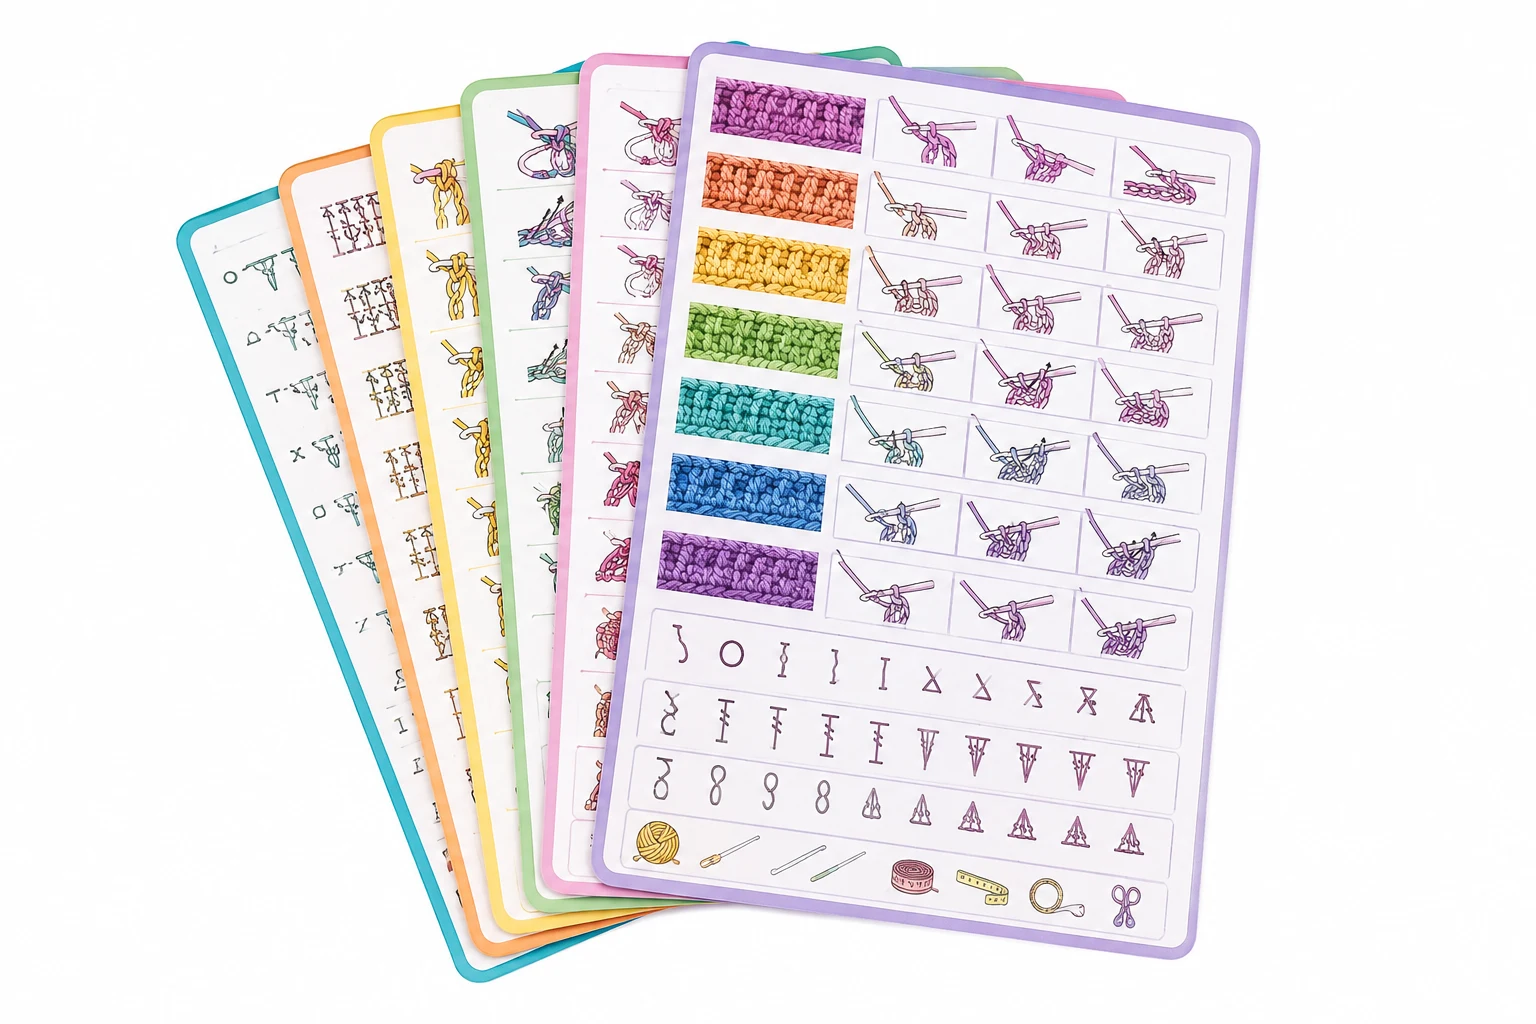
ch — chain
sc — single crochet
dc — double crochet
sl st — slip stitch
st / sts — stitch / stitches
sk — skip
RS — right side of the work
WS — wrong side of the work
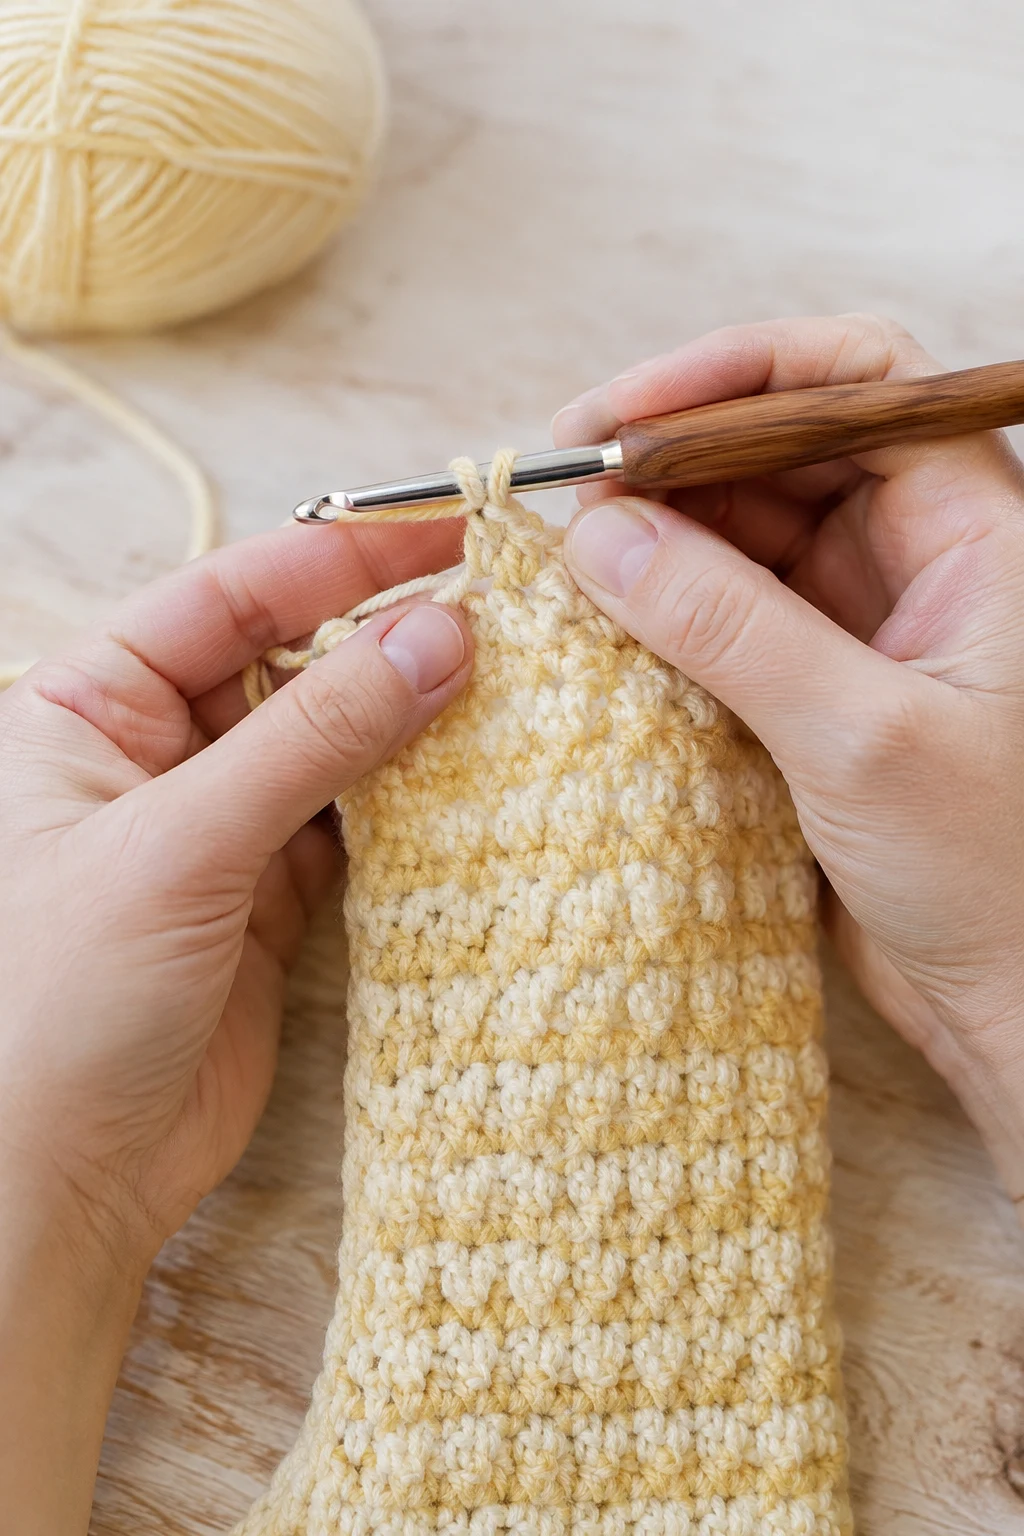
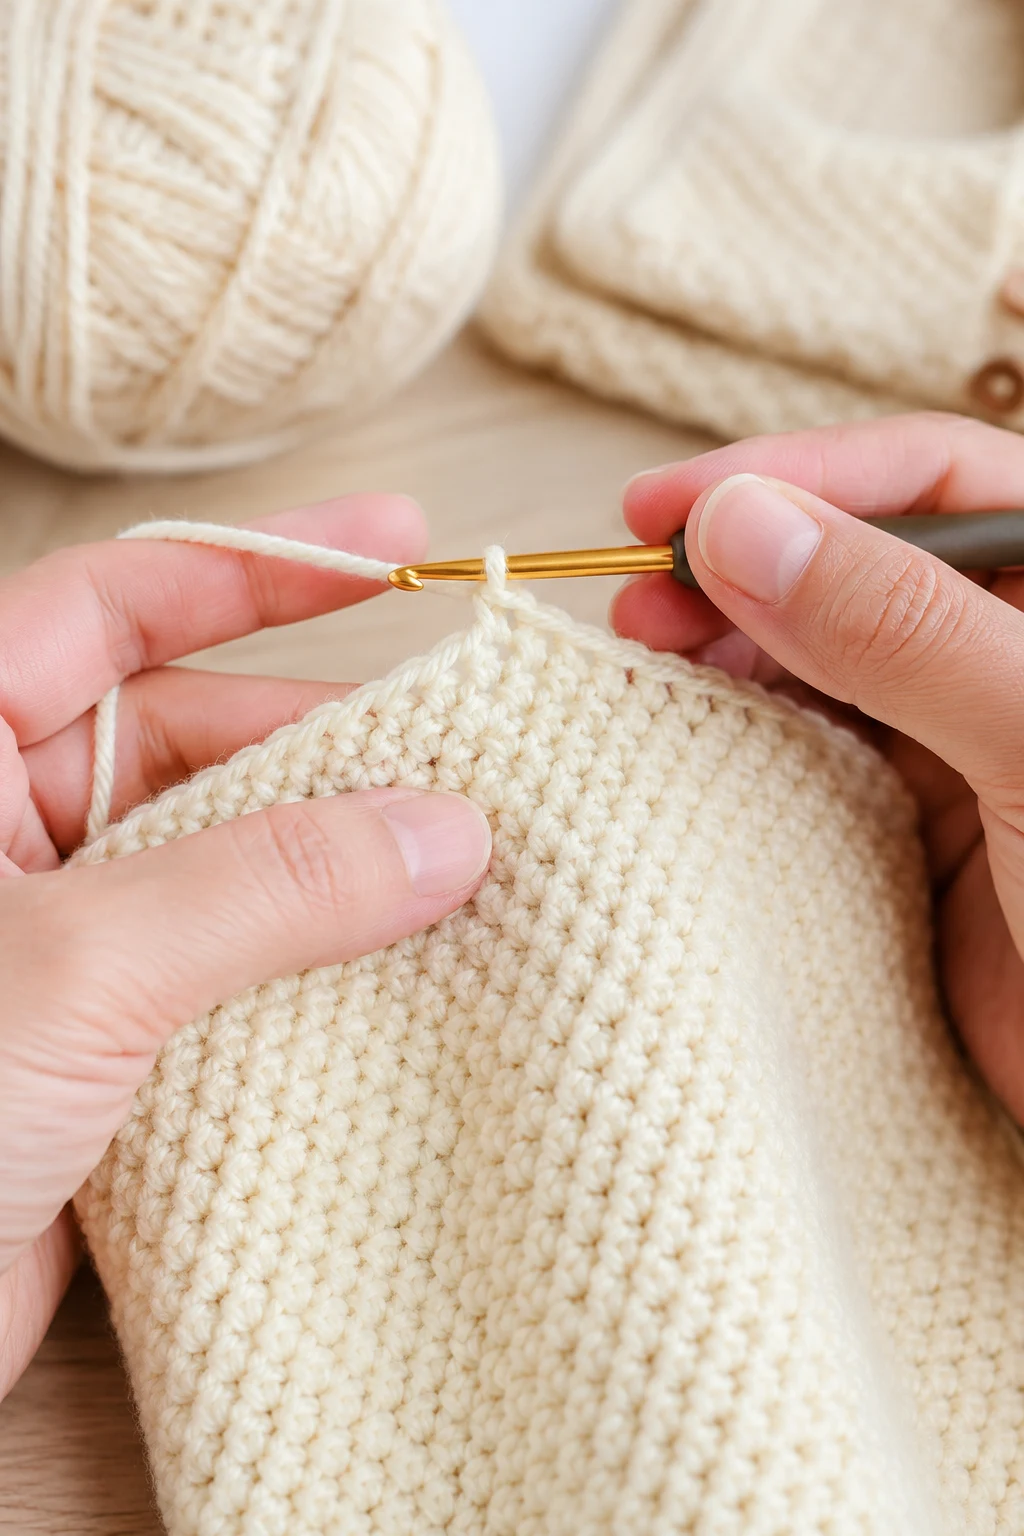
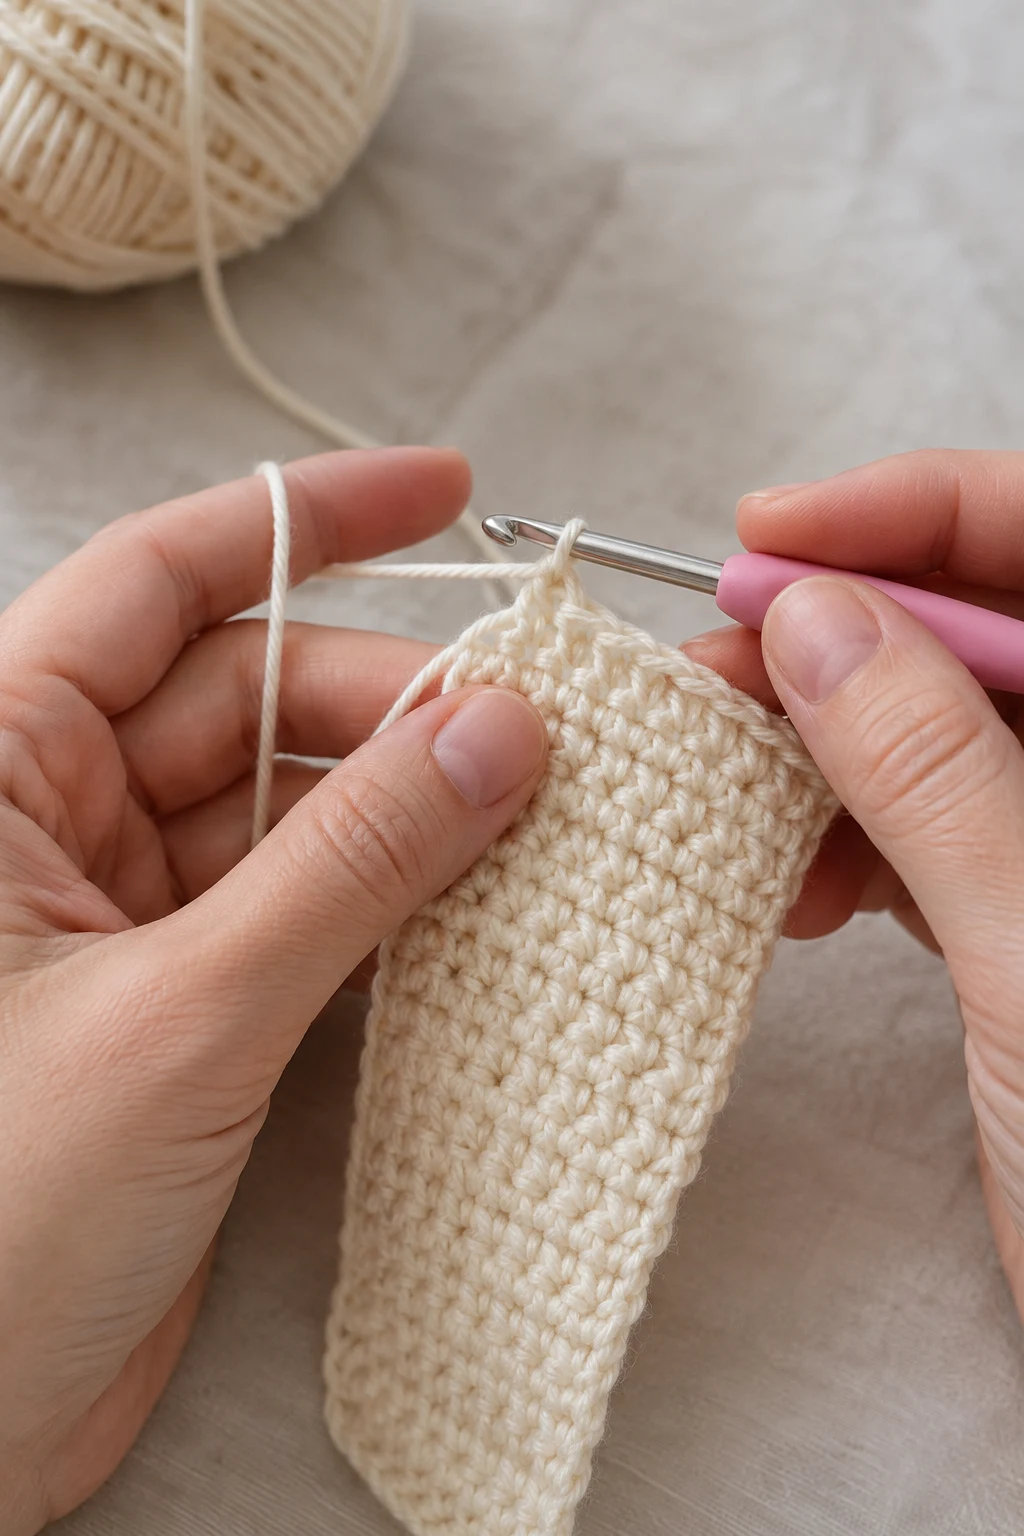
Lemon peel stitch — alternating single crochet and double crochet stitches; on the following row, work a single crochet into each double crochet and a double crochet into each single crochet
Turning chain — chain made at the beginning of a row to bring the yarn to the correct working height
BLO — back loop only
Working edge — the edge currently being crocheted
Step-by-Step Instructions
1. Crochet the Back Panel
This rectangle forms the entire back of the baby jacket and establishes the finished body width and length.
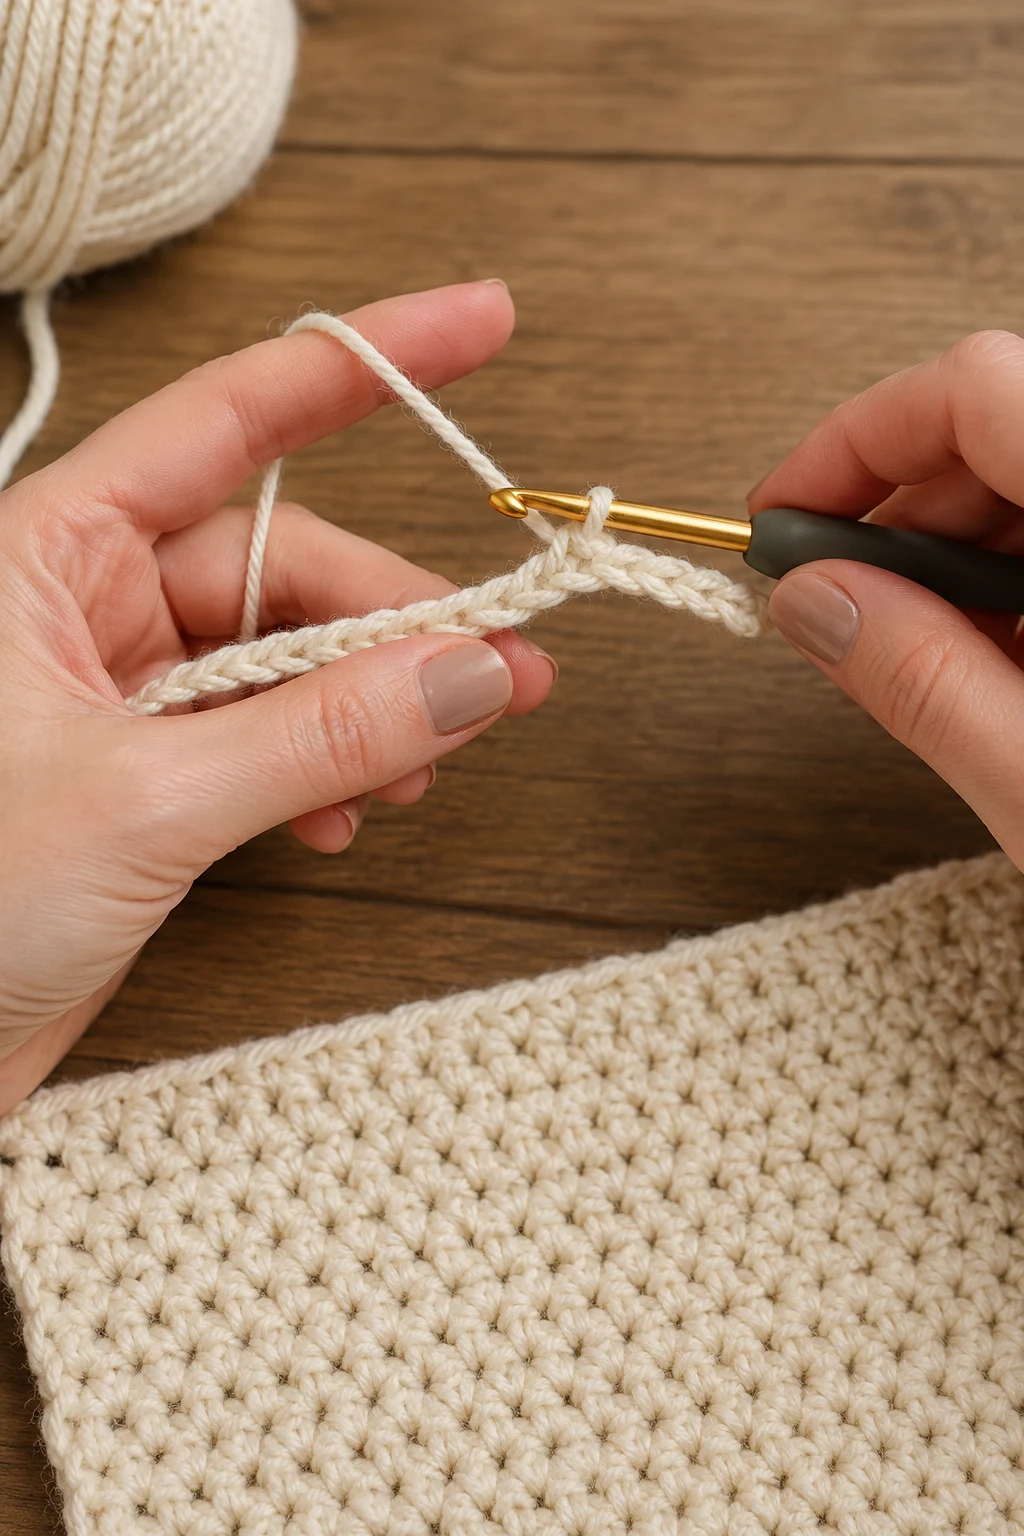
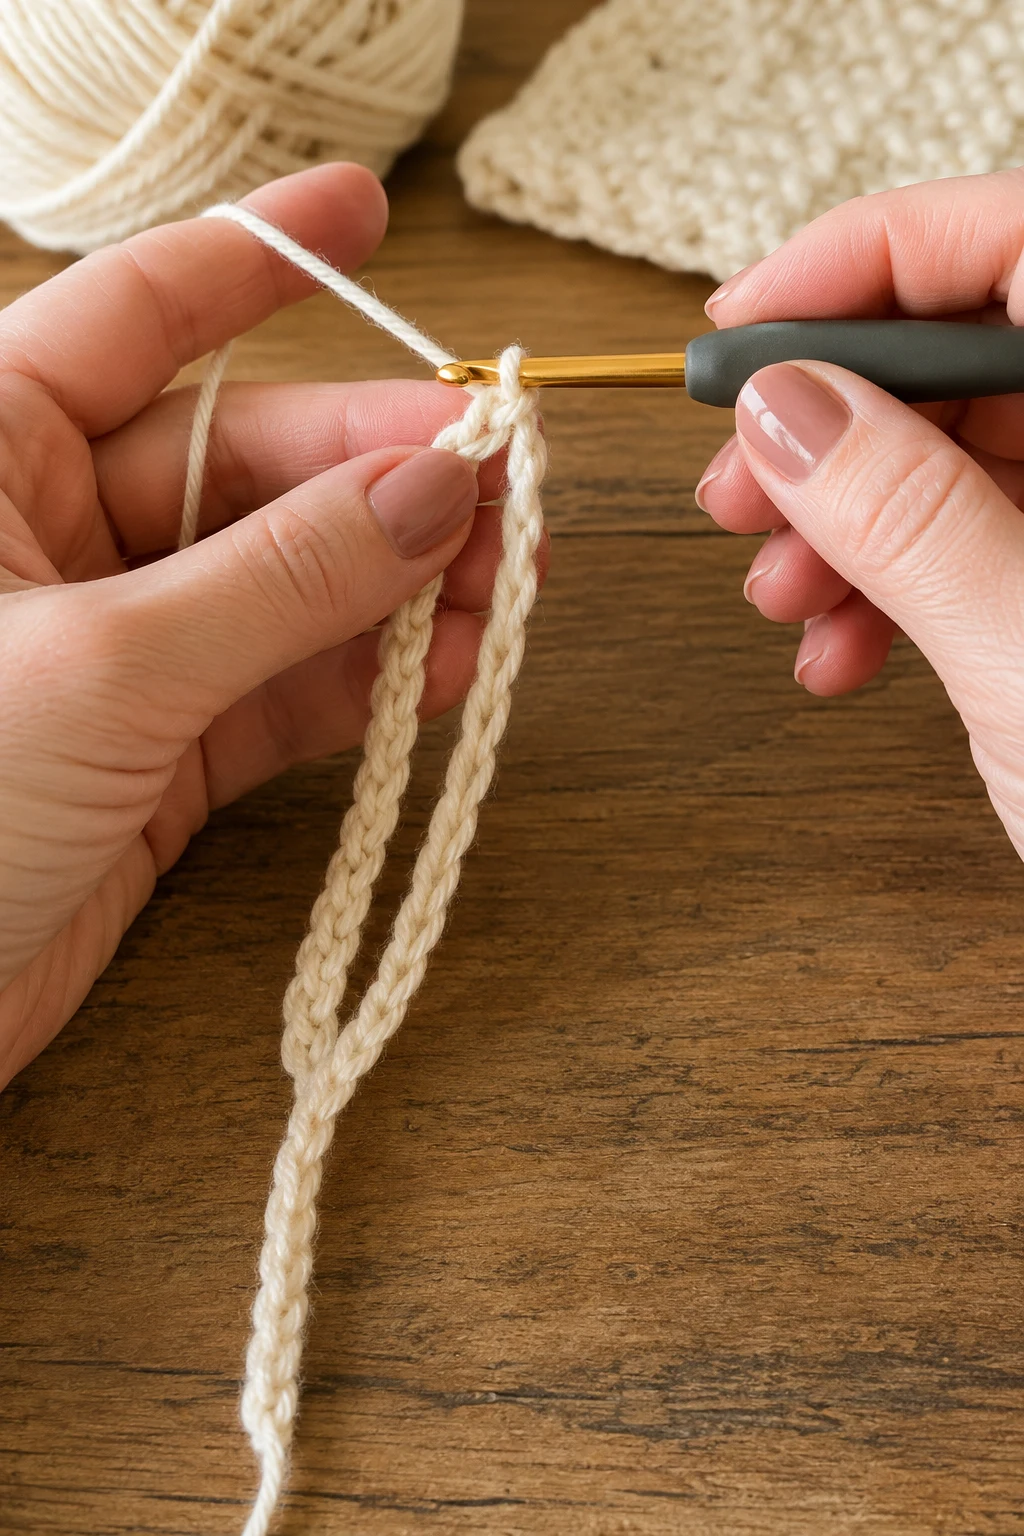
Make a slip knot and ch 52.
Row 1: Starting in the 2nd ch from the hook, work 1 sc in the next stitch, 1 dc in the next stitch. Repeat across the row, ending with a sc. [51 sts]
Row 2: Ch 1 and turn. Work 1 sc in the first dc, 1 dc in the next sc, then continue the lemon peel pattern across. [51 sts]
Repeat Row 2 until you have completed 54 rows total.
Your back panel should measure approximately 28 cm / 11 in wide × 27 cm / 10½ in long.
Fasten off, leaving a 15 cm / 6 in tail for weaving in later.
Gently block the rectangle to the finished measurements.
Pro tip: Count your stitches every few rows. Keeping all 51 stitches across every row will give you a beautifully straight jacket.
2. Crochet the Two Front Panels
These two matching panels create the open front of the jacket and leave enough room for the button closure.
For the left front, make a slip knot and ch 27.
Row 1: Starting in the 2nd ch from the hook, work the lemon peel pattern across. [26 sts]
Row 2: Ch 1, turn, and continue the lemon peel stitch pattern. [26 sts]
Repeat Row 2 until you have completed 54 rows.
Fasten off and leave a 15 cm / 6 in yarn tail.
For the right front, repeat Steps 1–5 exactly.
Place the two front panels beside the back panel and check that the lengths match.
Block both panels to approximately 14 cm / 5½ in wide × 27 cm / 10½ in long.
Pro tip: Lay your pieces flat as you go. A quick visual check can catch uneven edges before assembly.
3. Crochet the Sleeves
These simple rectangular sleeves are intentionally easy to construct while still giving the jacket a comfortable baby-friendly shape.
Make a slip knot and ch 30.
Row 1: Starting in the 2nd ch from the hook, work the lemon peel stitch across. [29 sts]
Rows 2–8: Ch 1, turn, and continue in lemon peel stitch. [29 sts]
Row 9: Ch 1, turn. Work 2 sc in the first stitch, continue in lemon peel stitch until the final stitch, then work 2 sc in the final stitch. [31 sts]
Rows 10–18: Continue in lemon peel stitch across all 31 stitches.
Row 19: Increase at both ends again by working 2 sc in the first stitch, continuing across, and working 2 sc in the final stitch. [33 sts]
Rows 20–46: Continue in lemon peel stitch without increasing. [33 sts]
Fasten off, leaving a 20 cm / 8 in tail for sewing.
Repeat Steps 1–8 to make the second sleeve.
Each sleeve should measure approximately 23 cm / 9 in long and 18–20 cm / 7–8 in wide, depending on your gauge.
Pro tip: The sleeve is worked flat and folded in half, so don’t worry if it looks wider than you expected before assembly.
4. Assemble the Shoulders and Sides
This part turns the individual crochet rectangles into the recognizable shape of a baby jacket.
Place the back panel flat with the RS facing you.
Place the left front panel on top of the back, aligning the outer edges and shoulders.
Place the right front panel on the opposite side.
Using a yarn needle and matching yarn, sew the first 9 cm / 3½ in of each shoulder together.
Leave the center opening between the two front panels completely open.
Repeat on the opposite shoulder.
Lay the jacket flat with the WS facing outward.
Starting at the lower hem, sew each side seam upward for approximately 17 cm / 6¾ in.
Leave approximately 10 cm / 4 in open at the top of each side for the sleeve opening.
Repeat on the opposite side.
Turn the jacket RS out and gently smooth the seams.
Pro tip: Use stitch markers to hold the pieces together before sewing. It makes matching the edges much easier.
5. Attach and Sew the Sleeves
This step connects the sleeve rectangles to the arm openings and completes the basic jacket shape.
Fold one sleeve in half lengthwise with the WS facing outward.
Align the long edges.
Using the yarn needle, sew the long sleeve seam from the cuff toward the underarm.
Leave the final 2 cm / ¾ in at the underarm flexible enough to match the body opening.
Turn the sleeve RS out.
Insert the sleeve into the jacket body through the arm opening.
Match the sleeve seam with the jacket’s side seam.
Pin or mark the sleeve evenly around the arm opening.
Using matching yarn, sew the sleeve edge securely to the body.
Work slowly around the entire opening, making sure there are no large gaps.
Repeat the same process for the second sleeve.
Turn the jacket right side out and check that both sleeves hang evenly.
Pro tip: Try the jacket on a baby’s sweater or a similar-sized garment before permanently sewing the sleeves if you’re unsure about the fit.
6. Crochet the Front and Neck Edging
A simple single-crochet border gives the jacket a clean finished edge and creates a sturdy base for the buttons.
Attach your yarn at the lower front corner of the right front panel.
Round 1: Ch 1 and work evenly spaced sc stitches up the entire front edge.
Continue around the neckline, working approximately 1 sc into each row end where practical.
Continue down the opposite front edge.
Finish around the bottom hem until you reach your starting point.
Join with a sl st to the first sc.
Round 2: Ch 1 and work 1 sc in every sc around.
At each bottom front corner, work 2 sc in the corner stitch to keep the edge flat.
Join with a sl st.
Fasten off and weave in the yarn ends.
Buttonhole Band
Choose the front panel that will sit underneath when the jacket is closed.
Attach yarn near the neckline and work 2 rows of sc down the front edge.
On the second row, create 3 buttonholes at approximately 5 cm / 2 in, 13.5 cm / 5¼ in, and 22 cm / 8¾ in from the bottom hem.
For each buttonhole, work ch 2, sk 2 sts, then continue with sc.
On the following row, work 2 sc into each ch-2 space to close and reinforce the buttonholes.
Fasten off and weave in all ends.
Pro tip: Place the buttons against the finished buttonholes before sewing them on. Baby garments look much neater when the buttons line up perfectly.
7. Add the Buttons and Finish the Jacket
This final step secures the closure and gives your handmade baby jacket its polished finish.
Lay the jacket flat with the RS facing upward.
Close the front panels naturally.
Insert a stitch marker through the center of each buttonhole.
Open the jacket and use these markers to identify the correct button positions.
Sew 3 small baby-safe buttons firmly to the opposite front edge using matching sewing thread or yarn.
Check each button by opening and closing it several times.
Carefully weave in every remaining yarn tail on the WS of the jacket.
Trim excess yarn only after the ends are securely woven in.
Give the entire jacket a gentle final block.
Allow it to dry completely before removing the pins.
Measure the finished jacket one last time. It should be approximately 56 cm / 22 in around the chest, with a 27 cm / 10½ in body length.
Your crochet baby jacket free pattern project is now finished!
Pro tip: For baby clothing, always make sure buttons are sewn extremely securely and inspect them regularly for looseness.
Final Thoughts
And that’s it—your little baby jacket is finished! I absolutely love how the simple lemon peel texture gives this design a handmade, boutique feel without making the pattern difficult to follow. If you’re learning how to crochet a baby jacket, this is a lovely project to practice consistent tension, simple construction, and garment assembly. You can keep the color soft and classic or make it in a cheerful shade to match your favorite baby outfits. I hope you had as much fun making it as I did designing it. If you make one, I’d love to see it—share your finished jacket and tag the blog so I can admire your beautiful work!
FAQ
What size is this crochet baby jacket free pattern?
This pattern makes approximately a 6–12 month size, with a finished chest circumference of about 56 cm / 22 in.
How do I crochet a baby jacket for a different size?
Adjust the starting chains and total rows while maintaining your stitch gauge. For the best fit, measure a baby’s existing jacket and use those measurements as your guide.
Why use lemon peel stitch for a crochet baby jacket?
Lemon peel stitch creates a soft, textured fabric using alternating sc and dc stitches while remaining simple enough for beginners. It also gives this jacket a polished texture without complicated stitchwork.
If you’d like, I can also turn this exact pattern into a Pinterest-optimized blog package with an SEO title, meta description, pin title, pin description, and image-generation prompt.
Cette conversation vous aide-t-elle jusqu’ici ?
📚 You Might Also Like
- Crochet Baby Jacket: 7 Adorable DIY Ideas You’ll Want
Crochet baby jacket designs are handmade outerwear projects created with yarn and a crochet hook, of…
- Crochet Applique Patterns Free Sheep: 7 Adorable DIY Ideas You’ll Want to Make Today
Crochet applique patterns free sheep are simple decorative crochet motifs that let you create charmi…
- Crochet Applique Patterns Free Butterfly Are Charming Crochet Motifs for Decorating Handmade Projects
Crochet applique patterns free butterfly designs are charming crochet motifs that add colorful, ligh…
- Crochet applique patterns free boy: 15 Beautiful DIY Ideas
Crochet applique patterns free boy are proof that tiny crochet projects can make a huge impact. Whet…
- Crochet Applique Patterns Free Football
Crochet applique patterns free football are small crocheted football-shaped embellishments that you…
🛍️ Shop the Look — crochet baby jacket free pattern
Our handpicked Amazon picks curated specifically for crochet baby jacket free pattern:
As an Amazon Associate I earn from qualifying purchases.