
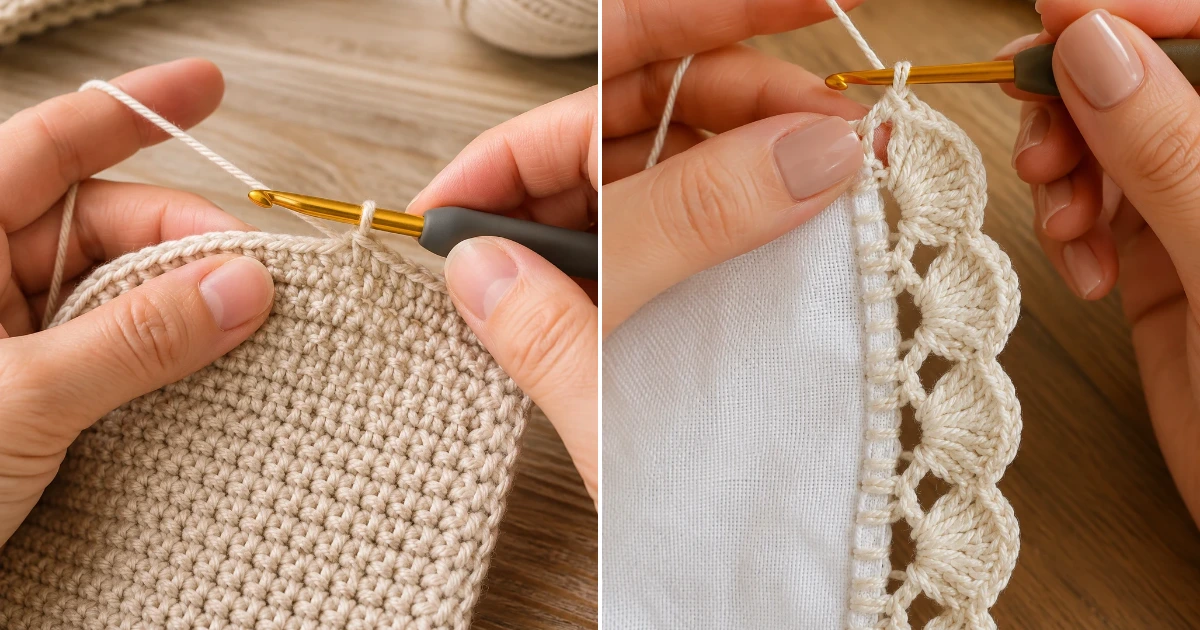
crochet edging patterns are one of my favorite ways to give a simple project a beautiful handmade finish, and I’m so excited to share one of my go-to border designs with you today! This beginner-friendly shell edging adds soft texture and a delicate decorative touch to blankets, dishcloths, towels, scarves, baby blankets, and more. I use this pattern all the time because it’s easy to memorize, works up quickly, and instantly makes any project look polished. According to The Spruce Crafts,Grab your supplies and let’s dive in while we create one gorgeous edging you’ll want to use again and again!
- Worsted weight cotton yarn, approximately 50 g (1.75 oz), in cream or your favorite color
- 4.5 mm (US 7) crochet hook
- Sharp yarn scissors
- Yarn needle (large-eye tapestry needle)
- Stitch markers (2–4 optional, for marking corners)
- Finished crochet project with a clean edge (sample shown: 10 x 10 inch square)
- Flexible measuring tape
- ch – chain
- sl st – slip stitch
- sc – single crochet
- dc – double crochet
- st – stitch
- sp – space
- rep – repeat
- RS – right side
- WS – wrong side
- sk – skip
- shell – five double crochet stitches worked into the same stitch or space
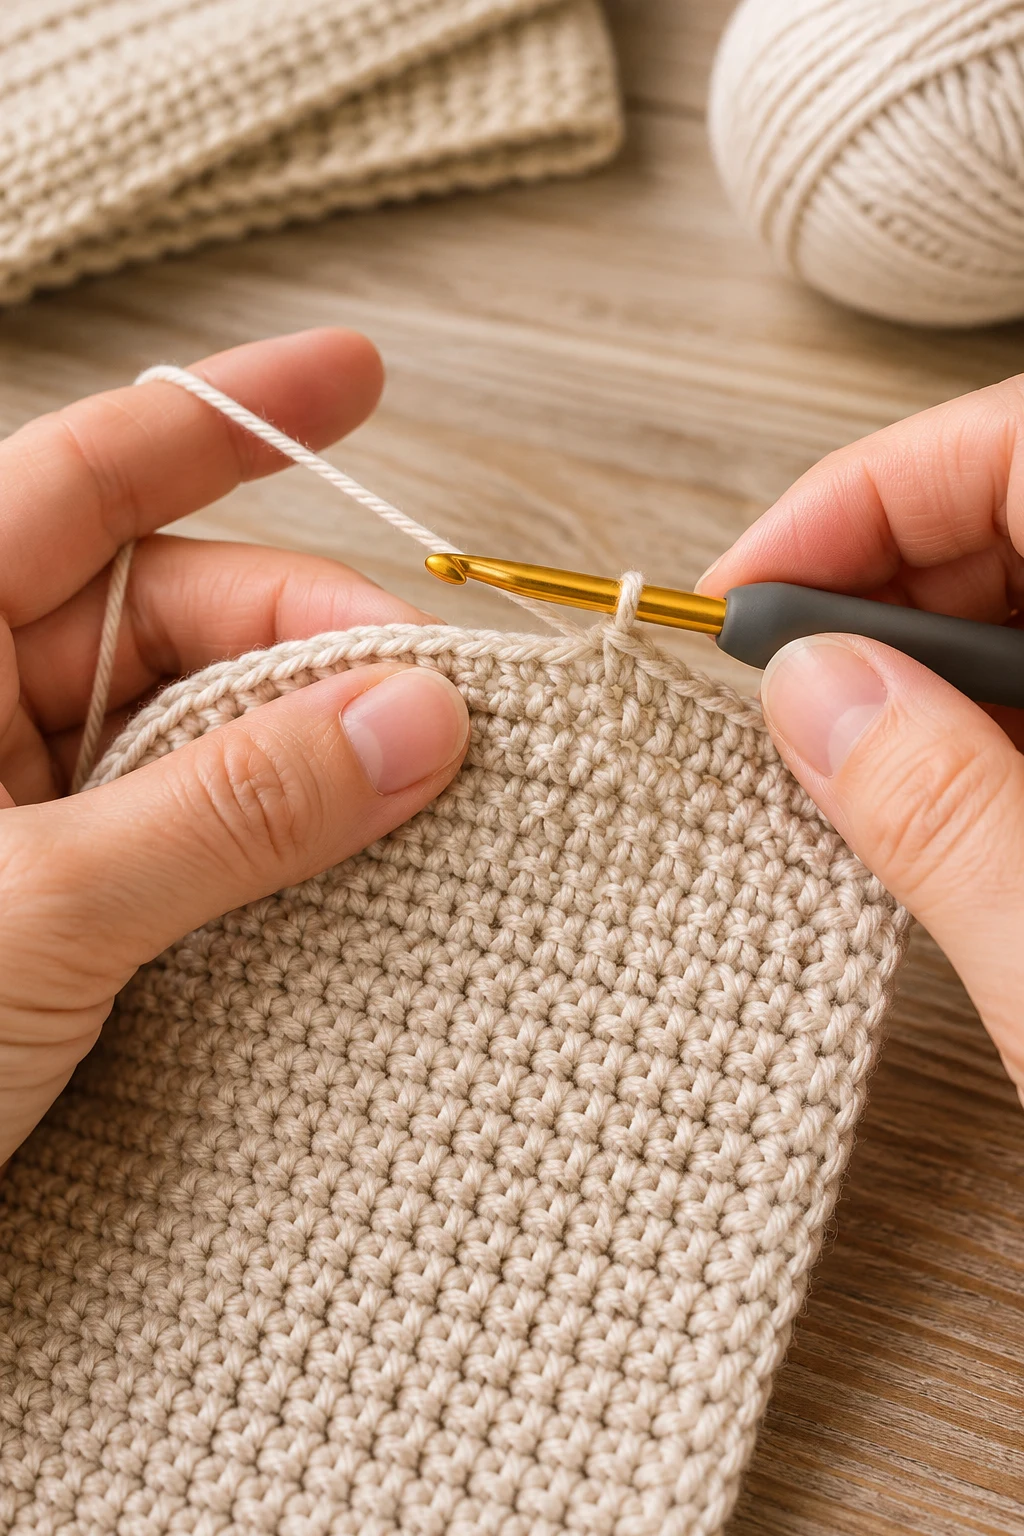
1. Prepare the Edge — crochet
This part creates a smooth, even foundation for the decorative border.
- Place the project RS facing up.
- Join the worsted weight cotton yarn in any corner using a sl st.
- Ch 1 (does not count as a stitch).
- Work 1 sc into each stitch across the first side.
- In every corner, work 3 sc into the corner stitch or corner space to help the edging turn smoothly.
- Continue around all four sides, placing 1 sc evenly along row ends where needed. Aim for approximately 1 sc per row end on straight edges.
- Join with a sl st to the first sc.
Finished Round: [Approximately 120–140 sc depending on your project size.]
Pro Tip: If your edge begins to ripple, remove a few stitches; if it curls inward, add a few evenly spaced single crochet stitches.
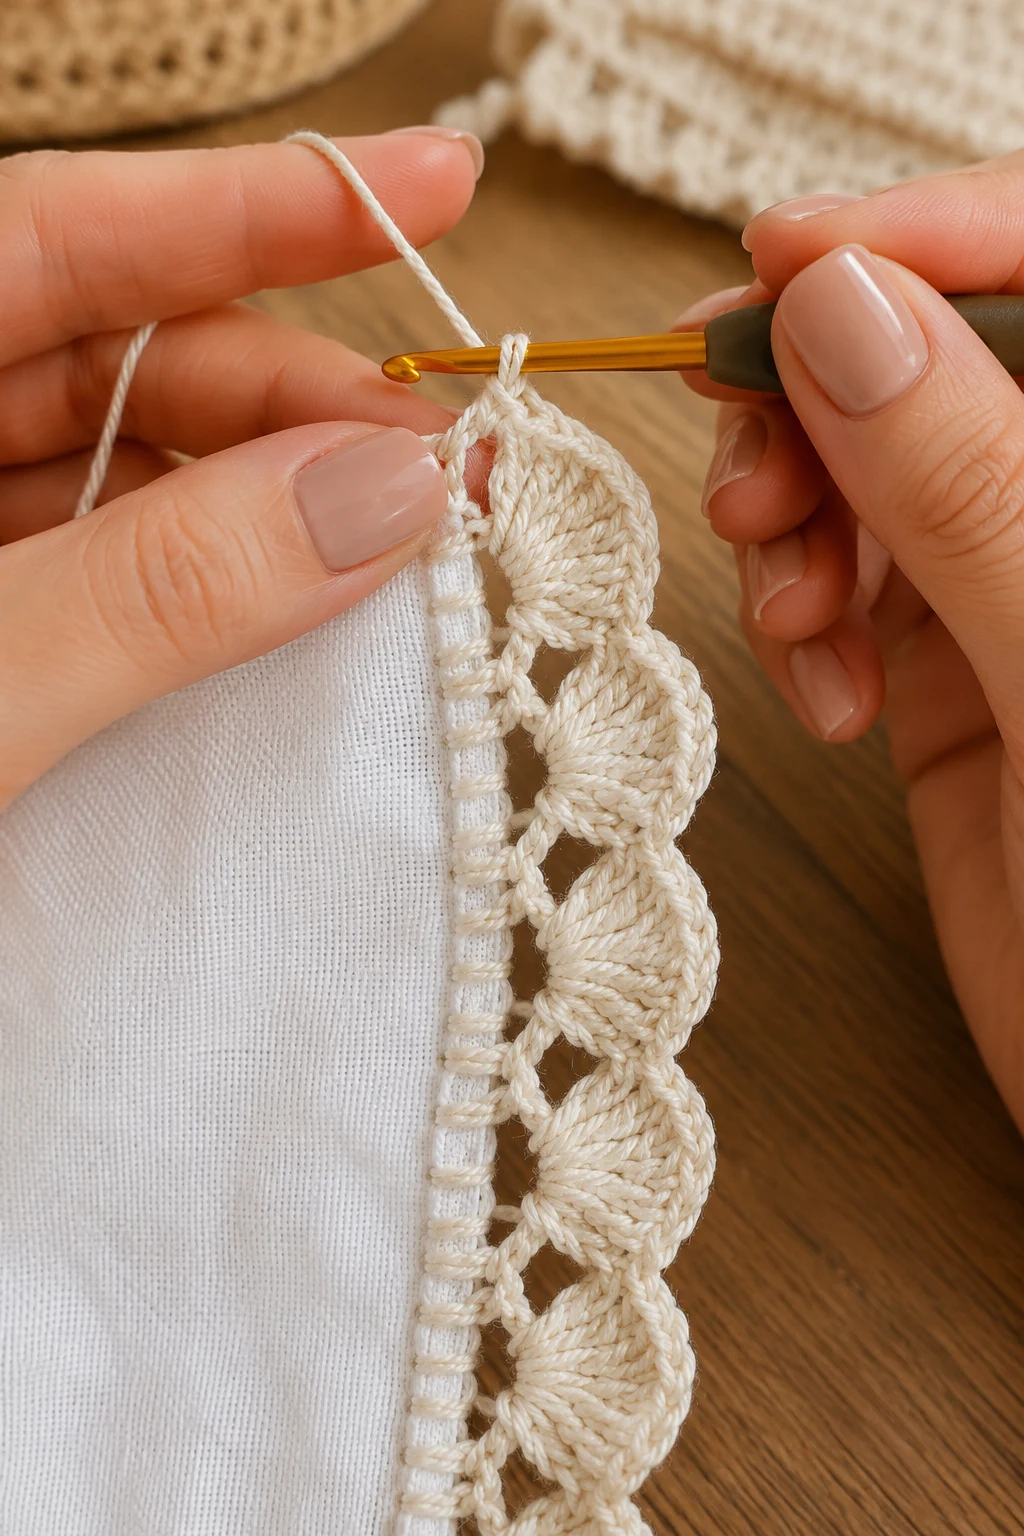
2. Create the Decorative Shell Edging — crochet
This round forms the classic shell design featured in many crochet edging patterns.
- Ch 1.
- Work 1 sc in the first stitch.
- Skip 2 stitches.
- Work 5 dc in the next stitch to create one shell.
- Skip 2 stitches.
- Work 1 sc in the next stitch.
- Repeat Steps 3–6 all the way across the side.
- At each corner, work:
- Continue repeating the shell pattern around every side.
- Join with a sl st to the first sc.
Finished Round: [Approximately 24–28 shells on a 10 × 10 inch sample.]
Pro Tip: Keep your double crochet stitches relaxed so every shell opens nicely and sits flat.
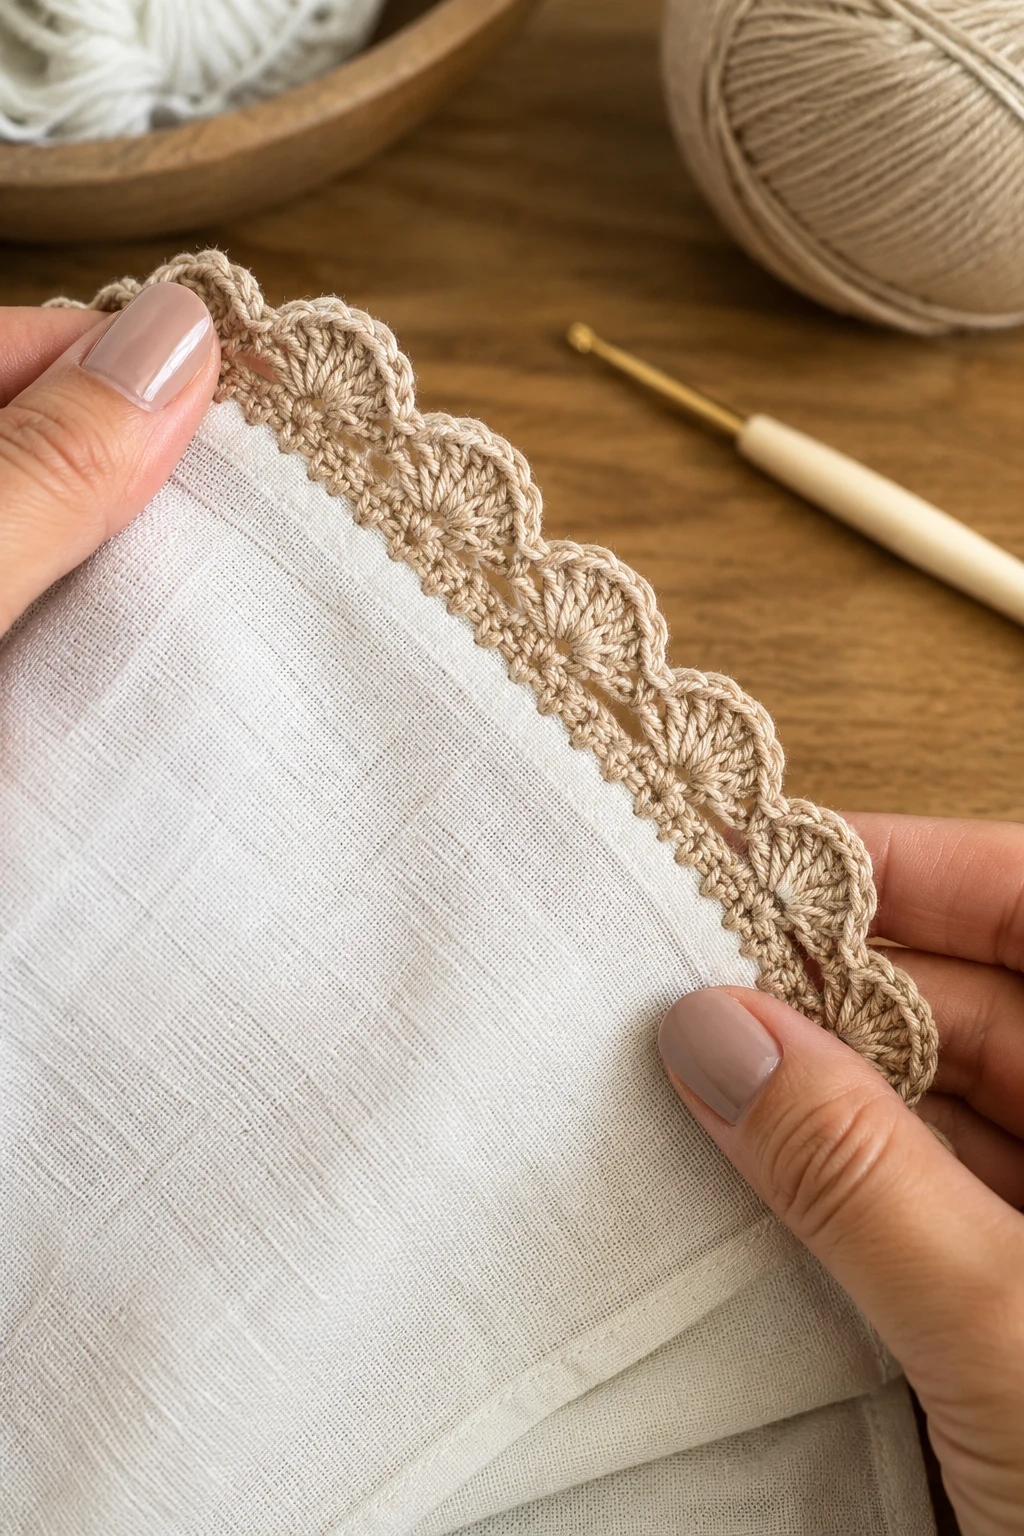
3. Finish and Weave in the Ends — crochet
This final part secures the edging for a clean, professional finish.
- Cut the yarn, leaving an 8-inch tail.
- Pull the yarn through the final loop to fasten off.
- Thread the tail onto the tapestry needle.
- Weave each yarn end through the backs of nearby stitches for 3–4 inches.
- Trim any remaining excess yarn.
- Lightly block the finished project by laying it flat and gently shaping each shell until the edging measures evenly around the piece.
Pro Tip: Cotton yarn responds beautifully to light blocking, making every shell crisp and uniform.
Congratulations—you’ve finished a lovely shell border that proves how much difference a beautiful edge can make! I hope this free pattern inspires you to add this trim to blankets, washcloths, baby gifts, scarves, and countless other handmade projects. I always keep this pattern bookmarked because it’s simple enough for relaxing crochet sessions yet elegant enough for special gifts. If you make this project, I’d absolutely love to see your finished work. Be sure to share a photo and tag the blog so we can celebrate your creativity together. Happy crocheting!
What are crochet edging patterns used for?
Crochet edging patterns add a decorative, finished border to blankets, garments, towels, scarves, and home décor projects while helping edges stay neat and durable.
How do I keep my crochet edging from rippling?
Count your stitches carefully and adjust the number of foundation single crochet stitches if needed. Too many stitches create waves, while too few can cause curling.
Why should I add a foundation round before the shell edging?
A foundation round of single crochet creates an even base, making the shells uniform and helping the finished border lie flat around the entire project.
📚 You Might Also Like
- Crochet tops ideas: 9 Chic DIY Ideas for 2026
Crochet tops ideas are creative handmade clothing designs that combine beautiful stitches, colorful…
- Blue crochet Ideas: 10 Stunning DIY Ideas for 2026
blue crochet Ideas instantly bring calm, color, and creativity into any crochet project. Whether you…
- Fall crochet ideas: 15 Best DIY Ideas for 2026
Fall crochet ideas are cozy handmade crochet projects inspired by autumn colors, textures, and seaso…
- Crochet clothes ideas: 9 Amazing DIY Ideas for 2026
If your wardrobe feels like it needs more personality, crochet clothes ideas offer an easy way to ad…
- Baby crochet ideas: 12 Gorgeous DIY Ideas for 2026
Baby crochet ideas are handmade crochet projects designed for babies, combining soft yarn, gentle te…
🛍️ Shop the Look — crochet edging patterns
Our handpicked Amazon picks curated specifically for crochet edging patterns:
As an Amazon Associate I earn from qualifying purchases.