
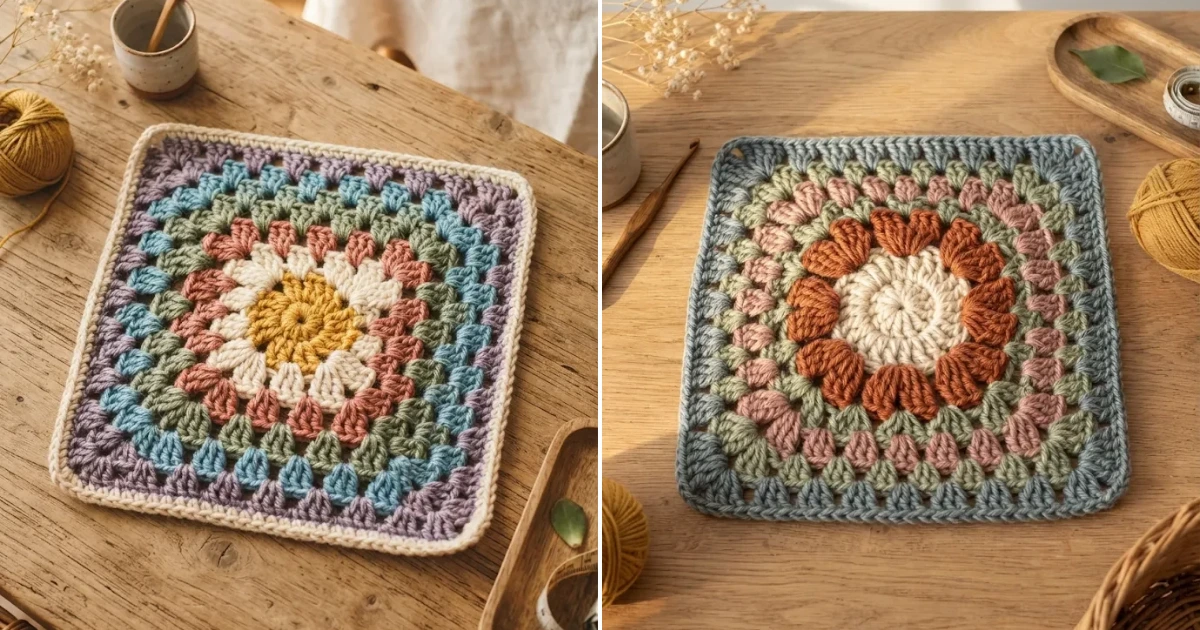
A granny square crochet pattern tutorial is a step-by-step masterclass guiding makers through looping yarn into classic geometric motifs using fundamental stitches like chains and double crochets. This timeless craft continues to capture modern hearts, trending heavily across social media feeds as makers stitch together cozy cardigans, vibrant throw pillows, and heirloom-quality blankets. Whether you are picking up a hook for the very first time or looking to refine your tension, mastering this foundational motif opens up endless creative possibilities. Grab your favorite hook and a skein of soft yarn, and let’s dive into twelve essential strategies, variations, and pro tips to elevate your crochet journey.
1. The Classic Foundation Ring — granny
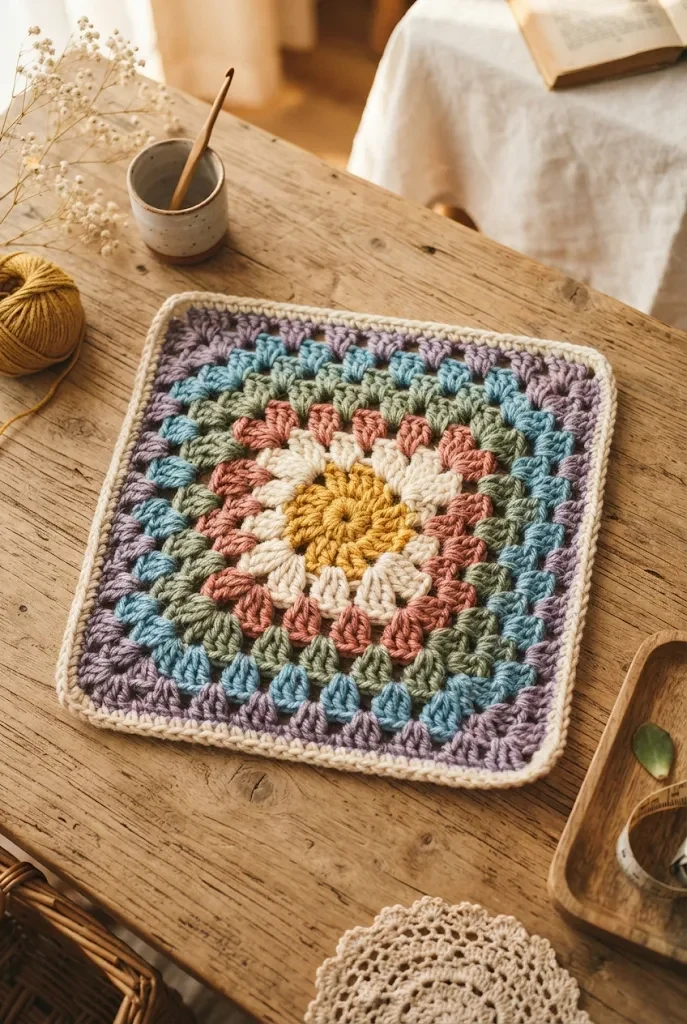
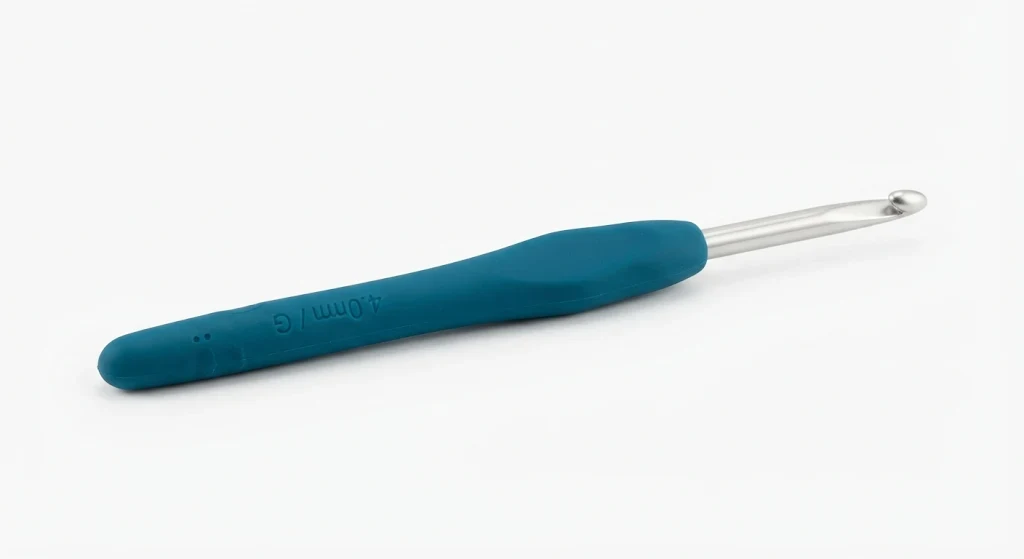
The journey begins with a solid foundation ring, which sets the stage for your entire motif. To build this, grab a 5.5mm ergonomic crochet hook and a ball of worsted weight acrylic yarn in a bright shade like sunshine yellow. Chain four stitches and slip stitch into the very first chain to close the loop, or use a magic ring if you prefer an adjustable center hole. Keep your tension even so your starting circle does not twist or curl up on your lap.
The key to this technique is maintaining a consistent hook angle so your initial slip knot does not pull too tight or stay too loose.
📺 Video tutorial: The Classic Foundation Ring
2. Working Round One Clusters — granny
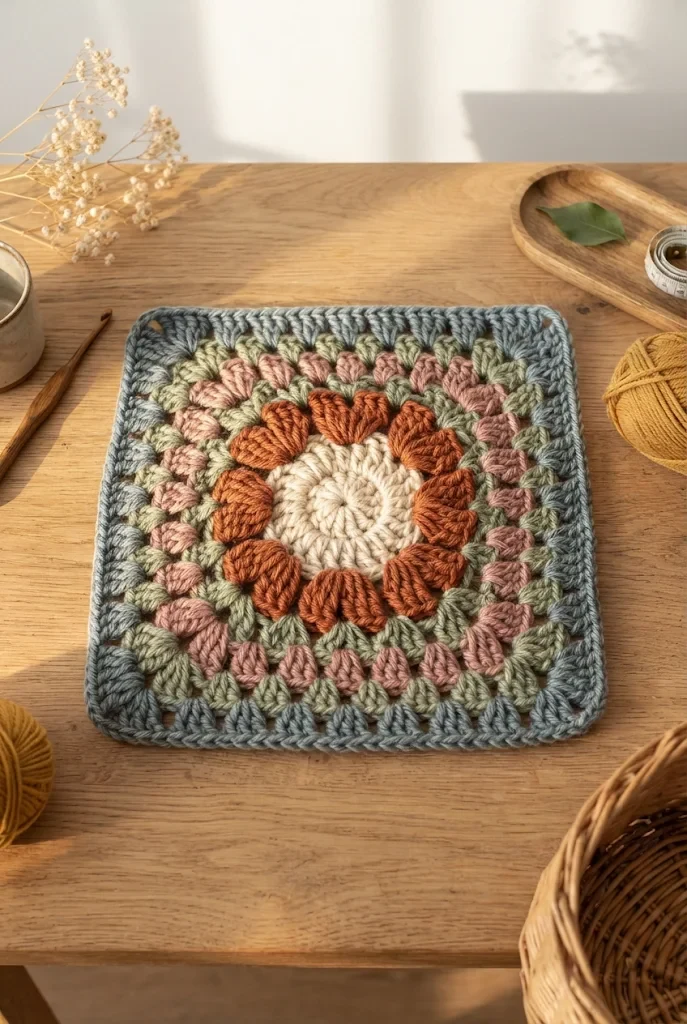
Once your circle is secured, it is time to work your very first round of clusters into the center space. Chain three to act as your first double crochet, then work two double crochets followed by a two-chain corner space. Repeat this three-shot cluster sequence three more times, slip stitching into the top of your initial turning chain to complete a neat square center.
The key to this technique is treating your rising chain three as a legitimate stitch so your corner counts remain perfectly symmetrical.
3. Mastering Seamless Color Changes — granny
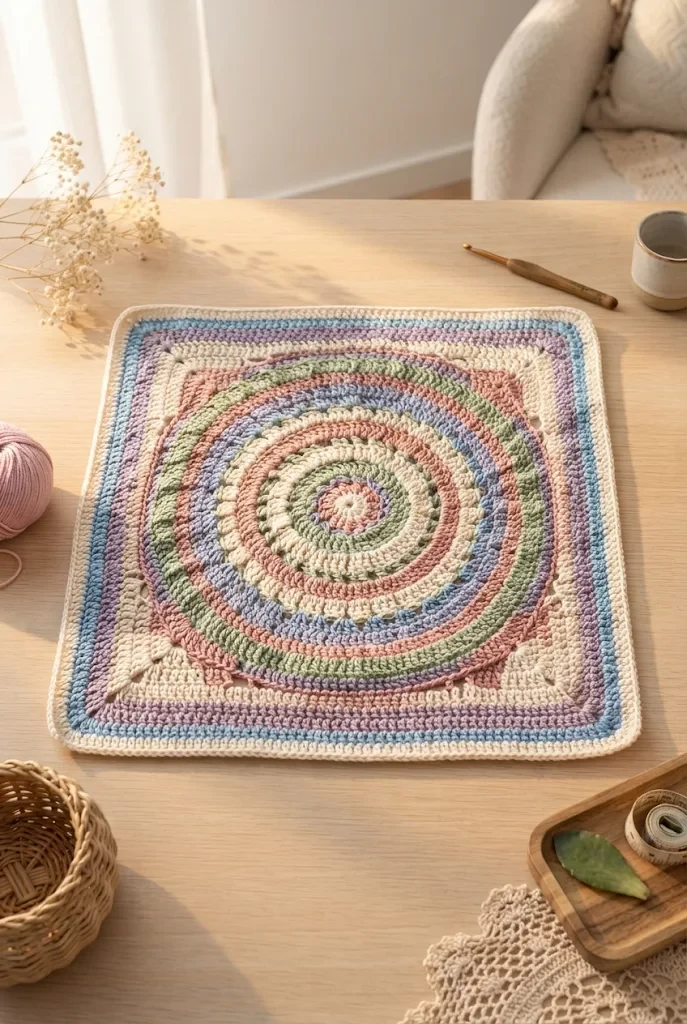
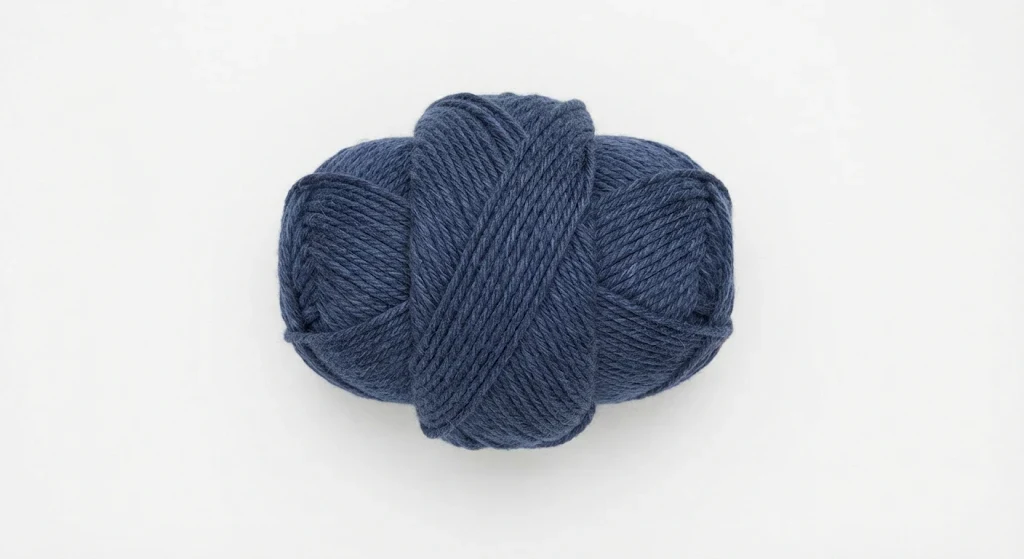
Switching hues transforms a basic square into a dynamic, eye-catching work of art. Fasten off your previous color with a six-inch tail, then introduce a contrasting shade of cotton blend yarn into any corner space using a secure slip stitch. Carry your unused tails neatly along the back of the work or weave them in as you go to drastically cut down your finishing time later.
The key to this technique is anchoring your new yarn securely with a tight slip knot before working your first cluster over the tail ends.
📺 Video tutorial: Mastering Seamless Color Changes
4. Understanding Corner Spaces
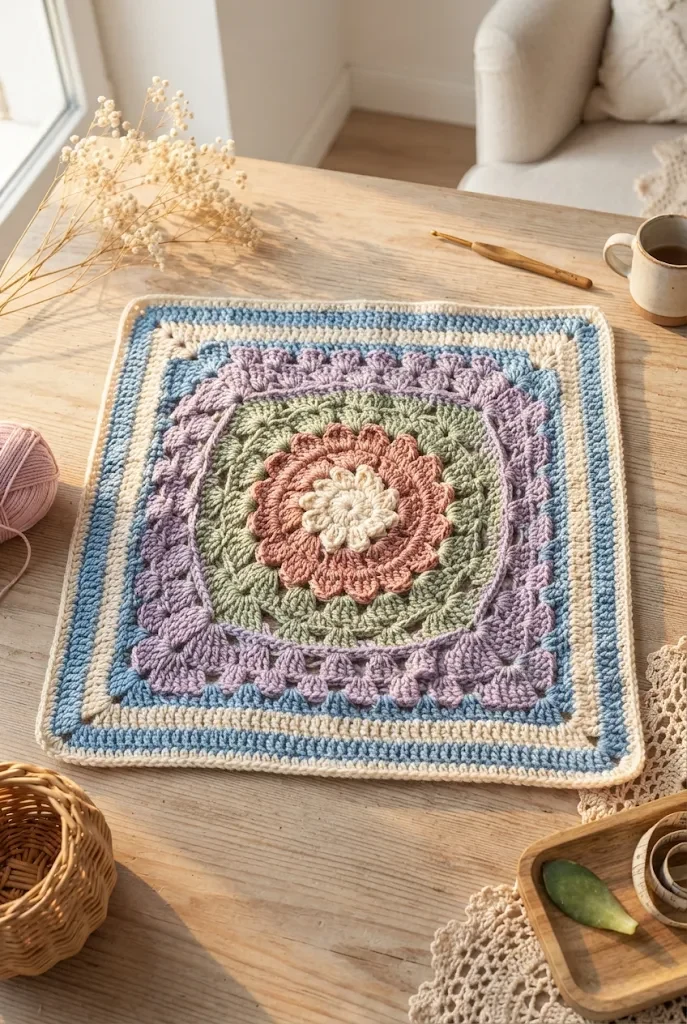
Corners are the architectural anchors that force your flat work to square off instead of turning into a chaotic circle. Every standard corner consists of three double crochets, two chain stitches, and three more double crochets worked directly into the same space. Pay close attention to these corners during every single round to prevent your edges from puckering or curling inward.
The key to this technique is identifying the distinct two-chain gap so you never accidentally skip a turning point on fast rows.
5. Utilizing Side Chain Spaces
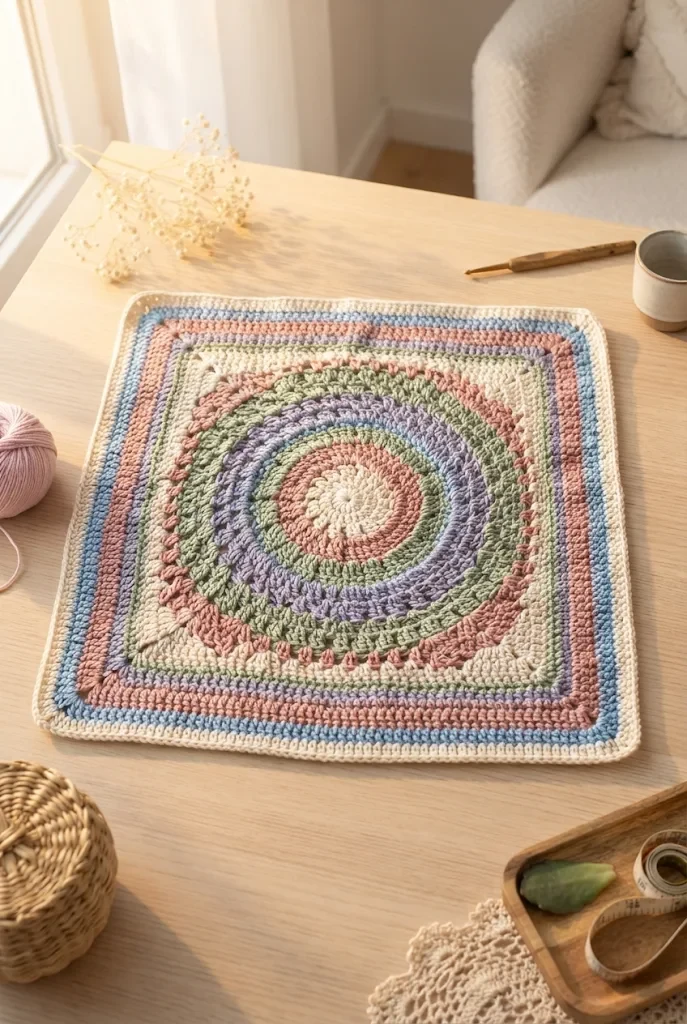
Between those vital corners lie the side spaces that give traditional squares their characteristic lacy, airy appearance. You will work groups of three double crochets directly into these side chain spaces, separated by a single chain stitch to maintain proper width. This rhythm creates a balanced, breathable fabric that works up remarkably fast on lazy Sunday afternoons.
The key to this technique is ensuring you only chain one between side clusters so your square maintains a flat, stable structure.
📺 Video tutorial: Utilizing Side Chain Spaces
6. Splicing in Variegated Yarns
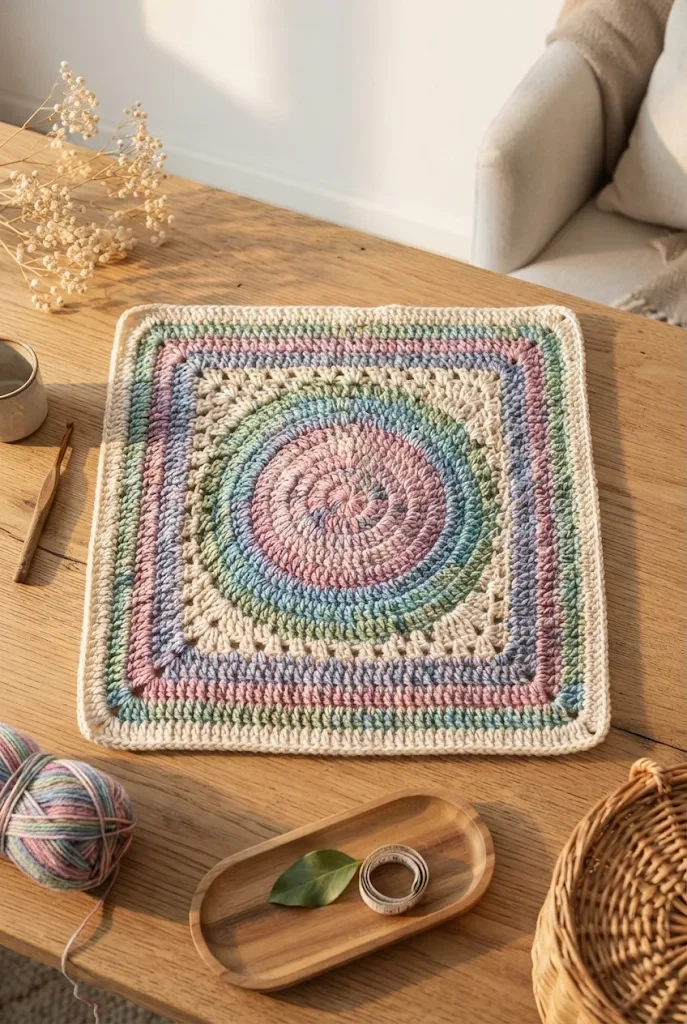
If you want complex color play without the headache of constantly fastening off and joining new threads, variegated yarn is your best friend. Choose a long-striping wool blend yarn that shifts gradually through jewel tones like emerald and sapphire. Let the natural color transitions dictate the mood of each round while you maintain a steady, meditative stitching cadence.
The key to this technique is letting the natural color changes fall where they may without frantically trying to force symmetrical color pooling.
7. Fixing Tension and Wonky Edges
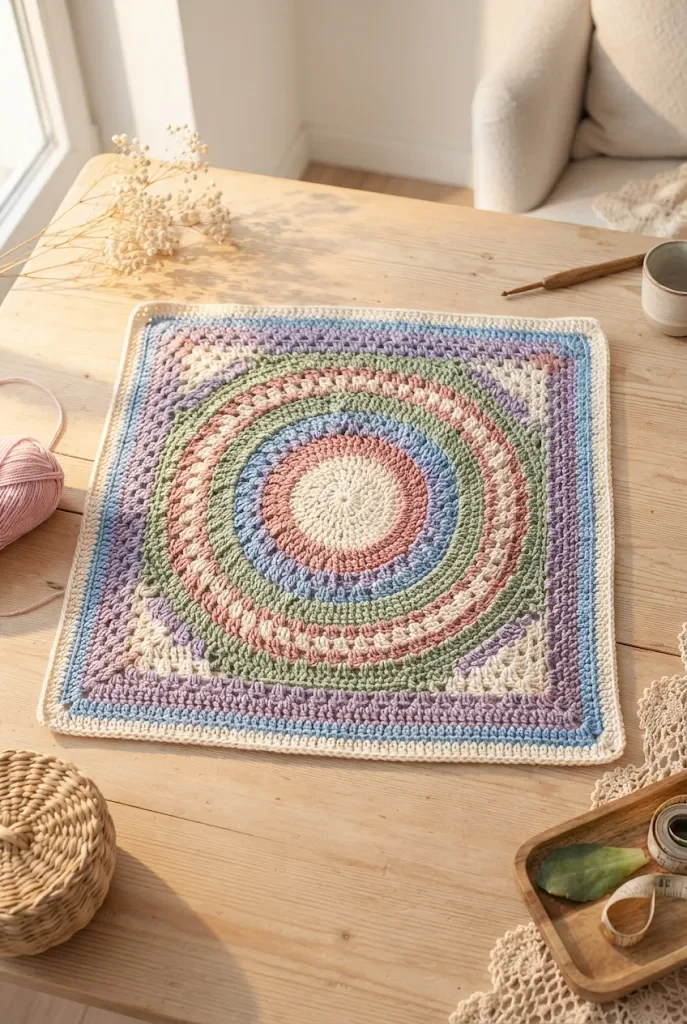
It is completely normal for early granny squares to look slightly lumpy, uneven, or curved before they receive proper finishing work. Do not panic if your edges flare out or pull tight; this is simply a minor tension imbalance that occurs while your hands learn the muscle memory. Relax your grip on the working yarn and let your index finger act as a smooth, gentle tension guide.
The key to this technique is keeping your wrist loose and relaxed so your double crochets maintain an identical height across all four sides.
📺 Video tutorial: Fixing Tension and Wonky Edges
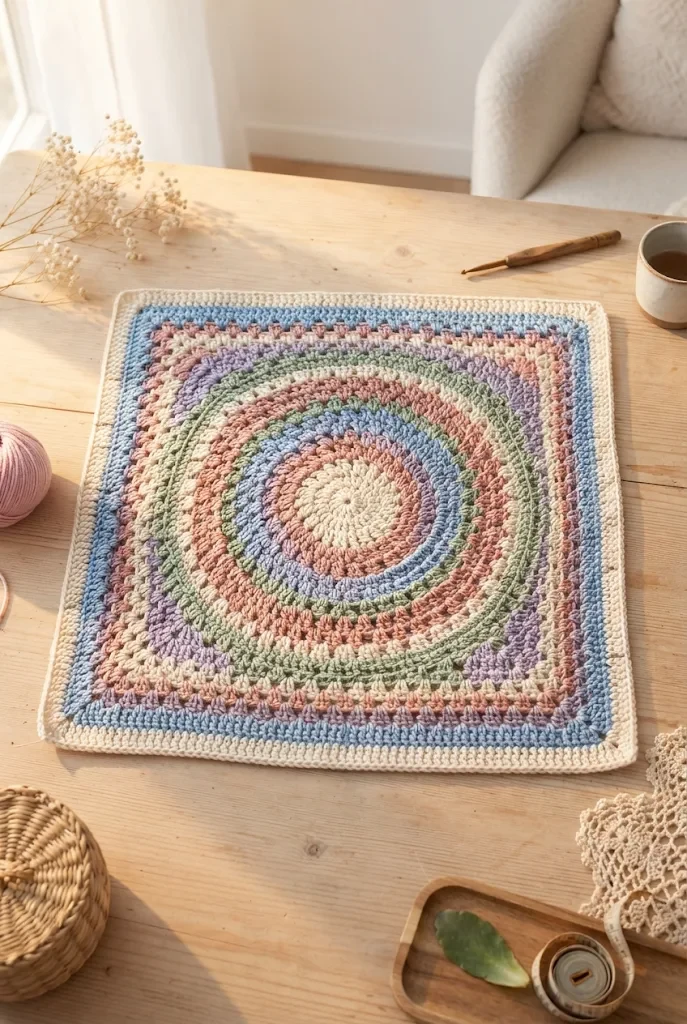
8. Blocking for Professional Results
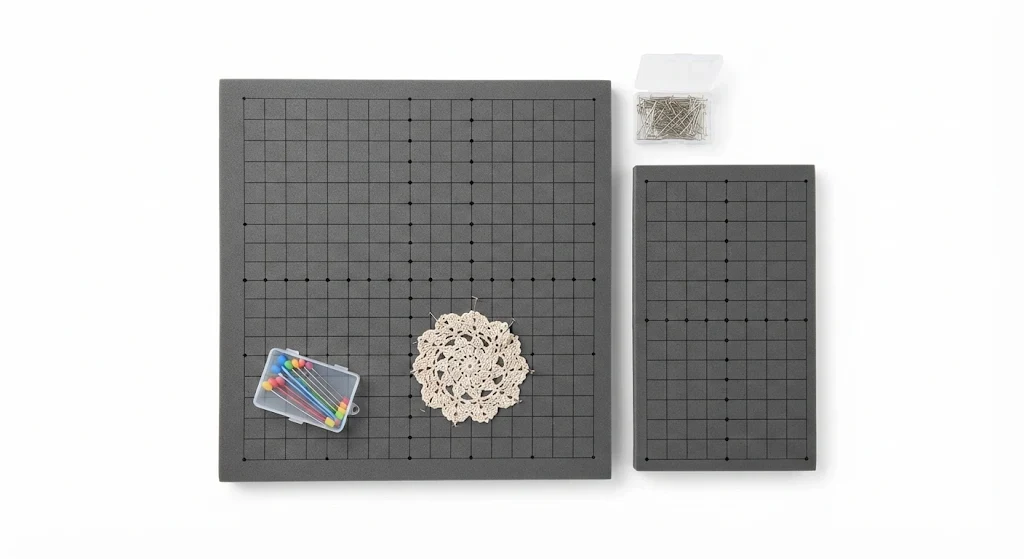
Blocking is the secret weapon that separates amateur crochet projects from polished, boutique-ready masterpieces. Pin your finished squares down onto a foam blocking board using rust-proof T-pins, adjusting the corners until they form sharp, ninety-degree angles. Lightly mist the acrylic or wool fabric with a steam iron or water spray bottle, then let it dry completely to lock the fibers into place.
The key to this technique is never pressing a hot iron directly onto synthetic fibers, as gentle steam alone is enough to relax the stitches.
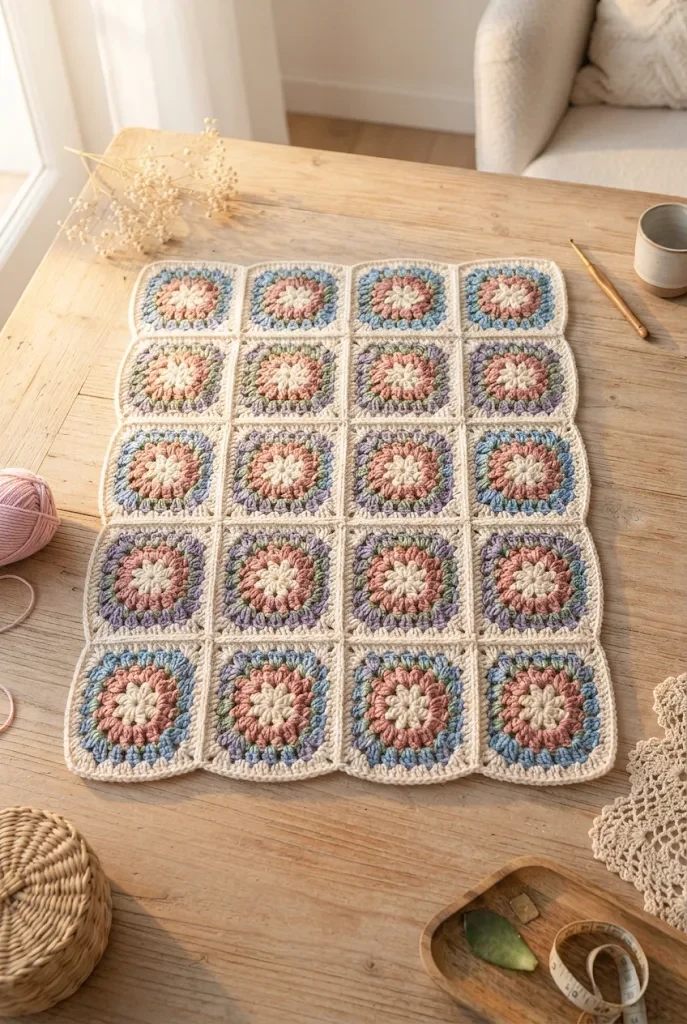
9. Joining Squares Seamlessly
Once you have a healthy stack of finished motifs, joining them together into a larger project like a throw blanket is deeply satisfying. Lay your squares out in a grid pattern on a clean floor to experiment with color arrangements before committing. Use a whip stitch or a flat slip stitch seam worked through the back loops only to connect your pieces with a clean, decorative ridge.
The key to this technique is aligning your corner stitches meticulously before you begin seaming to prevent your grid from skewing sideways.
📺 Video tutorial: Joining Squares Seamlessly
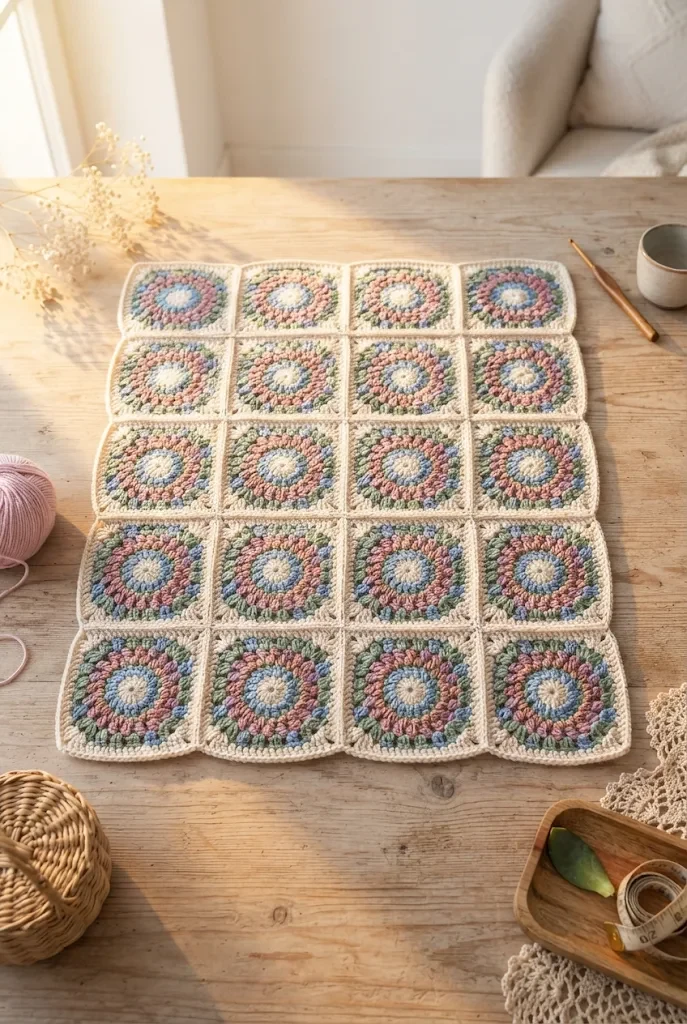
10. Weaving in Ends Like a Pro
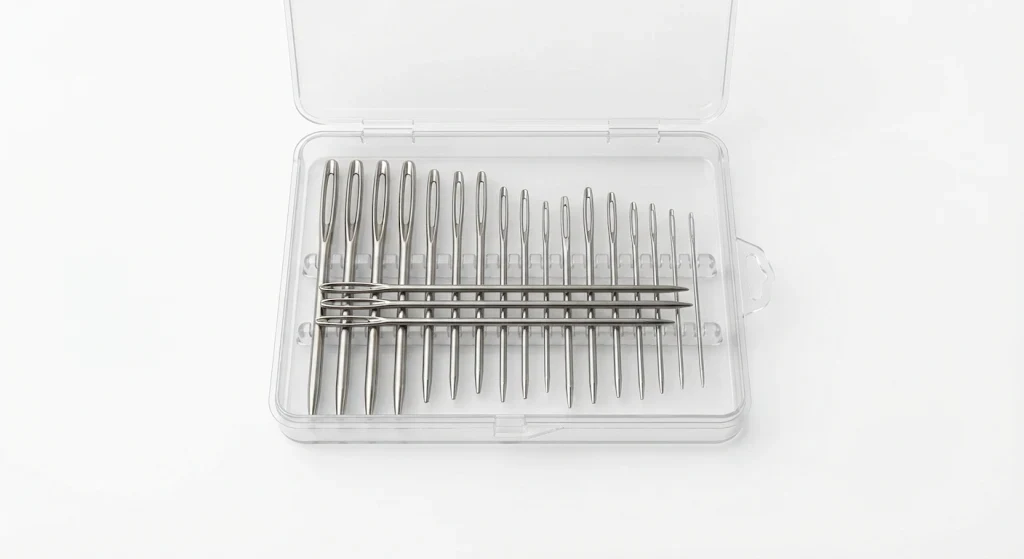
Dealing with a mountain of loose yarn tails can feel intimidating, but proper weaving ensures your hard work never unravels in the wash. Thread your loose ends onto a dull bent-tip tapestry needle and weave them back and forth through the base of your double crochet clusters at least three times. Trim the remaining excess yarn flush against the fabric for a completely invisible finish.
The key to this technique is changing direction at least once during your weave path so the friction permanently locks the tail in place.
📺 Video tutorial: Weaving in Ends Like a Pro
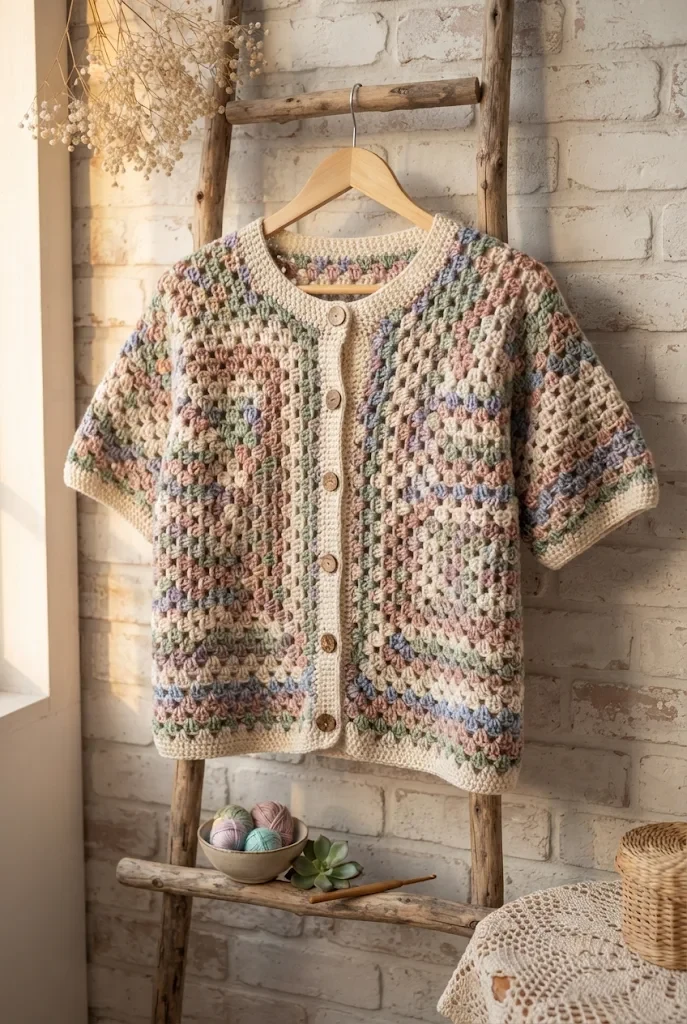
11. Adapting the Granny Stitch for Garments
The iconic granny cluster stitch is not restricted to square motifs; it translates brilliantly into wearable garments like cardigans and vests. By working rows back and forth instead of rounds in the square, you can create lightweight summer tops or cozy winter cardigans. Choose a breathable bamboo yarn to give your wearable creations an incredible drape and fluid movement.
The key to this technique is turning your work at the end of every single row to keep your stitch slant facing uniform.
📺 Video tutorial: Adapting the Granny Stitch for Garments
12. Troubleshooting Common Counting Mistakes
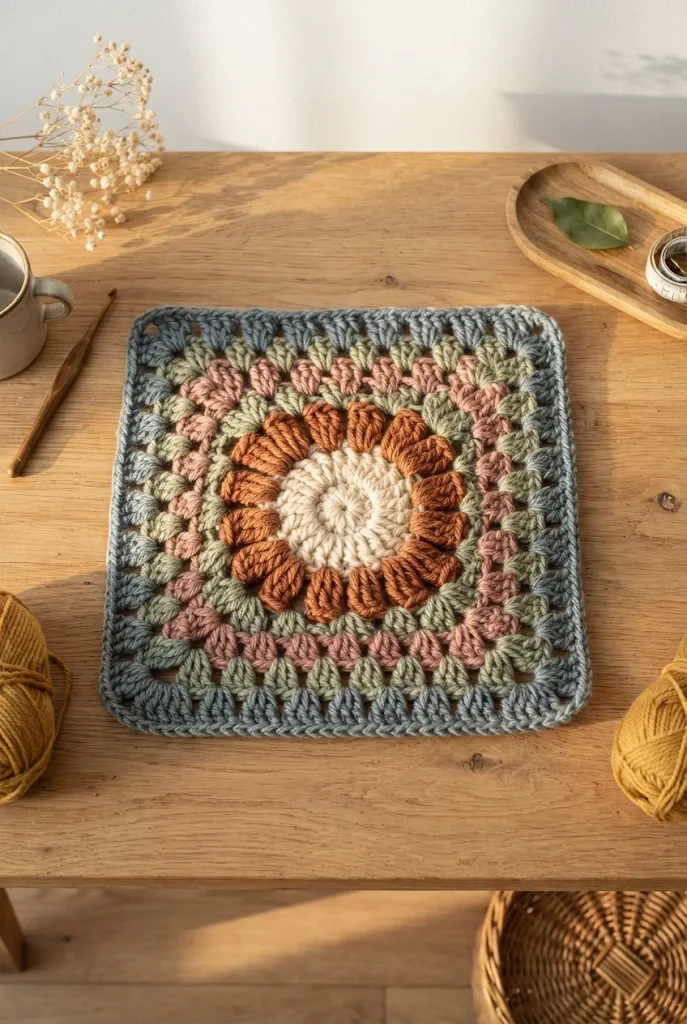
If your square starts curling into a bowl or ruffling like a frilly skirt, your stitch count has likely drifted off course. Double-check that every side contains the correct number of three-dc clusters and that your corners feature the mandatory two-chain separation. Catching these minor discrepancies early in round two or three saves you from having to frog half your project later.
The key to this technique is counting your cluster groups after finishing each round so errors never compound into subsequent rows.
FAQ
- What is a granny square crochet pattern tutorial? It is an instructional guide detailing the step-by-step process of crocheting classic square motifs using fundamental yarn stitches.
- How do you keep a granny square from twisting? Turning your work over after every completed round balances the yarn bias and keeps your square perfectly flat and square.
- Why do my granny square corners curl up? Curling usually happens because your corner spaces lack enough chain stitches or your overall stitch tension is pulled far too tight.
📚 You Might Also Like
- Crochet heart granny square pattern: 12 Gorgeous DIY[INTRO — ~120 words] Every fiber artist eventually falls head over heels for a crochet heart granny…
- Crochet granny square sweater pattern free: 12Nothing says cozy, handmade comfort quite like a classic crochet granny square sweater pattern free.…
- Crochet pattern granny square: 12 Amazing DIY IdeasMastering a crochet pattern granny square is the ultimate rite of passage for every yarn enthusiast,…
- Crochet baby cardigan free pattern granny square: 12A crochet baby cardigan free pattern granny square project is a delightful, handcrafted miniature ga…
- Granny square crochet top free pattern: 12 Chic DIYA granny square crochet top free pattern is a handcrafted garment assembled from individual crochete…
The Bottom Line
Mastering a granny square crochet pattern tutorial is an essential rite of passage for any craft enthusiast looking to build confidence with hooks and yarn. By understanding the rhythm of clusters, managing your tension, and embracing proper blocking techniques, you can turn simple string into breathtaking heirloom treasures. Gather your favorite supplies, take your time with each round, and enjoy the therapeutic magic of watching a beautiful geometric square come together right in your hands.
🛍️ Shop the Look — Best Sellers for granny square crochet pattern tutorial
Our handpicked Amazon best sellers curated specifically for granny square crochet pattern tutorial:

🔥 See More Best Sellers on Amazon →
As an Amazon Associate I earn from qualifying purchases.