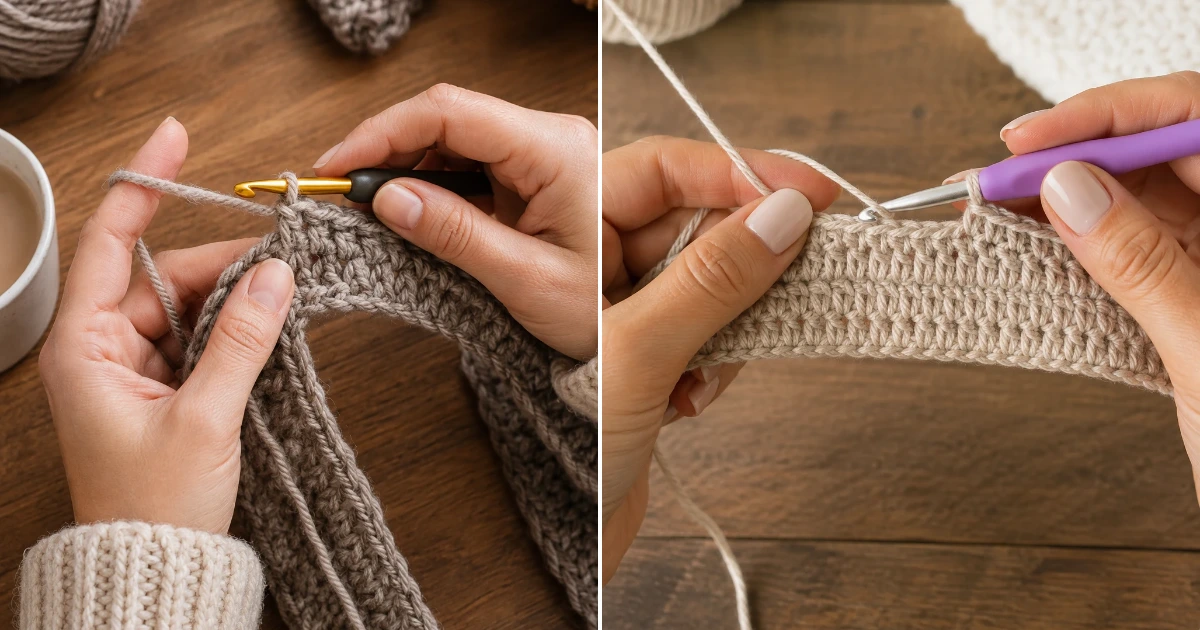
Crochet poncho patterns are some of my absolute favorite projects because they work up beautifully, feel wonderfully cozy, and are surprisingly beginner-friendly. I’m so excited to share one of my own go-to designs that I wear every autumn and winter. According to The Spruce Crafts,This simple textured ridge poncho is oversized, comfortable, and easy to customize with your favorite colors. If you’ve been searching for crochet poncho patterns free, crochet poncho patterns for beginners, or stylish crochet poncho patterns for adults, this project is a wonderful place to start. Grab your supplies and let’s dive in!
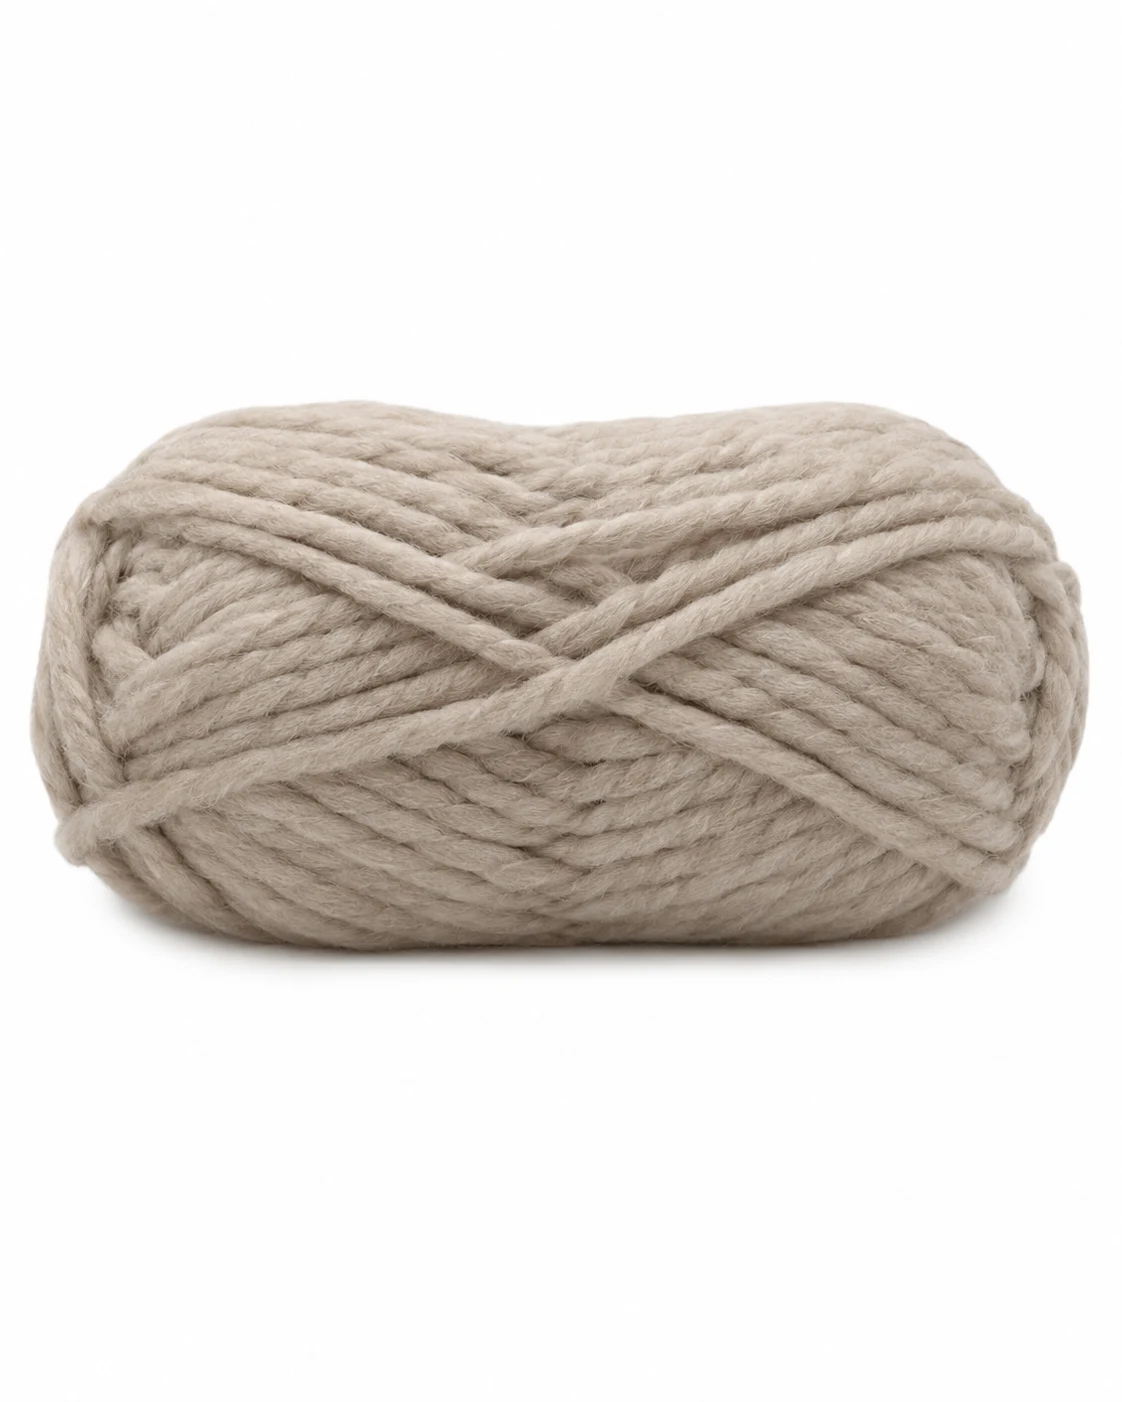
- 900-1,000g worsted weight (Category 4) acrylic yarn in a solid color (approximately 1,900-2,100 yards)
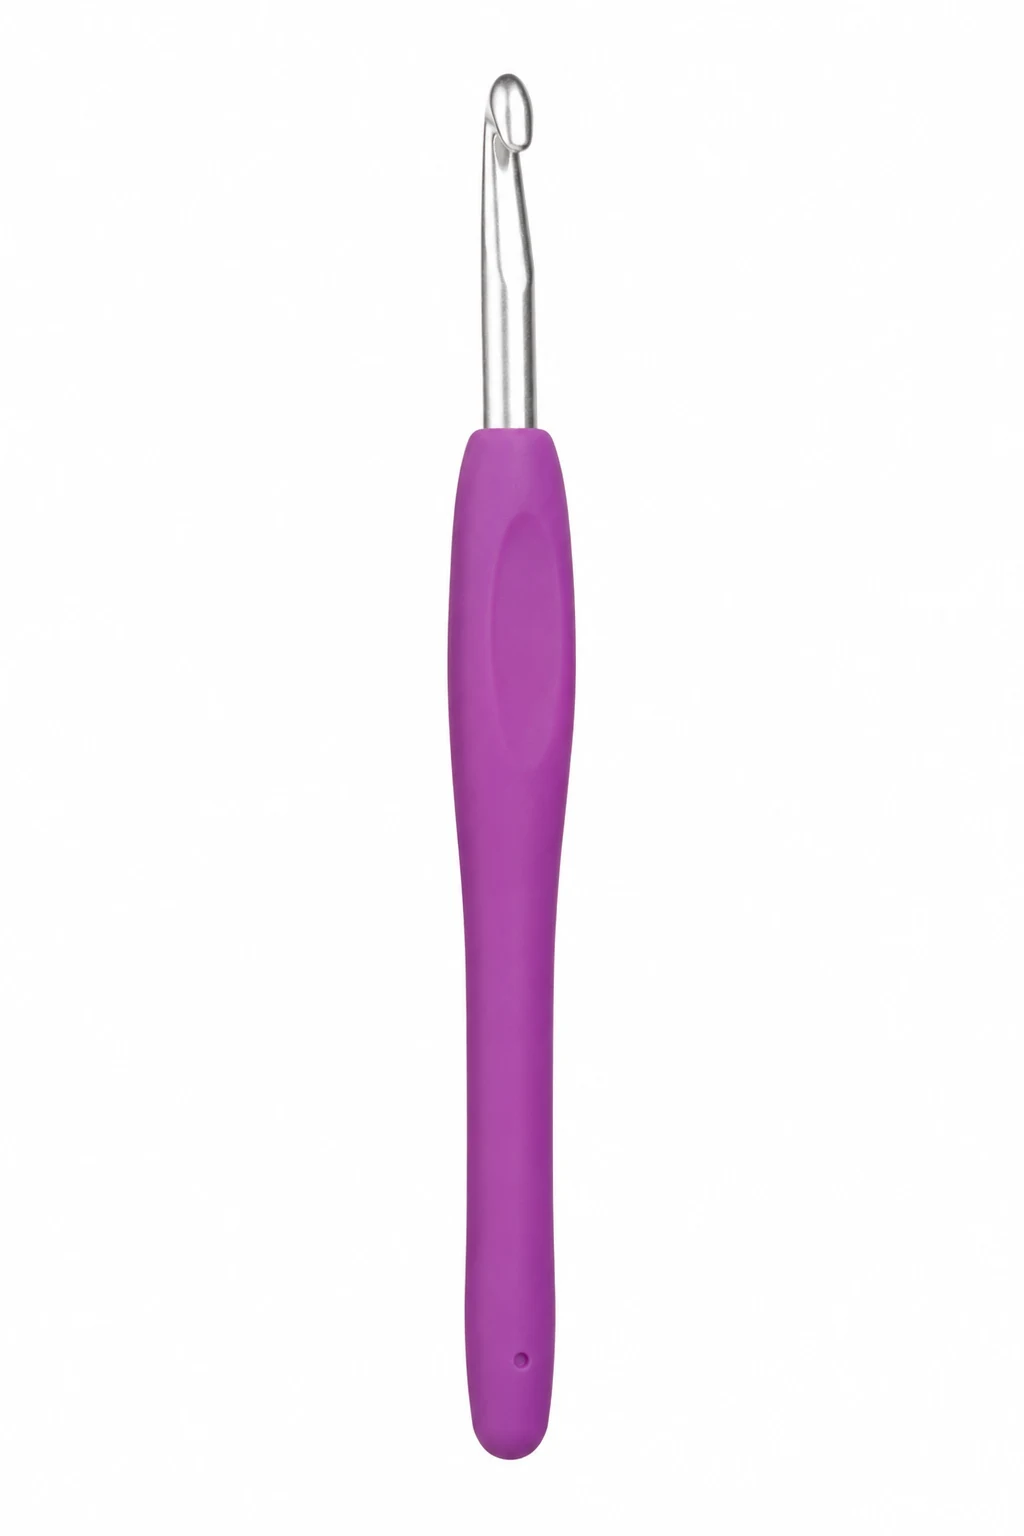
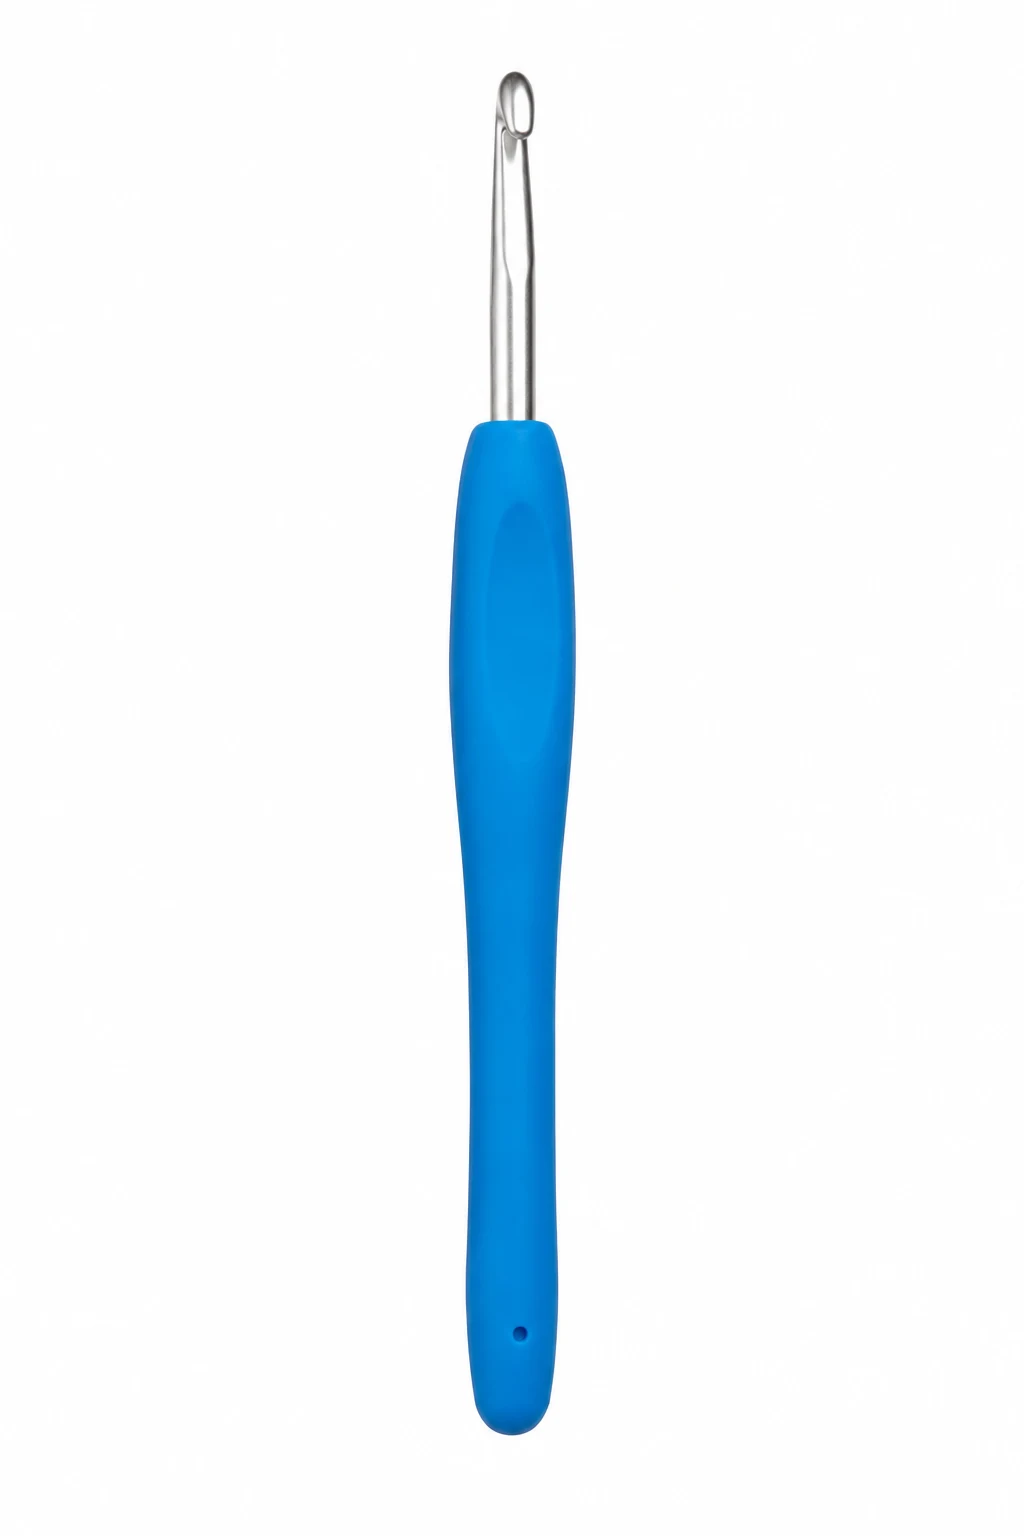
- 6.0 mm (J/10) crochet hook
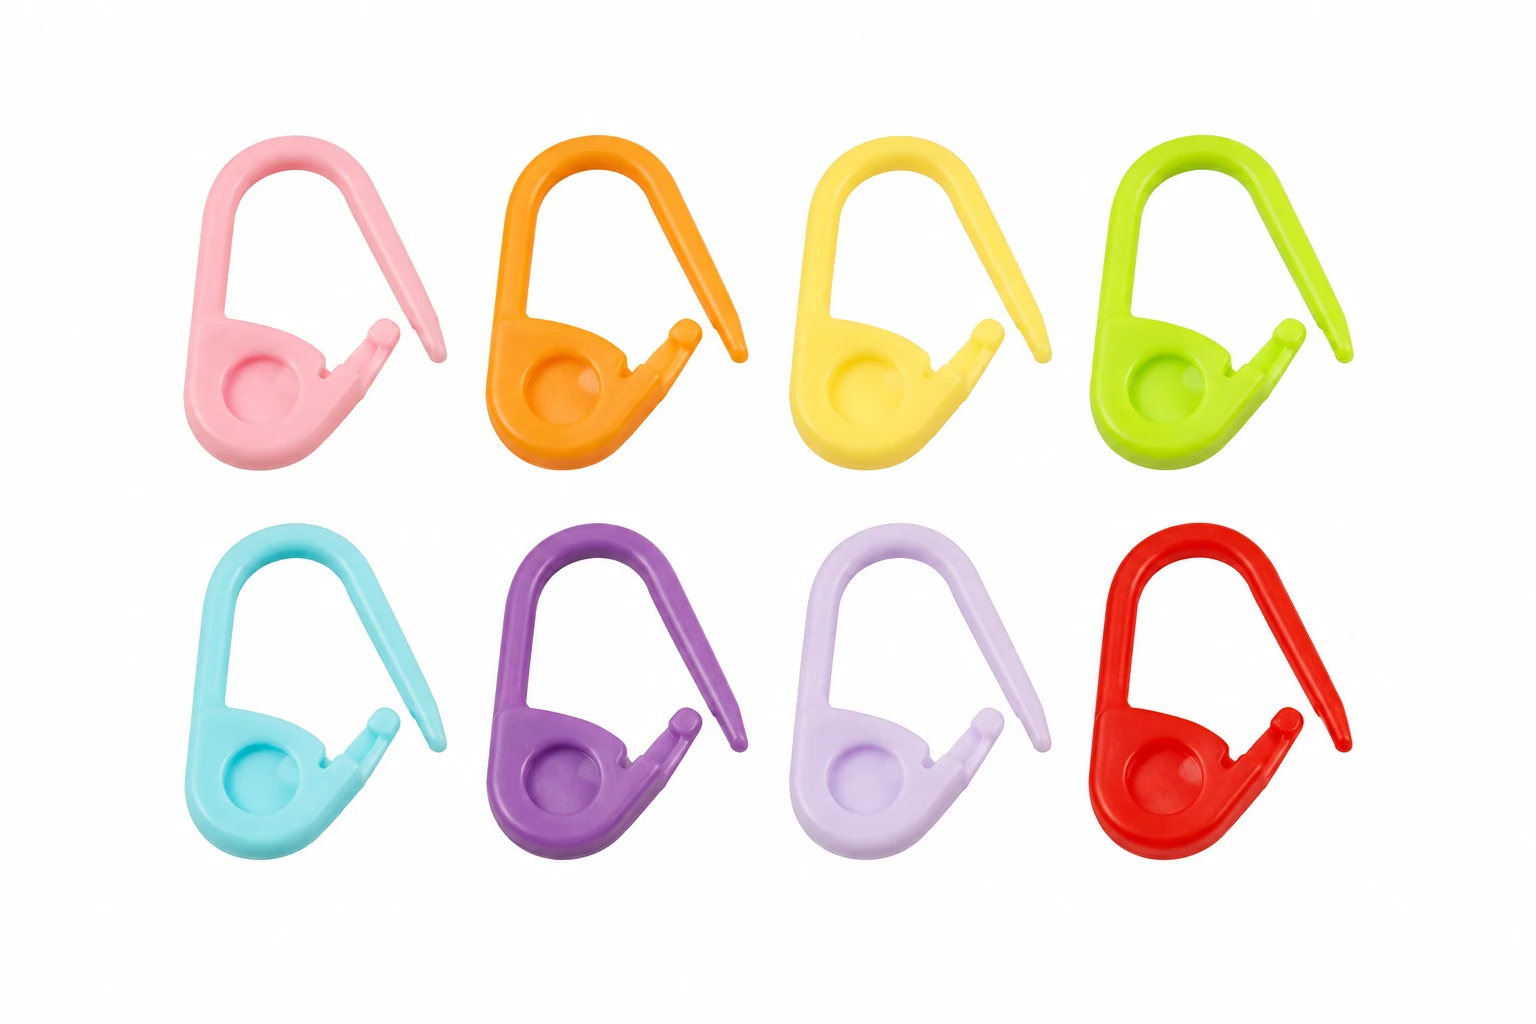
- 5 locking stitch markers
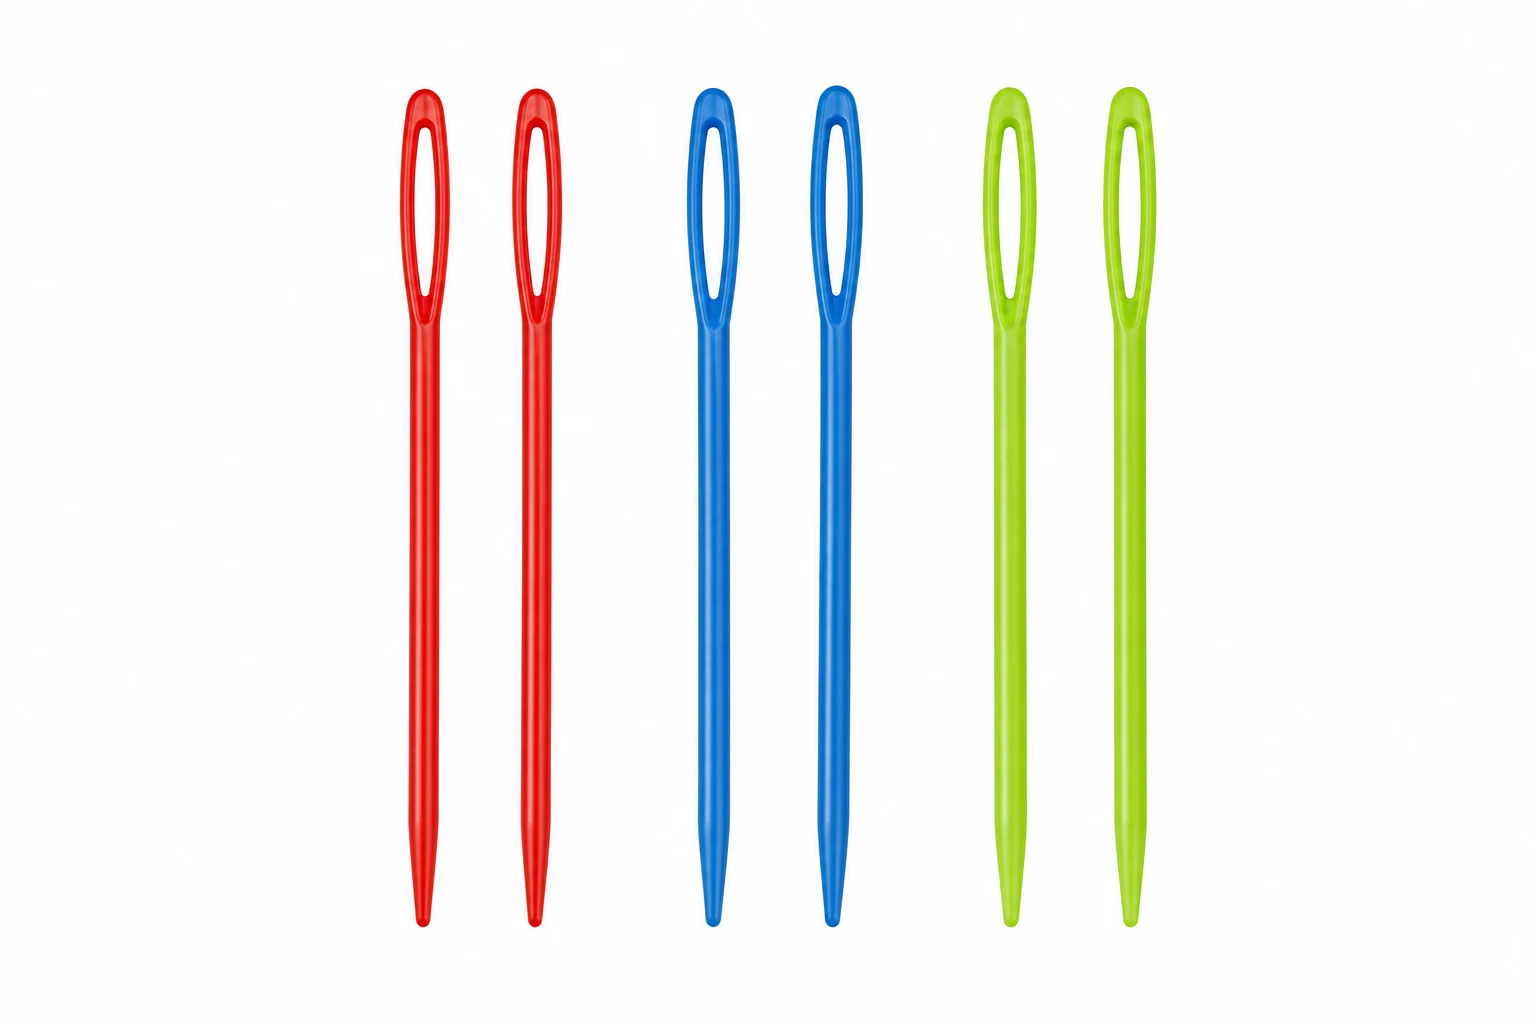
- Yarn needle for weaving in ends
- Sharp embroidery scissors
- Flexible measuring tape
- Row counter (optional but helpful)
- Blocking mats and rust-proof pins (optional)
- Steam iron or garment steamer for light blocking
Finished size:
- Approximately 32 in (81 cm) long
- Fits most adult sizes with generous drape.
- ch — chain
- sl st — slip stitch
- sc — single crochet
- dc — double crochet
- st — stitch
- rep — repeat
- RS — right side
- WS — wrong side
- FO — fasten off
- sp — space
- sk — skip
- BLO — back loop only
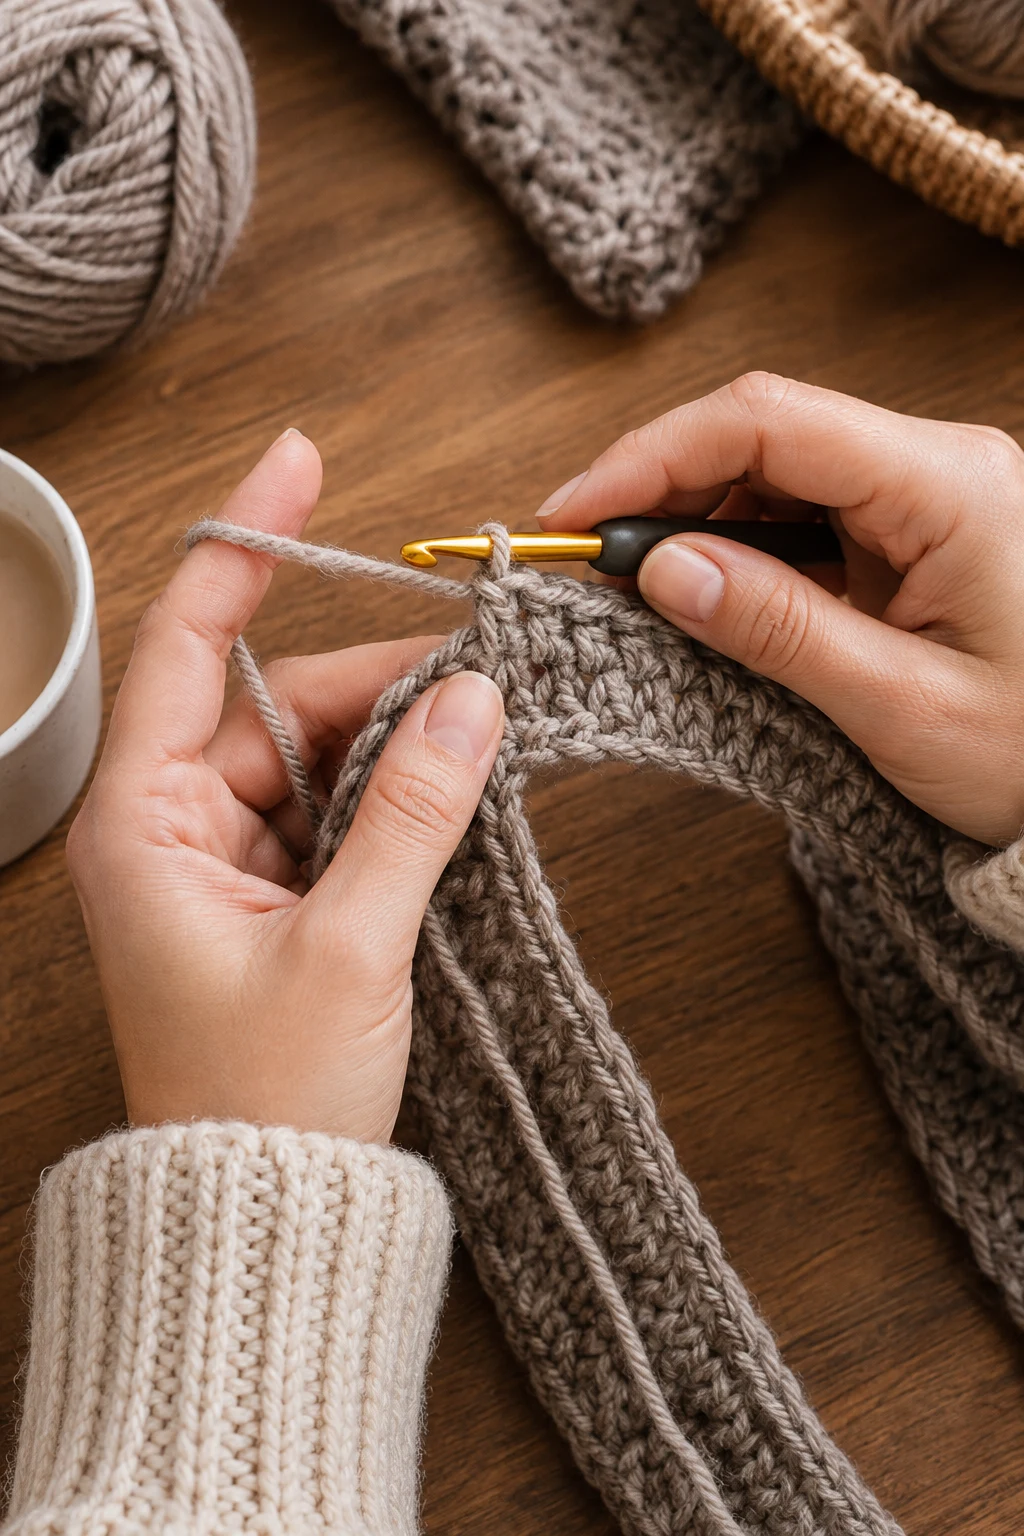
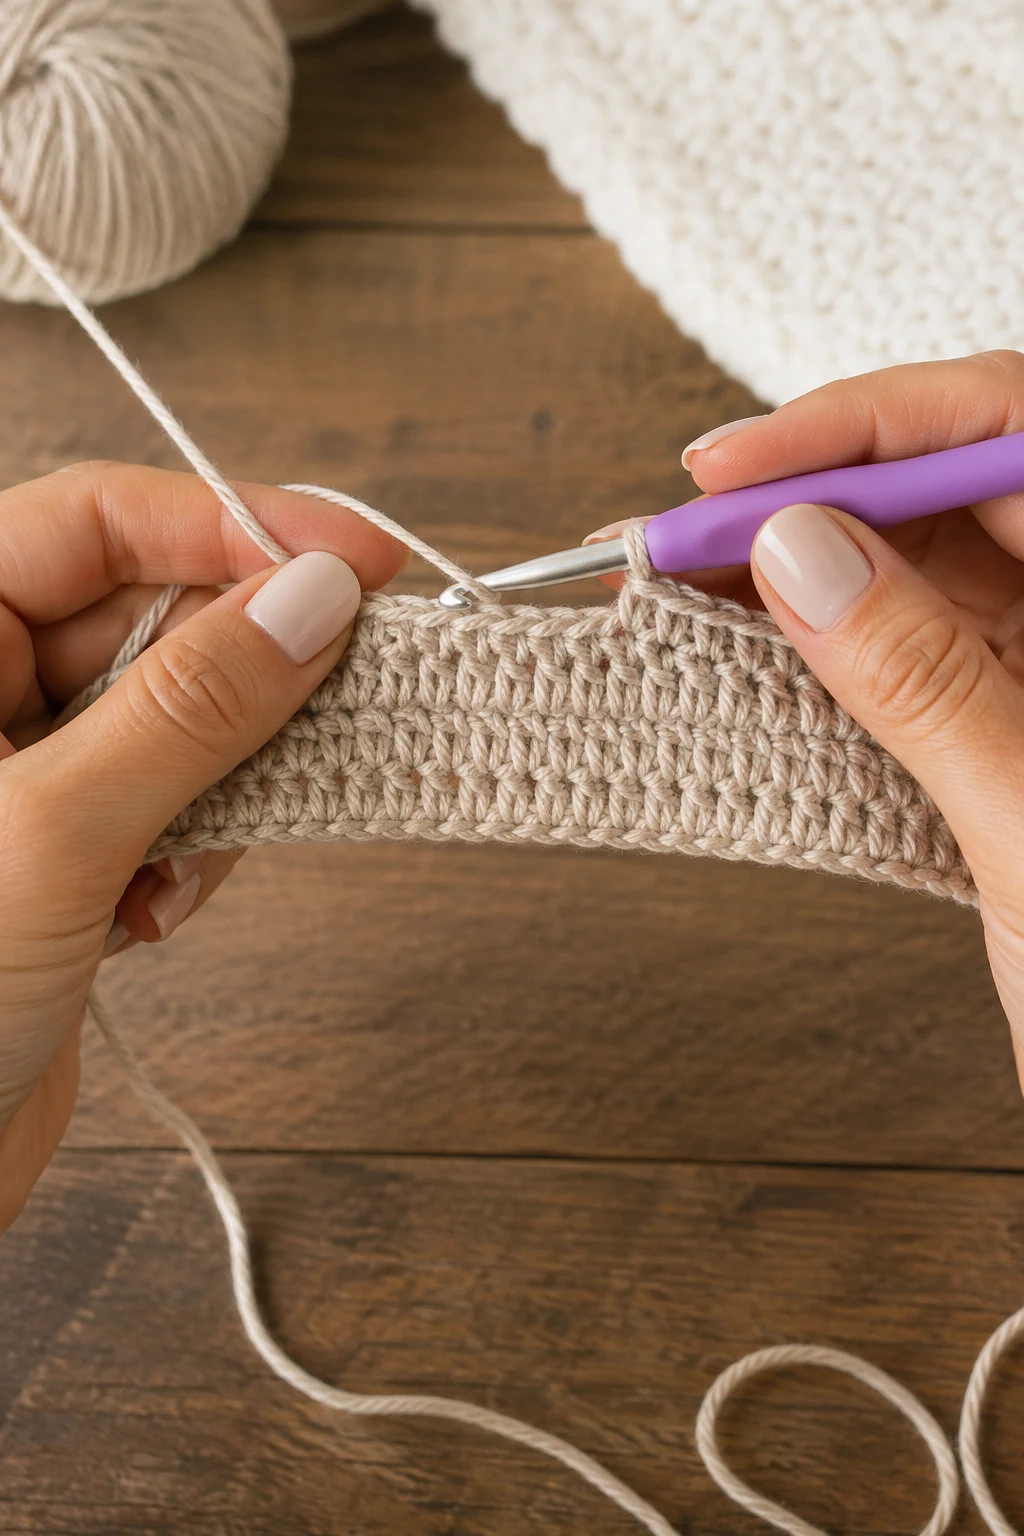
1. Make the First Rectangle — crochet
This creates the first half of your poncho.
- Ch 82.
- Row 1: Work 1 dc in the 4th ch from hook, then 1 dc in every remaining chain. [80 dc]
- Ch 2, turn.
- Row 2: Work 1 dc BLO across every stitch. [80 dc]
- Repeat Row 2 until your rectangle measures 30 inches (76 cm) from the starting edge.
- Finish after approximately 54-58 rows, depending on your personal tension.
- FO, leaving a 10-inch tail.
Pro Tip: Count your stitches every few rows to keep the rectangle perfectly even.
2. Crochet the Second Rectangle
This creates the matching side.
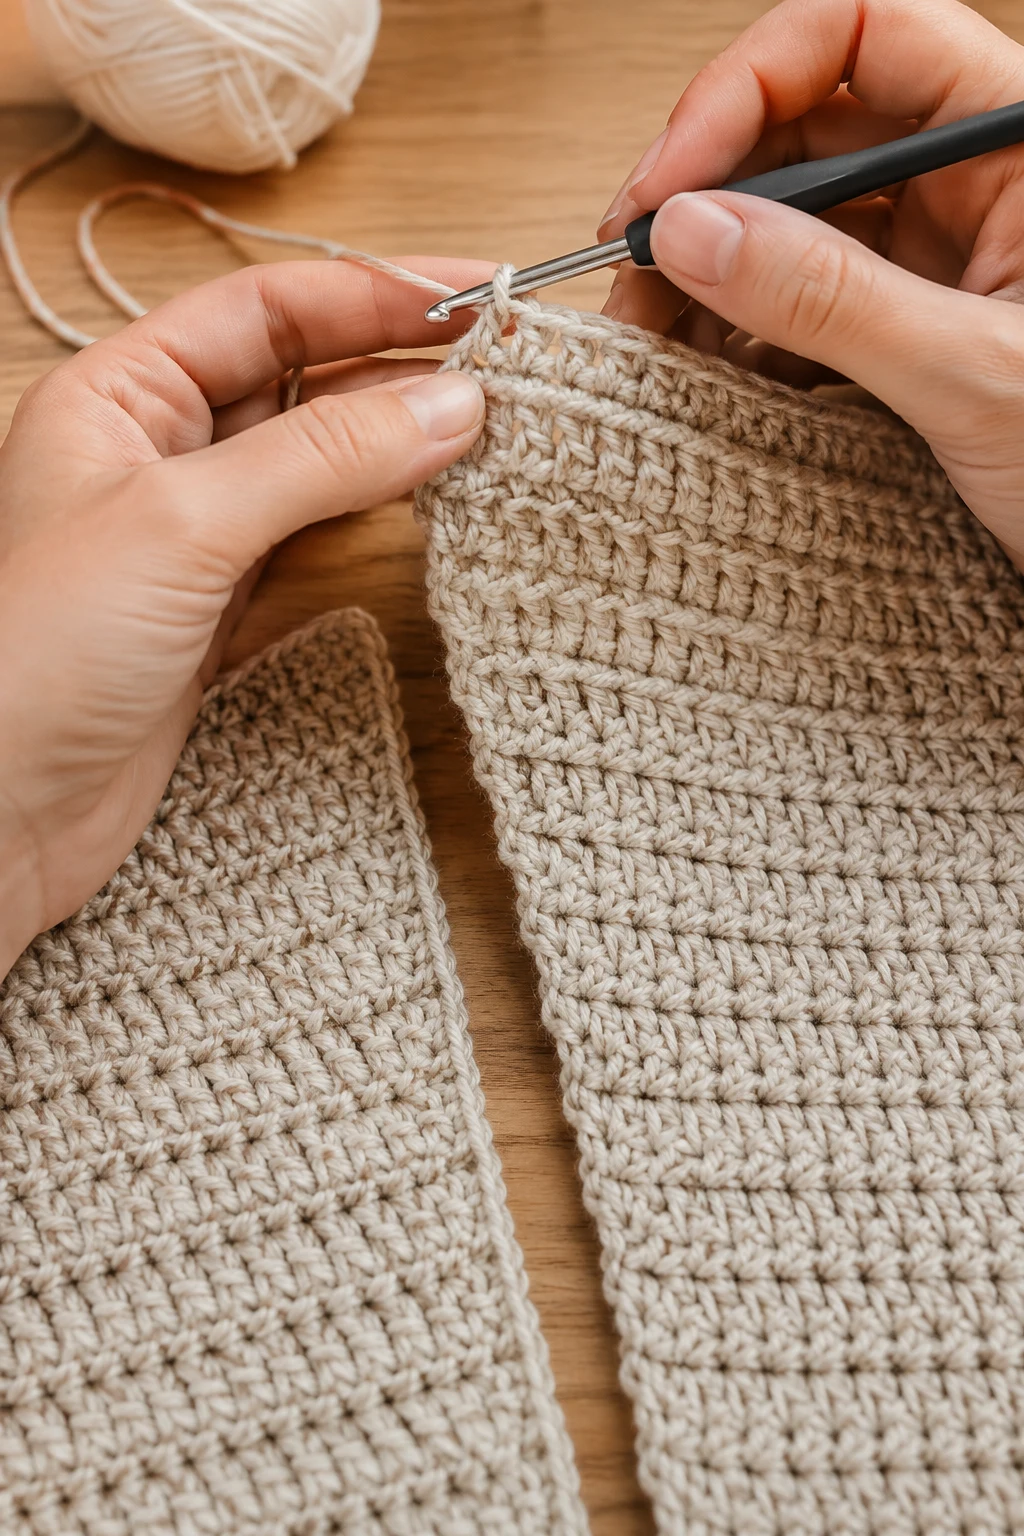
- Repeat the instructions from Part 1 exactly.
- Compare both rectangles.
- Measure carefully to ensure they are identical.
- Lightly steam block if one rectangle is slightly larger.
Pro Tip: Blocking before assembly makes joining much easier and gives cleaner edges.
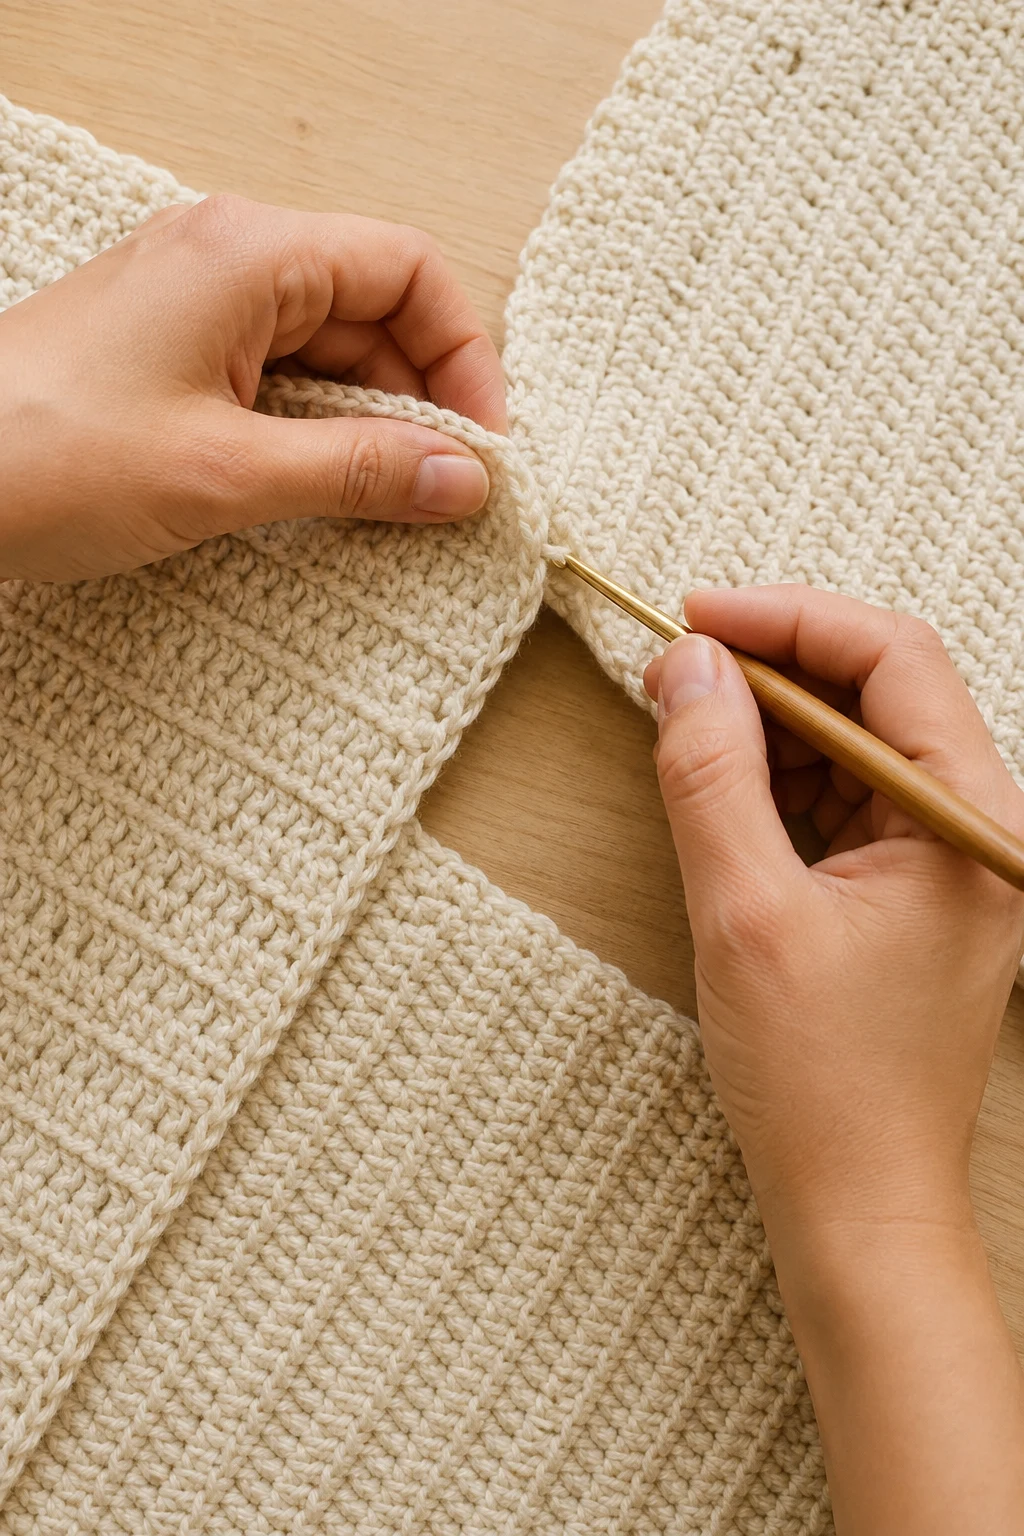
3. Join the Shoulder Seam — crochet
This transforms the rectangles into the classic poncho shape.
- Lay both rectangles flat with the RS facing upward.
- Rotate one rectangle 90 degrees.
- Align the short edge of Rectangle A with the long edge of Rectangle B.
- Using sl st or whip stitch, sew 15 inches (38 cm).
- Repeat on the opposite side.
- Leave the center opening unstitched for the neckline.
The neck opening should measure approximately 12 inches (30 cm).
Pro Tip: Use stitch markers every 4 inches to keep your seam perfectly aligned.
4. Add the Neck Border
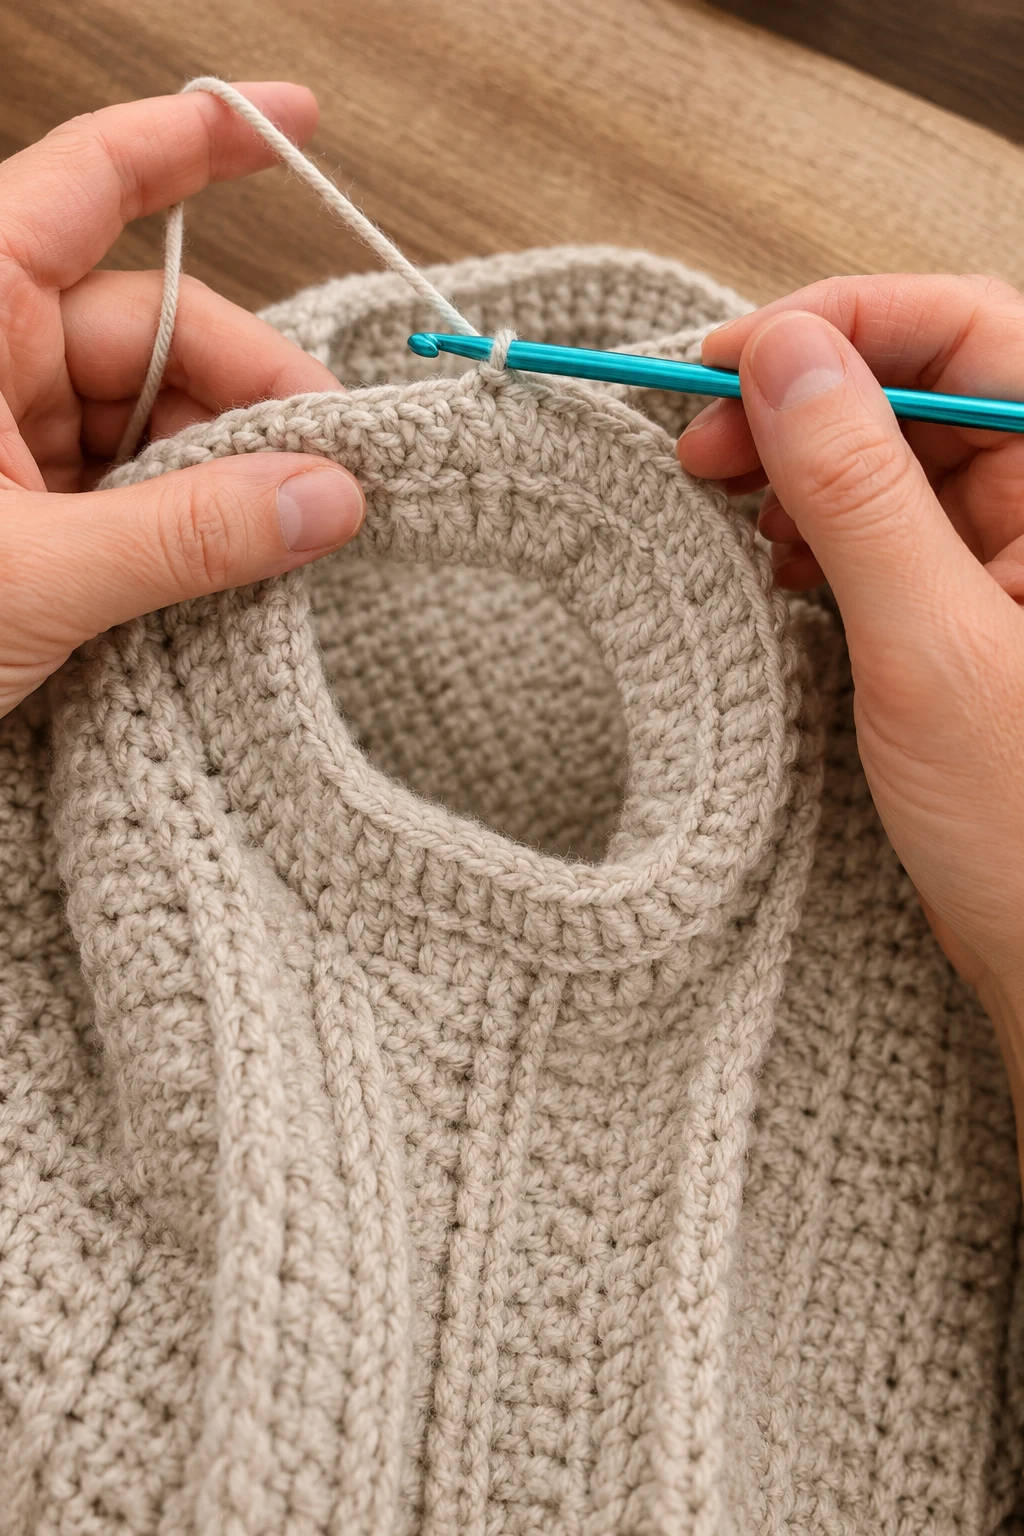
This finishes the neckline neatly.
- Join yarn anywhere around the neck opening.
- Ch 1.
- Work 1 sc evenly around the neckline.
- Join with a sl st.
- Repeat for 3 rounds.
- FO and weave in the end.
If you prefer a slightly taller collar, continue for 6-8 rounds instead.
Pro Tip: Keep the border relaxed so the neckline stays comfortable.
5. Add the Bottom Border
This gives the poncho a polished finish.
- Join yarn along the lower edge.
- Ch 2.
- Work 1 dc in every stitch around the bottom.
- Join with a sl st.
- Repeat for 4 rounds.
- FO.
The border naturally adds weight, helping the poncho drape beautifully.
Pro Tip: Maintain consistent stitch height to avoid rippling.
6. Finish and Block
This final step helps your poncho look professionally finished.
- Weave in every yarn tail using the yarn needle.
- Check both seams for gaps.
- Wash gently according to the yarn label.
- Lay flat on blocking mats.
- Pin the corners square.
- Allow to dry completely.
- Lightly steam if needed.
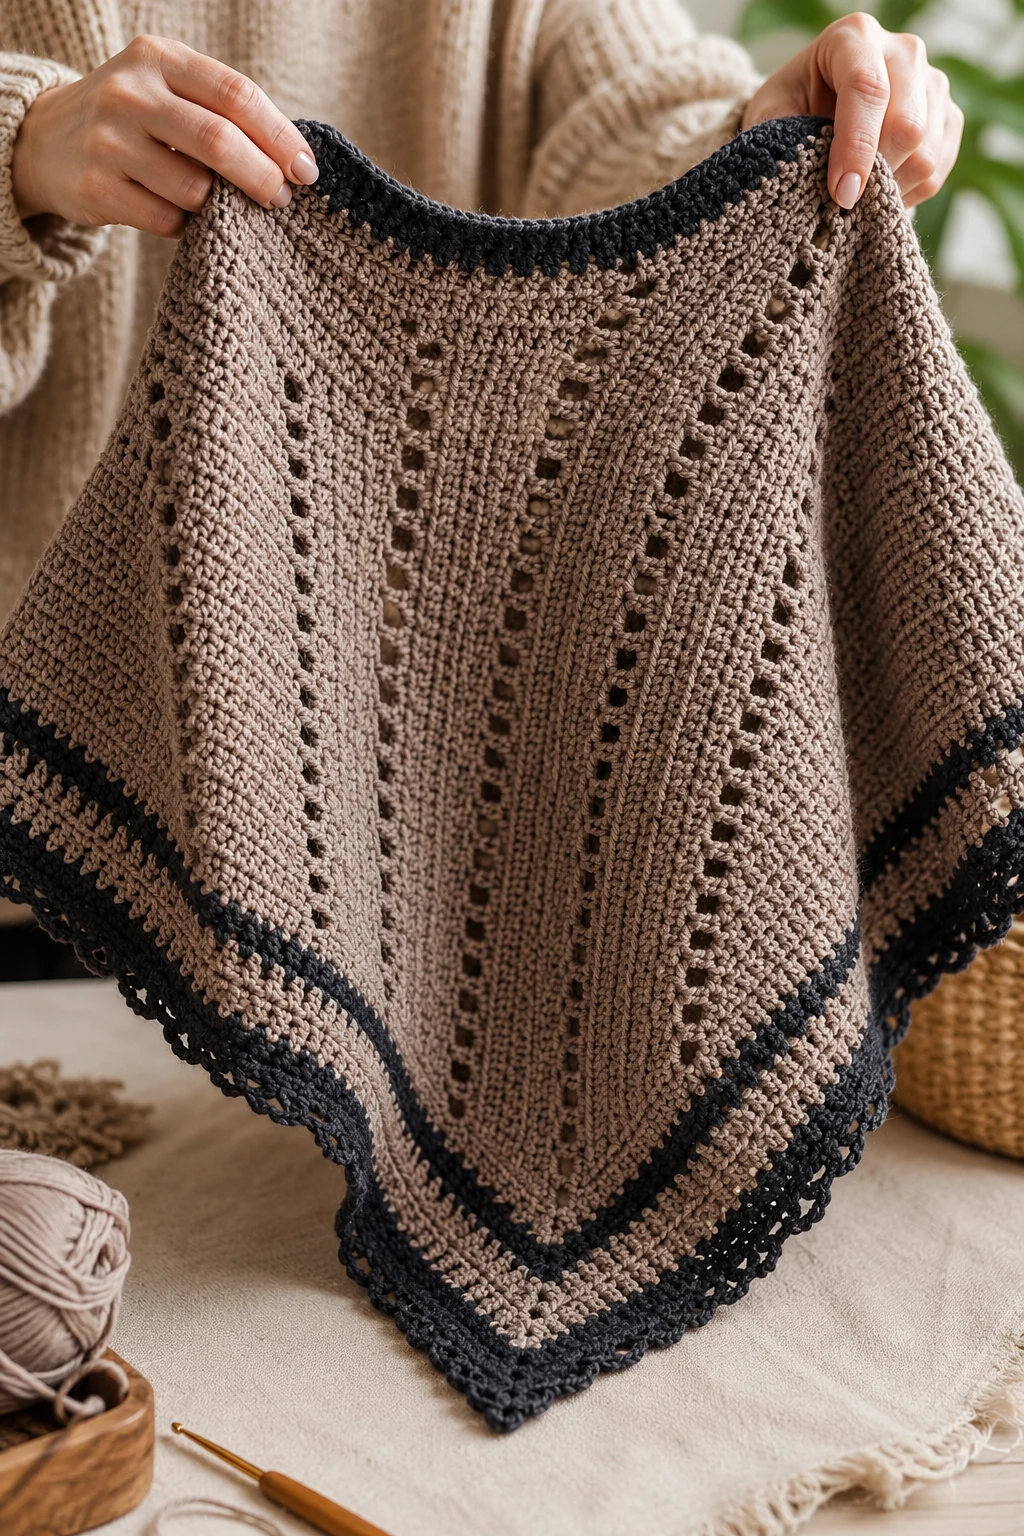
Your finished poncho should have soft drape with comfortable movement and subtle textured ridges, making it ideal as one of your favorite crochet poncho patterns for women or everyday handmade wardrobe pieces.
Pro Tip: Never overstretch acrylic while blocking—gentle shaping is all you need.
Congratulations—you’ve finished your very own cozy ridge poncho! I genuinely love making this design because it’s relaxing to crochet while still creating something you’ll actually wear for years. Whether you discovered this tutorial while looking for free crochet patterns poncho ideas or wanted to try a simple crochet poncho design, I hope this project gave you confidence to keep creating. I’d absolutely love to see your finished poncho, so feel free to share a photo and tag the blog. Seeing your color choices and personal touches always makes my day. Happy crocheting until our next project!
What yarn works best for crochet poncho patterns?
A worsted weight (Category 4) yarn is ideal for this project because it creates a warm fabric with excellent stitch definition while remaining easy for beginners to handle.
How long does it take to make this poncho?
Most beginners can finish this project in 12-18 hours of crocheting, while experienced crocheters may complete it over a relaxing weekend.
Why are rectangle-based crochet poncho patterns so popular?
Rectangle construction is easy to understand, requires very little shaping, and creates a flattering drape, making it one of the simplest approaches for beginners while still producing stylish, wearable results.