
Mustard Crochet Bow Bag With Adjustable Strap
The Crochet Handbag Pattern I’m sharing today is one of those projects that looks delightfully special but is actually built from simple crochet shapes. I designed this version as a soft, structured bow handbag with two matching panels, a narrow side-and-bottom gusset, an adjustable strap, an optional front pocket, and one oversized bow. The reference video uses a similar panel-and-gusset construction with a convertible strap and separate bow; this written version keeps that overall construction while using mustard yellow throughout for one consistent finished piece.
Playful Crochet Handbag Pattern to Make This Weekend
This Crochet Handbag Pattern gives you a practical everyday bag with a cute statement bow and a strap you can wear over your shoulder or across your body.
Materials Needed
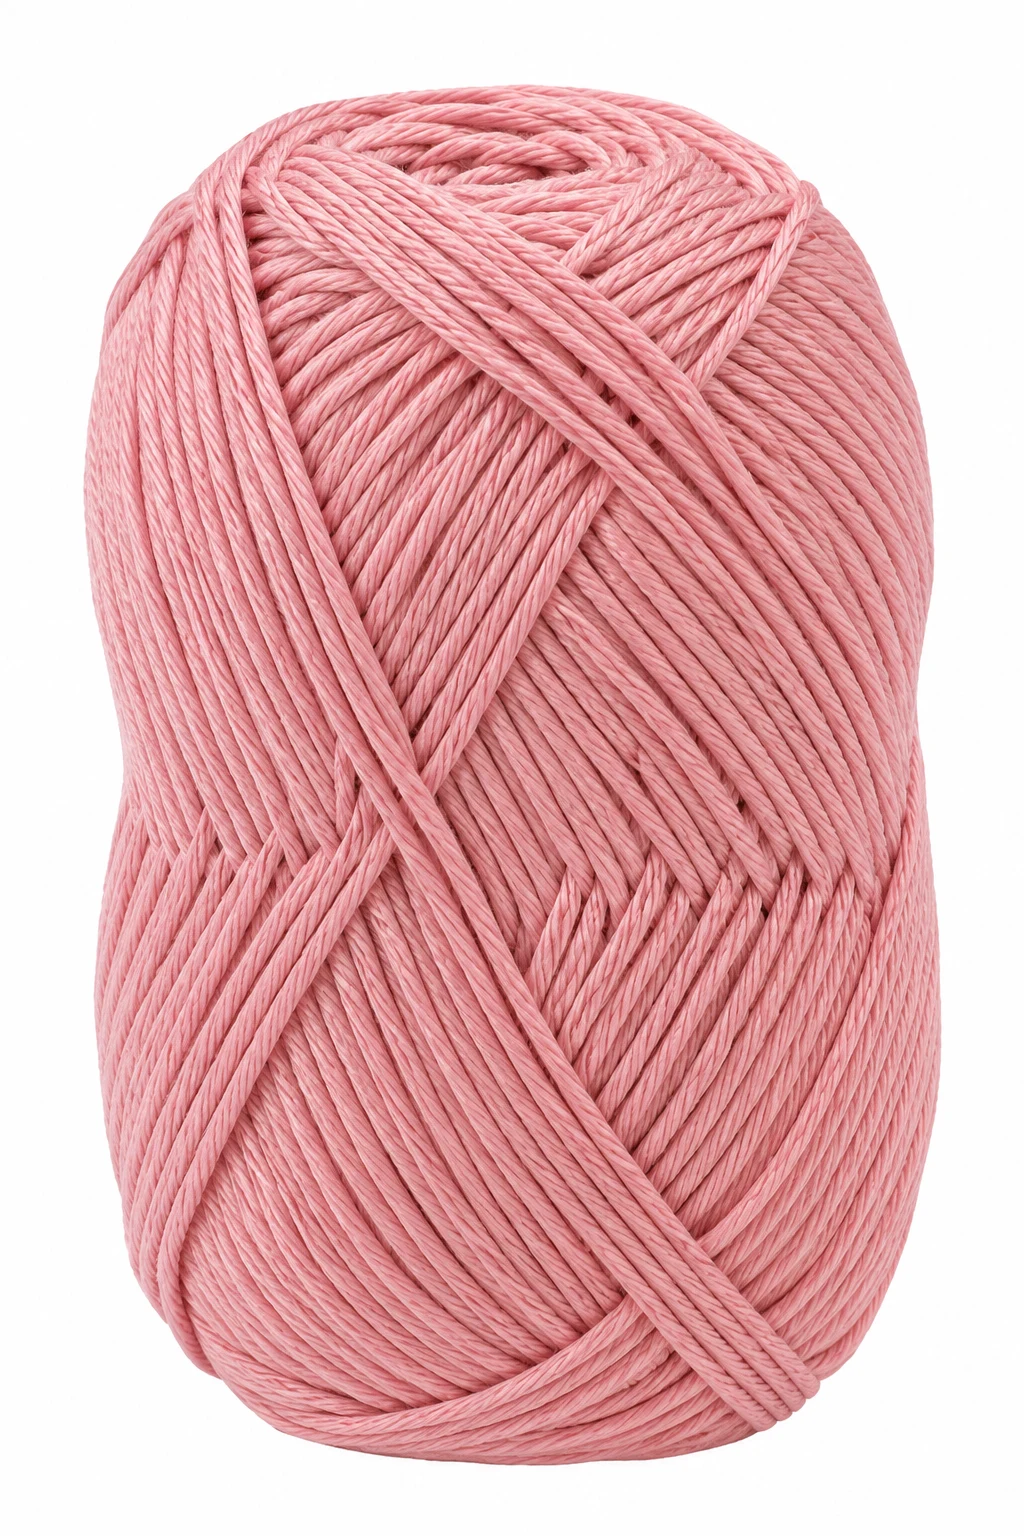
4 Seasons-style 10-ply yarn, approximately 200 g, mustard yellow — for the main bag panels, gusset, and structural pieces.
8-ply yarn held double, approximately 100 g total, mustard yellow — for the bow and decorative sections where a slightly fuller fabric is helpful.
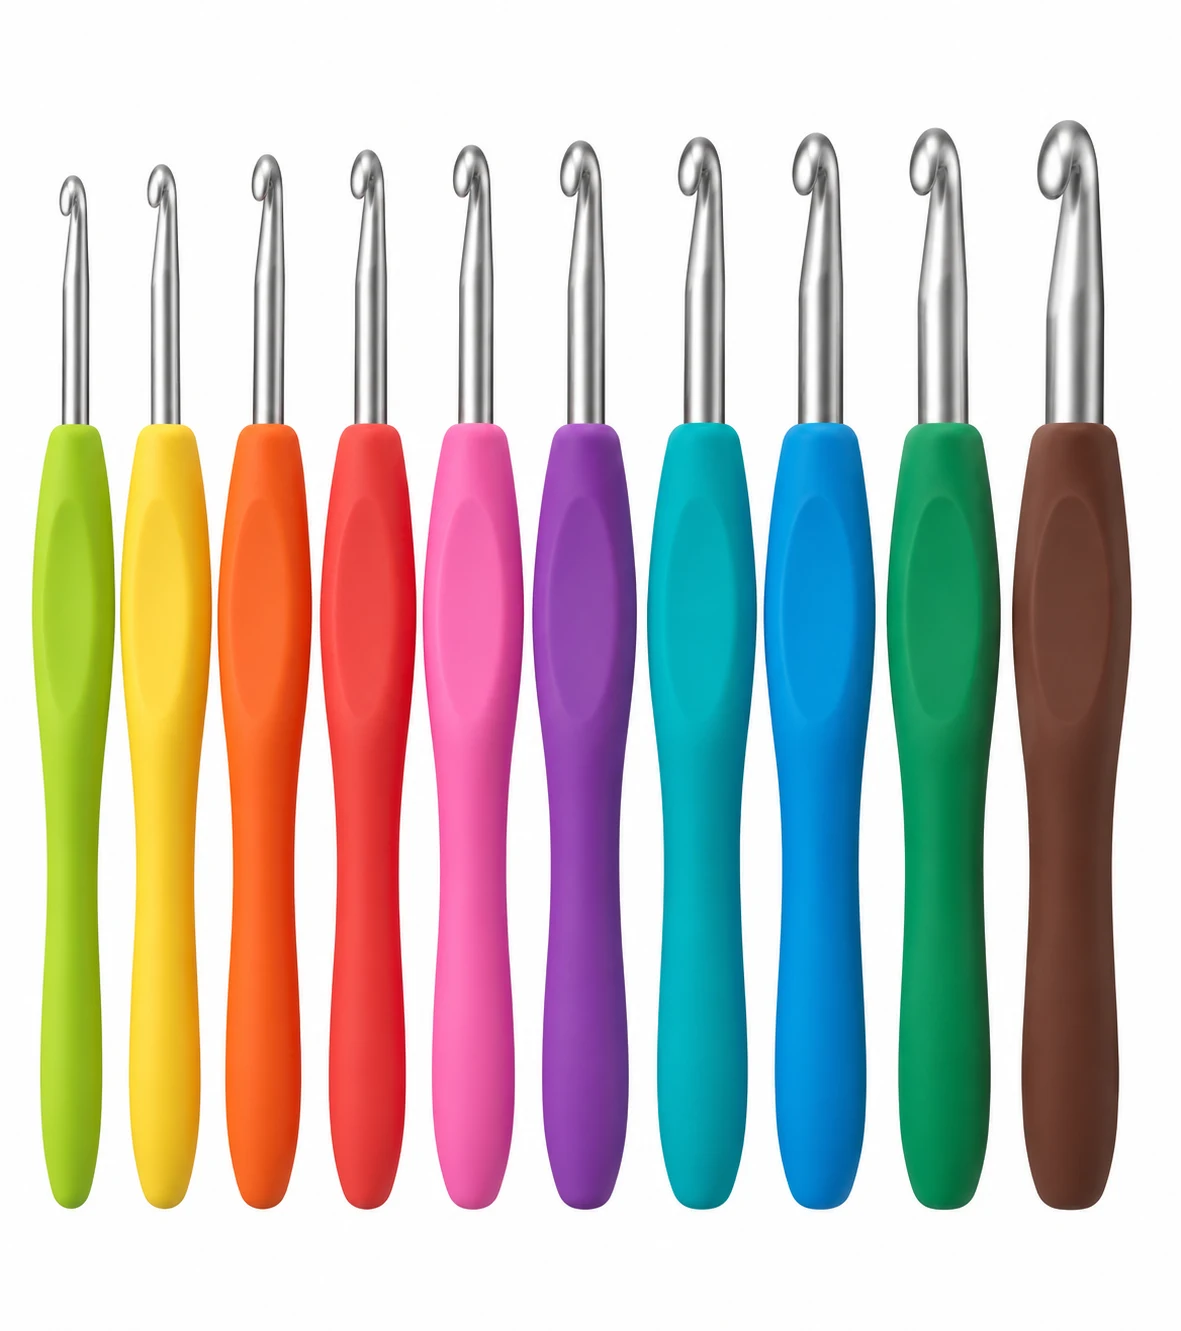
3.5 mm crochet hook — use the same hook throughout the pattern.
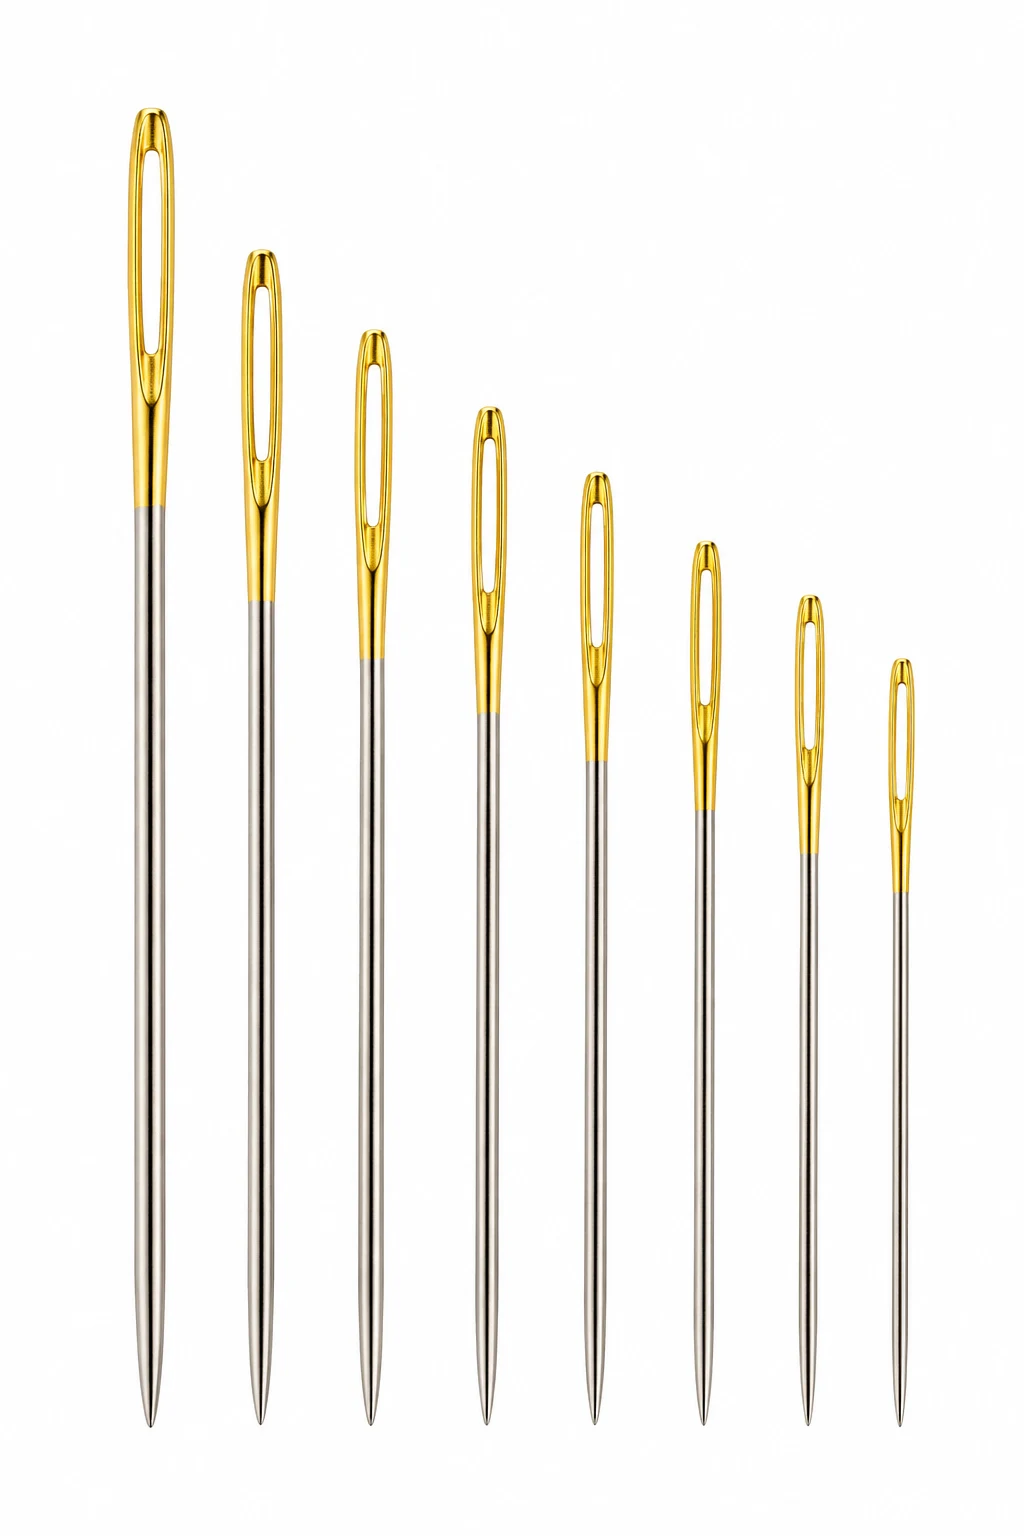
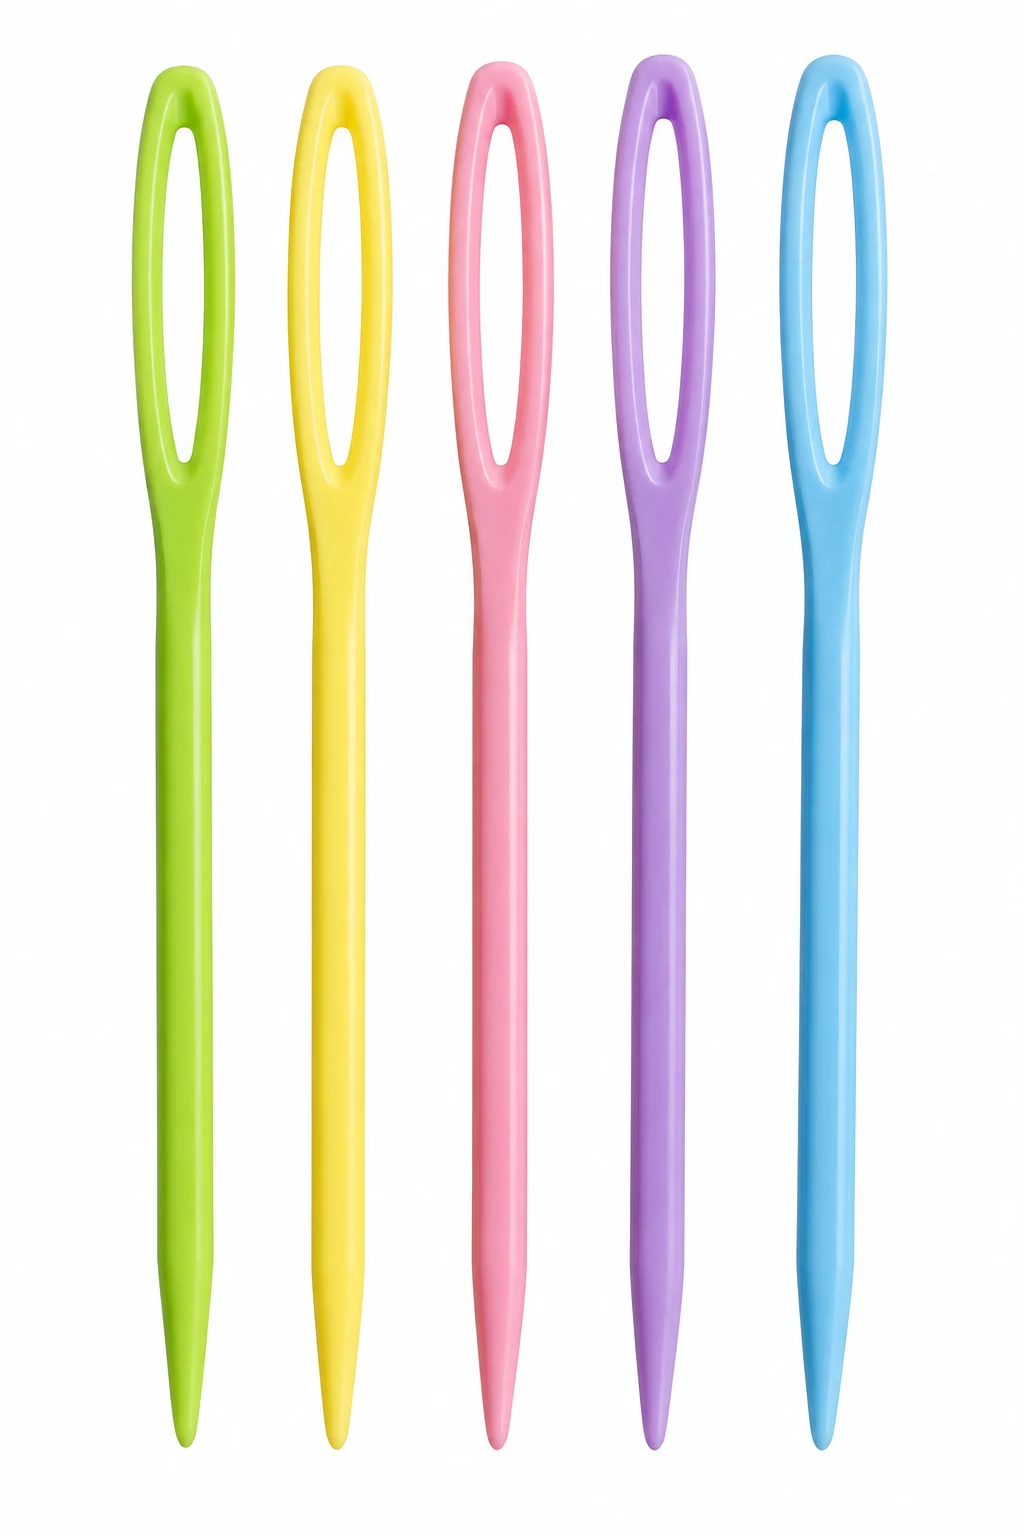
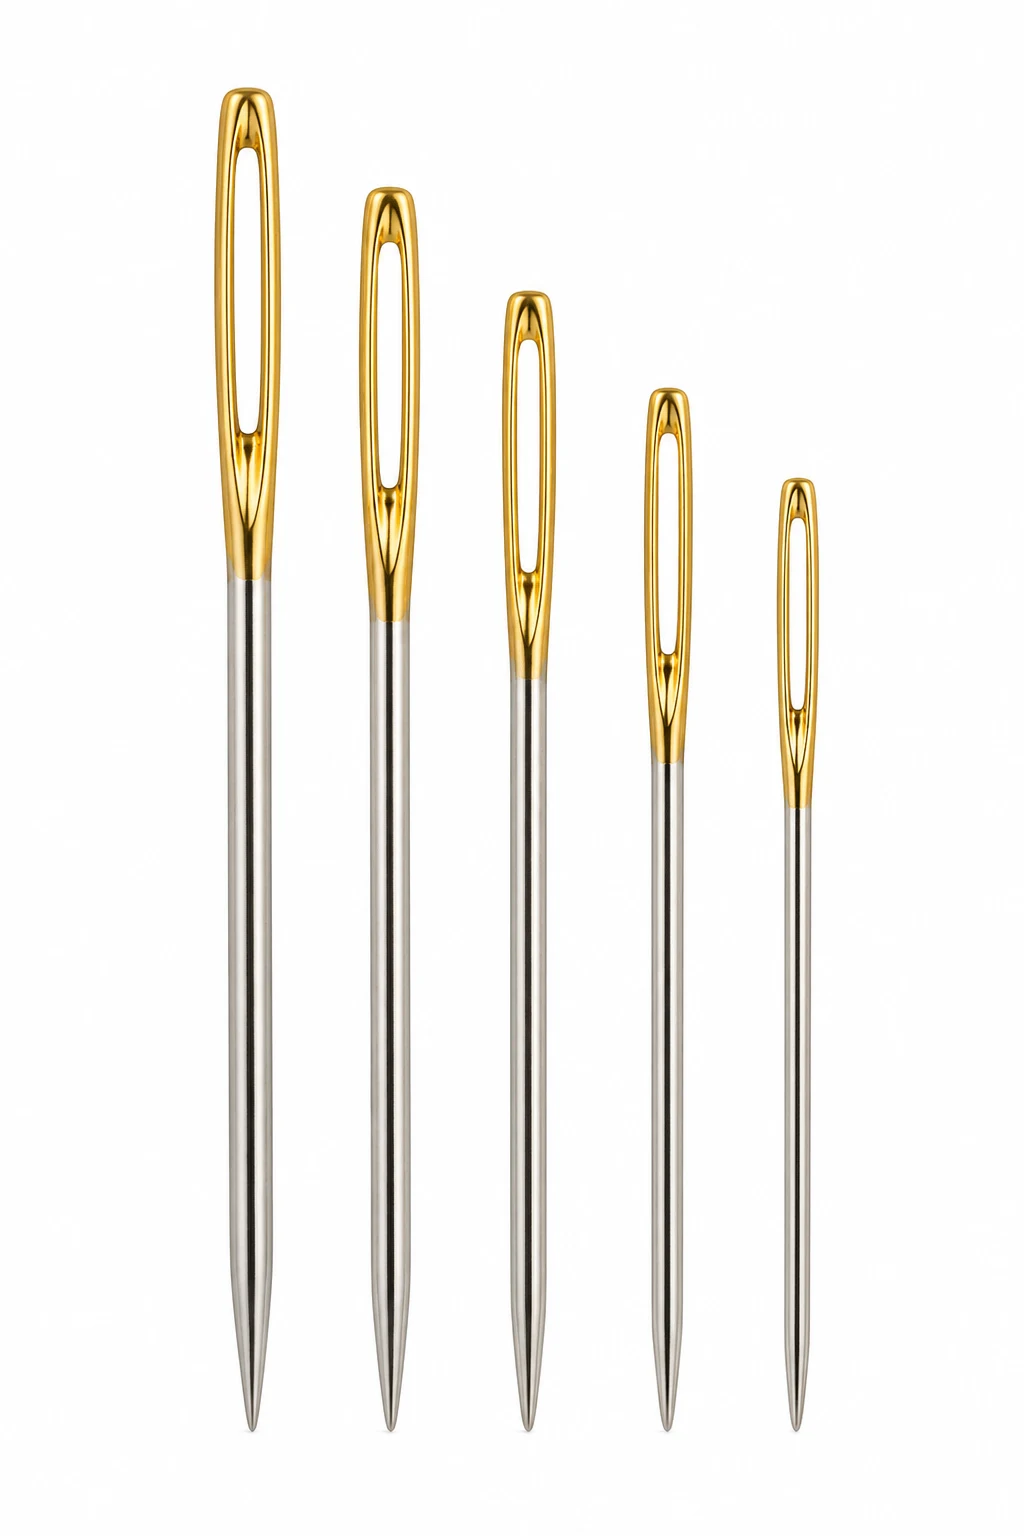
Tapestry needle — for sewing the panels, bow, pocket, strap, and weaving in ends.
Strong sewing thread, mustard yellow — for reinforcing the strap attachments.
2 adjustable strap sliders/rings — approximately 25–30 mm wide.
2 small buttons, optional — for the optional pocket closure.
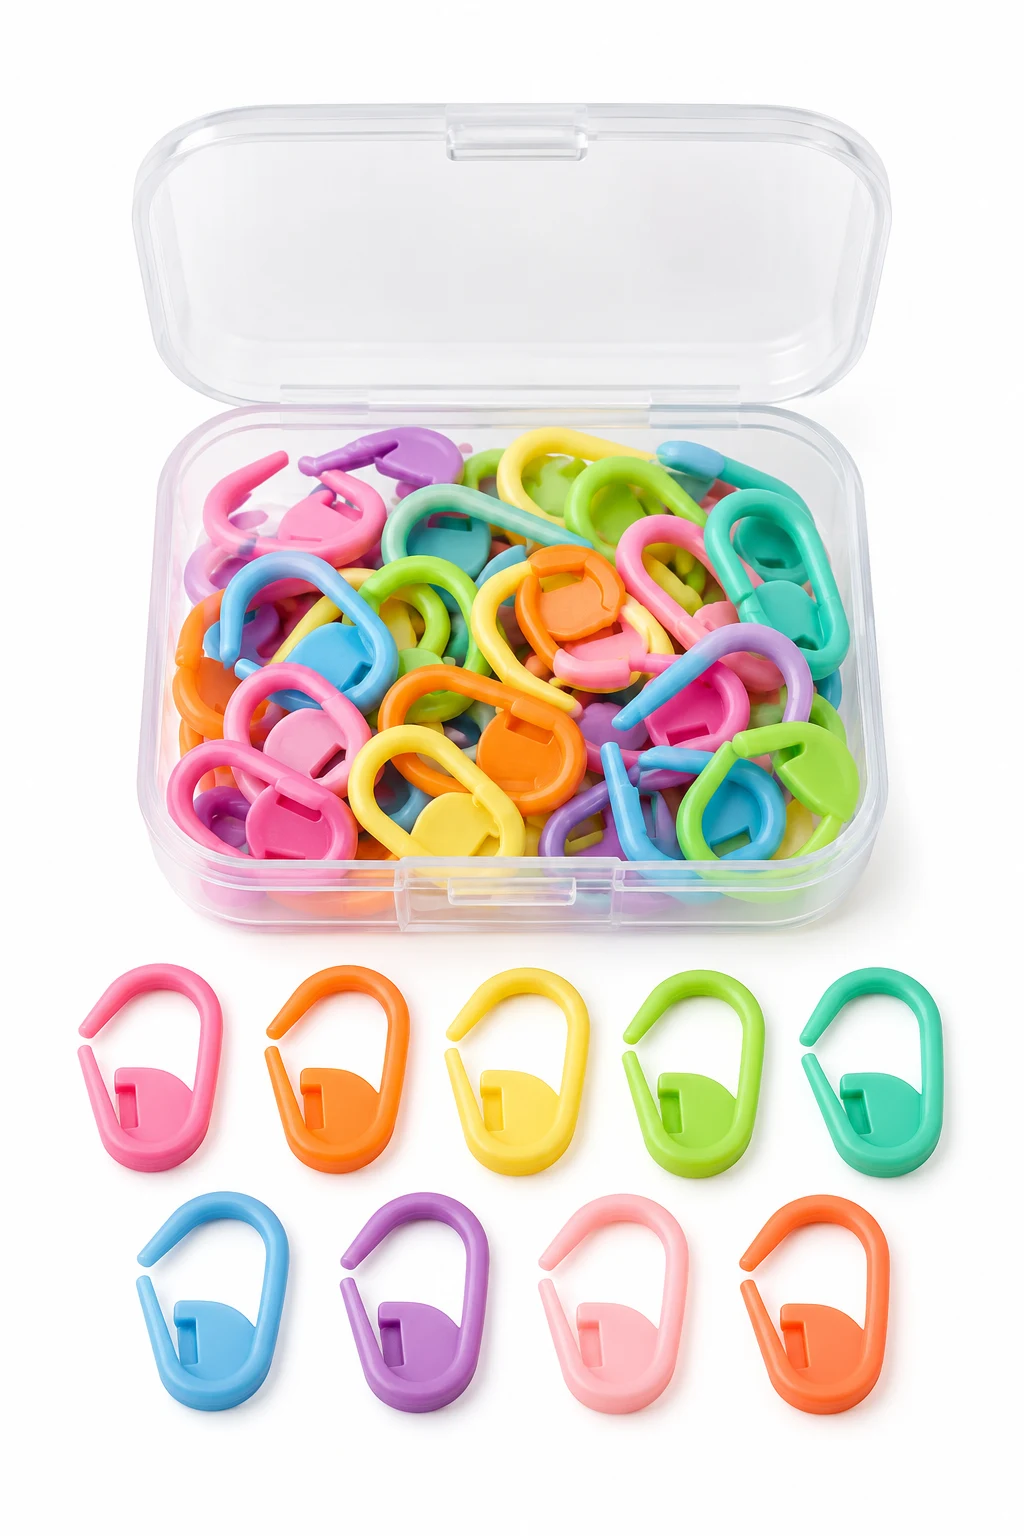
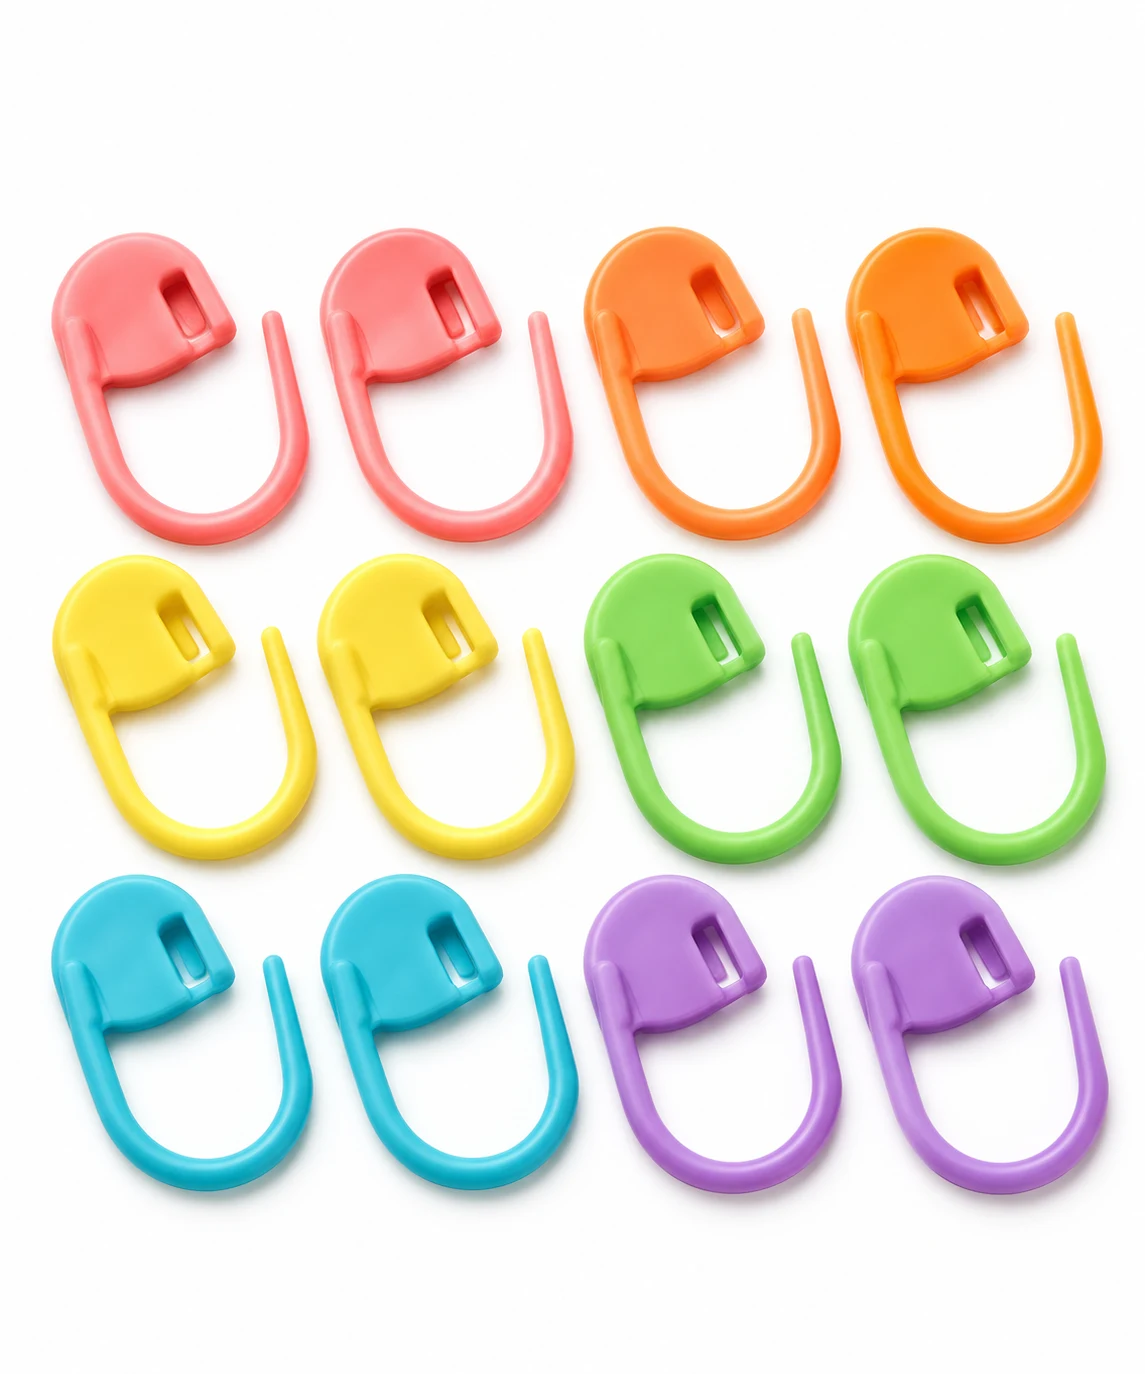
4 stitch markers or locking pins — for corners, panel alignment, and strap placement.
Sharp scissors.
Tape measure.
Flat blocking surface or clean towel for gently shaping the finished pieces.
Gauge (Approximate): 16 hdc × 12 rows = approximately 10 × 10 cm using the 3.5 mm hook and intended tension. Gauge can vary slightly with yarn, so prioritize the finished measurements and stitch counts.
Quantity: 2 main panels, 1 continuous side-and-bottom gusset, 1 adjustable strap, 1 optional pocket, 1 large bow, and 1 bow center band.
Color: mustard yellow throughout.
The reference tutorial lists a 10-ply main yarn, 8-ply yarn combination, a 3.5 mm hook, needle, thread, optional buttons, and stitch markers or pins; it also breaks the project into panels, strap, side piece, pocket, border, bow, and assembly.
Abbreviations / Terms Used
ch — chain.
sc — single crochet.
hdc — half double crochet.
dc — double crochet.
tr — treble crochet.
sl st — slip stitch.
st/sts — stitch/stitches.
BLO — back loop only.
FLO — front loop only.
rep — repeat.
FO — fasten off.
RS — right side.
WS — wrong side.
Gusset — the long narrow crocheted section forming the bottom and sides of the handbag.
Slider — adjustable hardware that allows the strap length to change.
What You Should Keep in Mind
Keep your hdc tension even and fairly firm. A very loose fabric can make the handbag stretch once you add your everyday essentials.
Count your stitches at the end of every row, especially on the two main panels. Matching panels make assembly much easier.
When working the gusset, avoid pulling the joining stitches too tightly. The side piece needs enough flexibility to turn neatly around the corners.
For this Crochet Handbag Pattern, keep the strap reinforcement especially strong because the strap carries the weight of the finished bag.
Free Pattern: Crochet Handbag Pattern
Now the fun part begins! I’ll build this Crochet Handbag Pattern from the panels outward, then add the adjustable strap and oversized bow.
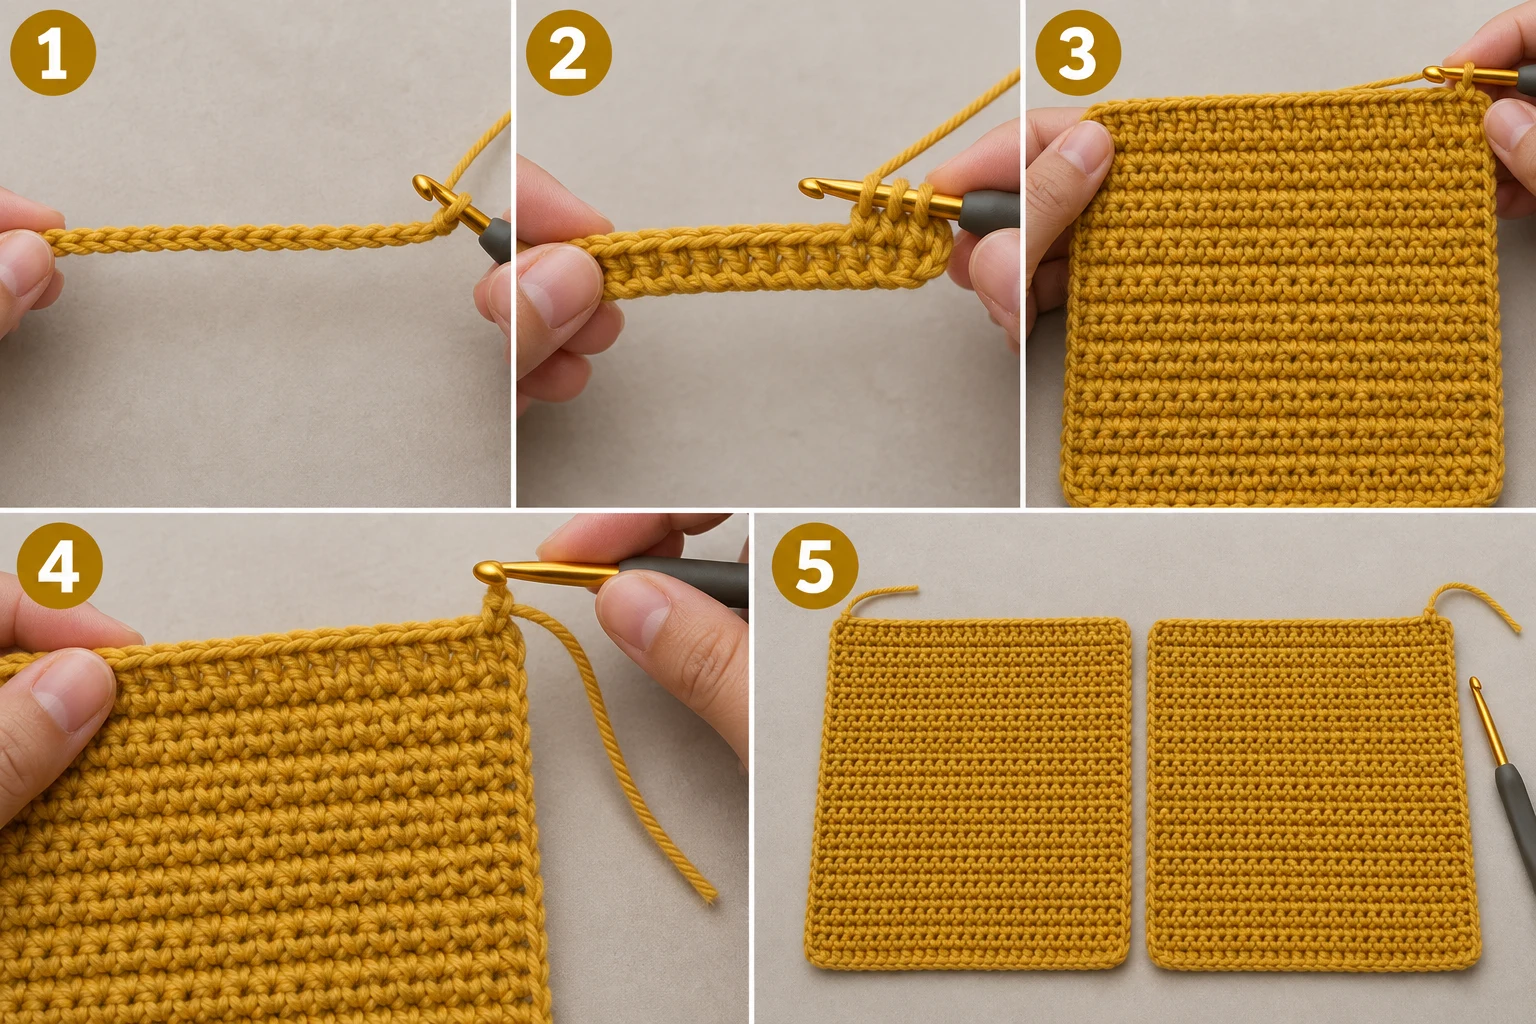
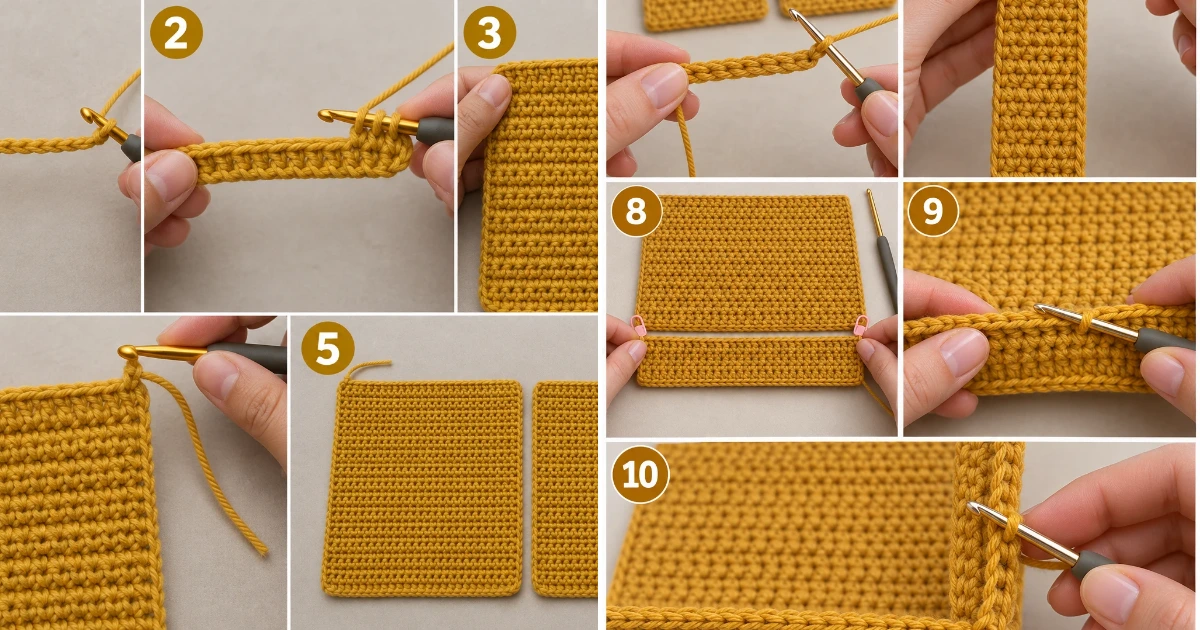
1. Make the First Foundation Chain — Crochet
Action: Chain 33 using mustard yellow 10-ply yarn and the 3.5 mm hook.
Detailed instructions: Make a slip knot and place it on your hook without tightening it excessively. Yarn over and pull through the loop to create the first chain. Continue making chain stitches until you have exactly 33 chains. Keep the chain relaxed and uniform.
Expected result: You have a straight foundation chain containing 33 visible V-shaped chain stitches.
Check yourself: Count from the hook backward and confirm there are exactly 33 chains.
2. Work the First HDC Row — Crochet
Action: Work 31 hdc across the foundation chain.
Detailed instructions: Yarn over and insert the hook into the third chain from the hook. Yarn over and pull up a loop so three loops are on the hook. Yarn over once more and pull through all three loops to complete the first hdc. Continue with one hdc in each remaining chain across the foundation, producing 31 hdc.
Expected result: The chain has become the lower edge of a rectangular crochet fabric.
Check yourself: You should have exactly 31 hdc stitches across the row.
3. Continue Rows 2 Through 24 — Crochet
Action: Work 23 additional rows of 31 hdc to complete the first main panel.
Detailed instructions: Chain 2 and turn. Work 1 hdc in the first stitch and 1 hdc in every stitch across, maintaining 31 hdc in every row. Repeat the same instruction until you have completed rows 2 through 24. Do not increase or decrease.
Expected result: You have one straight rectangular panel measuring approximately 19–20 cm wide by 20 cm tall.
Check yourself: Count the final row and confirm 31 stitches; then count the rows and confirm 24 total.
4. Fasten Off the First Panel
Action: Fasten off the completed first panel.
Detailed instructions: Cut the working yarn, leaving approximately a 15 cm tail. Yarn over with the final loop and pull the cut end completely through that loop. Tighten gently without distorting the final stitch.
Expected result: The first panel is detached from the working yarn and ready for assembly.
Check yourself: Tug the tail gently; the final stitch should remain secure.
5. Crochet the Second Main Panel
Action: Repeat the 33-chain foundation and 24-row, 31-hdc construction to make a matching second panel.
Detailed instructions: Using mustard yellow, make another chain of 33. Work 31 hdc across the foundation, then complete rows 2 through 24 with 31 hdc in every row. Fasten off with a 15 cm tail.
Expected result: You have two identical rectangular panels.
Check yourself: Stack the panels together and confirm that all four corners and side edges align.
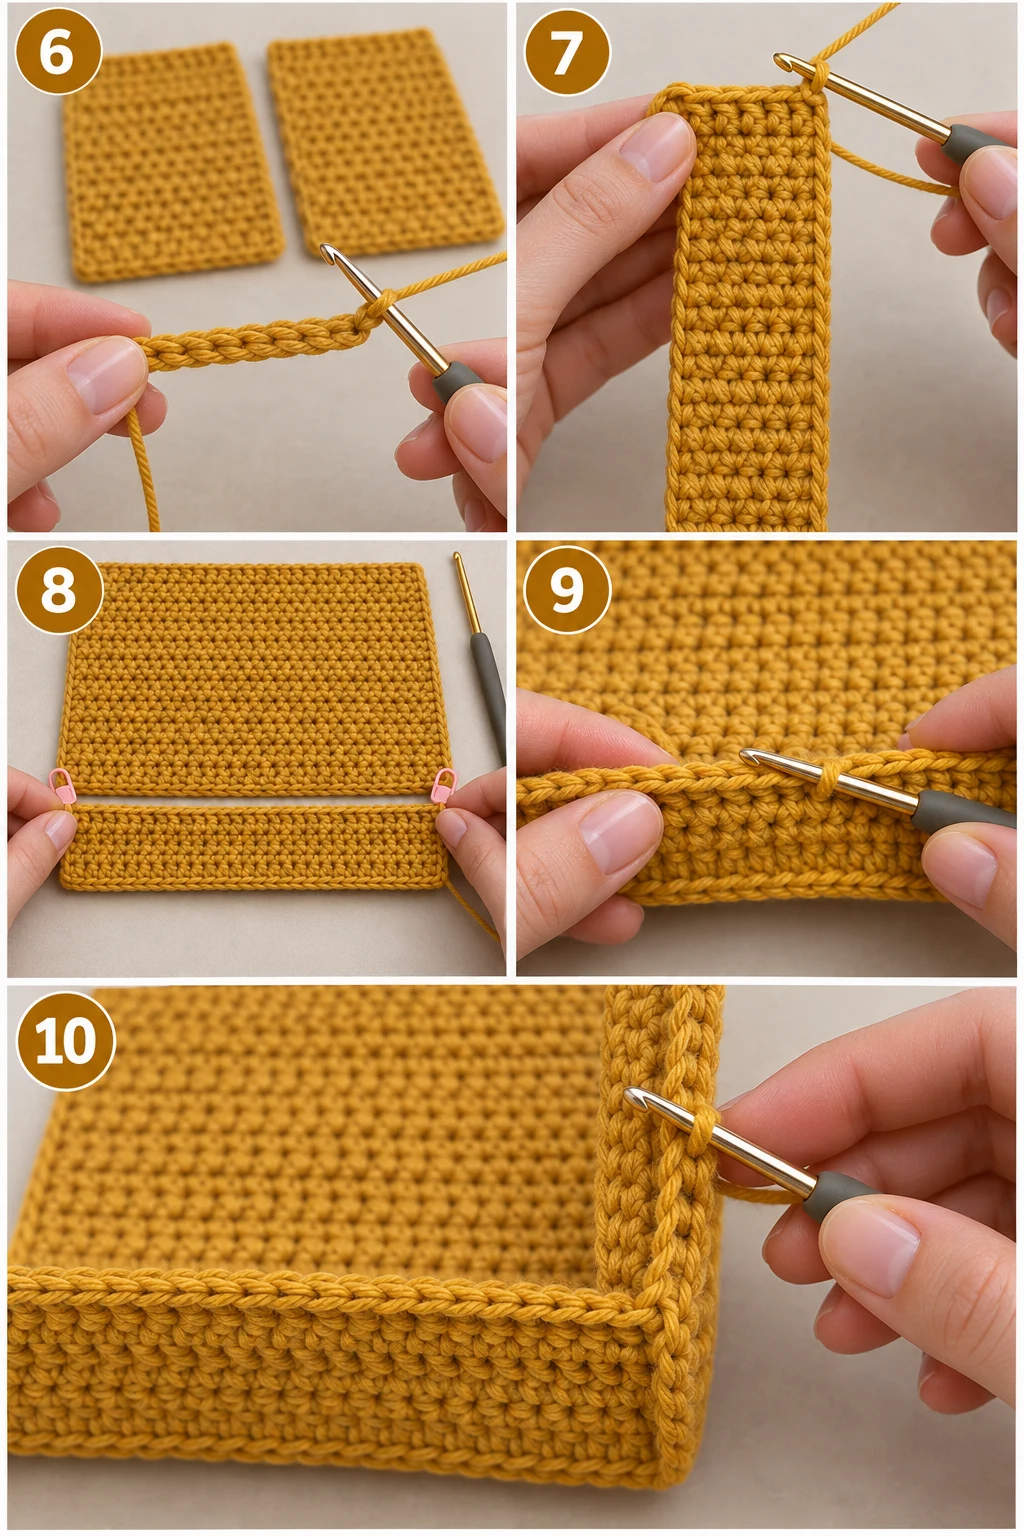
6. Make the Gusset Foundation
Action: Chain 9 to begin the side-and-bottom gusset.
Detailed instructions: Attach mustard yellow yarn and make a slip knot. Chain 9 stitches, keeping the chain flexible because it will become the depth of the bag.
Expected result: You have a short nine-chain foundation for the gusset.
Check yourself: Count nine chain V-shapes before continuing.
7. Work the Gusset Length
Action: Crochet 70 rows of 7 hdc to form the long gusset strip.
Detailed instructions: Chain 2 and turn. Work 1 hdc into the third chain from the hook and 1 hdc into each remaining chain for 7 hdc. Continue rows 2 through 70 with chain 2, turn, and 7 hdc across every row. Keep both long edges straight.
Expected result: You have one long, narrow mustard yellow strip approximately 5 cm wide and about 70 rows long.
Check yourself: Confirm the strip has 7 stitches across its width and 70 rows along its length.
8. Mark the Gusset Corners
Action: Place markers at the gusset points that will meet the lower corners of the first panel.
Detailed instructions: Lay the first panel flat. Position the center of the 70-row gusset along its bottom edge and mark the two points where the gusset begins turning upward at the side corners. Keep the markers symmetrical.
Expected result: The gusset has clearly identified turning points for the bag corners.
Check yourself: The marked points should sit at equal distances from the center of the gusset.
9. Join the Gusset to the First Panel
Action: Slip stitch the gusset to the bottom edge of the first panel.
Detailed instructions: Insert the hook through the next gusset stitch and the corresponding stitch along the panel’s bottom edge. Yarn over and pull through both layers and the loop already on the hook to complete one sl st. Continue matching one gusset stitch to one panel stitch across the bottom edge.
Expected result: The center portion of the gusset is securely attached to the bottom of the first panel.
Check yourself: The joining seam should lie flat without large gaps between the gusset and panel.
10. Turn the Gusset Up the First Side
Action: Continue the slip-stitch seam from the bottom corner up the first side edge.
Detailed instructions: At the marked turning point, gently bend the gusset upward so it follows the panel’s side edge. Match each gusset stitch to the corresponding panel edge stitch and work one sl st through both layers at each position.
Expected result: The gusset forms a clean 90-degree turn from the bottom toward the side of the handbag.
Check yourself: The corner should turn smoothly without bunching or a sharp fold.
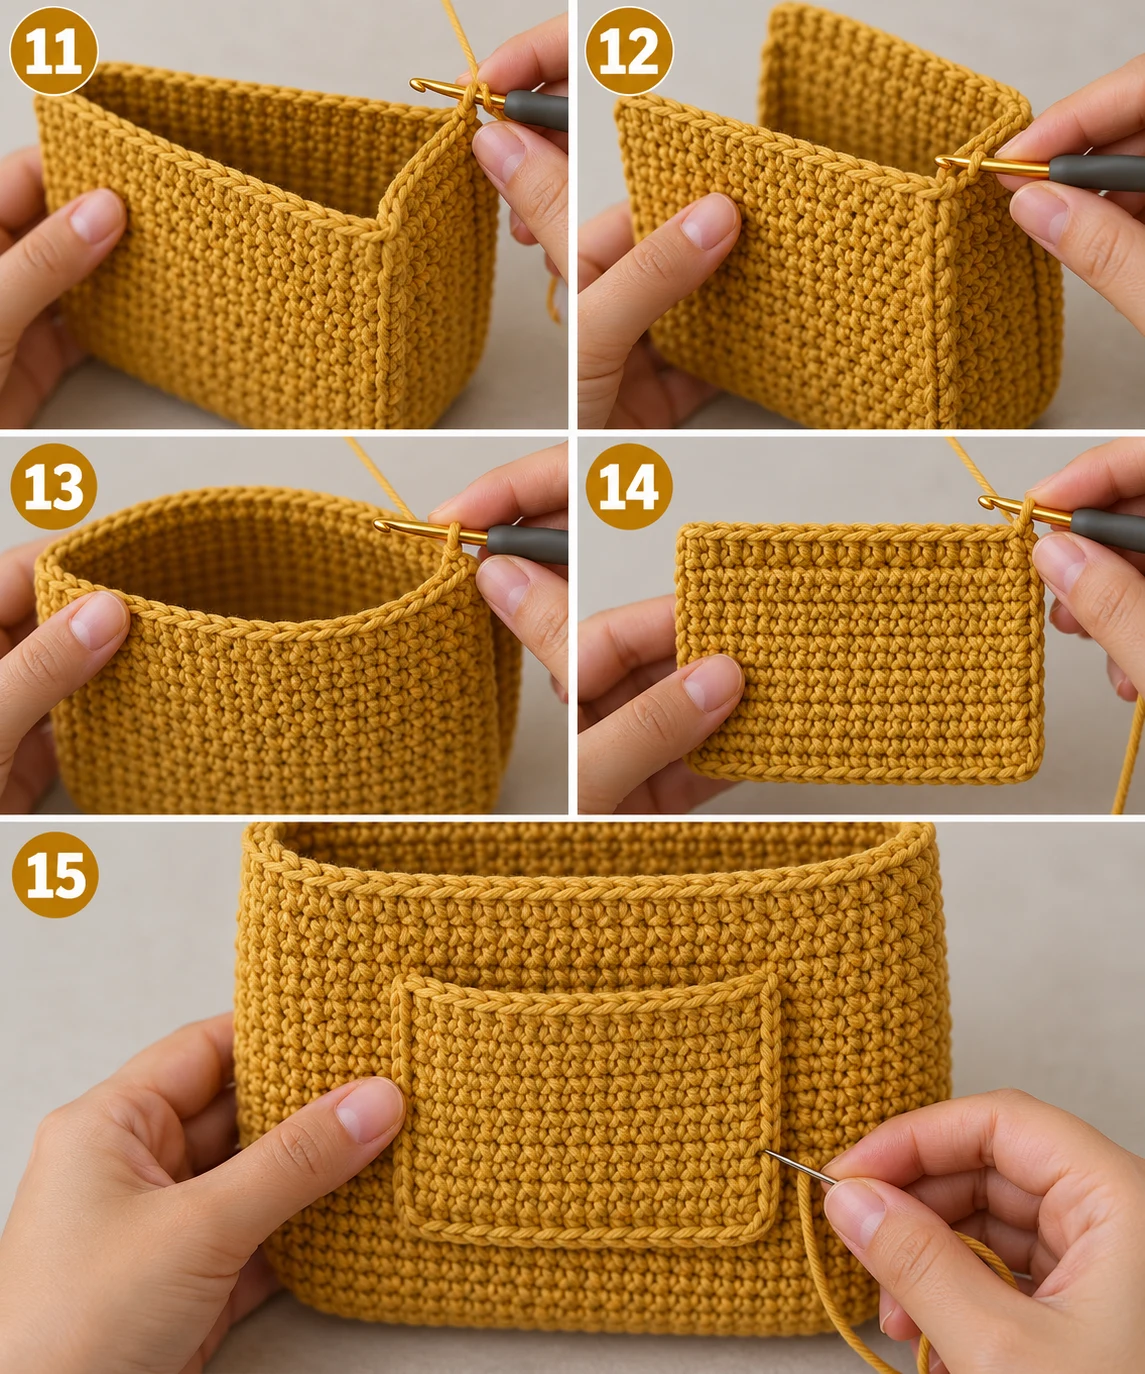
11. Complete the Gusset Around the First Panel
Action: Continue slip stitching the gusset along the remaining side and bottom edge of the first panel.
Detailed instructions: Keep matching one gusset stitch to one corresponding panel edge stitch. Work the seam around the first side, across the remaining bottom section, and upward toward the opposite side, stopping once the gusset reaches the opposite corner.
Expected result: The gusset forms a complete U-shape around the bottom and both sides of the first panel.
Check yourself: The gusset should now outline three sides of the panel while the top remains completely open.
12. Attach the Second Panel
Action: Slip stitch the second panel to the remaining exposed gusset edges.
Detailed instructions: Place the second panel over the open side of the bag, keeping its right side facing inward toward the first panel. Match its stitches to the exposed gusset stitches and work one sl st through both layers around the bottom and two side edges.
Expected result: The handbag body is assembled, with two panels separated by the narrow gusset and an open top.
Check yourself: Look through the top opening and confirm both panels sit parallel rather than twisted.
13. Add the Top Border
Action: Work one round of sc around the complete top opening.
Detailed instructions: Attach mustard yellow yarn at one top corner. Work 1 sc evenly across the front top edge, around both gusset side edges, and across the back top edge. Join with a sl st to the first sc.
Expected result: The opening has a neat, slightly firmer single-crochet border.
Check yourself: The top edge should look even and should not flare outward.
14. Crochet the Optional Front Pocket
Action: Make a 21-chain foundation and work 12 rows of 18 hdc.
Detailed instructions: With mustard yellow yarn, chain 21. Work 1 hdc into the third chain from the hook and continue across for 18 hdc. Chain 2, turn, and work 18 hdc across each row until you have completed 12 rows. Fasten off, leaving a 20 cm sewing tail.
Expected result: You have a small rectangular pocket approximately 10–11 cm wide and 8–9 cm tall.
Check yourself: Confirm that the pocket has 18 stitches across and 12 rows.
15. Sew the Pocket to the Front
Action: Sew the pocket to the center of the front panel.
Detailed instructions: Position the pocket approximately 3 cm below the top border and center it horizontally. Thread the tapestry needle with mustard yellow yarn and sew through the two side edges and bottom edge of the pocket and the corresponding front-panel stitches. Leave the upper edge completely open.
Expected result: The pocket is securely attached and ready to hold small essentials.
Check yourself: Insert one finger through the top opening to make sure you did not accidentally sew it shut.
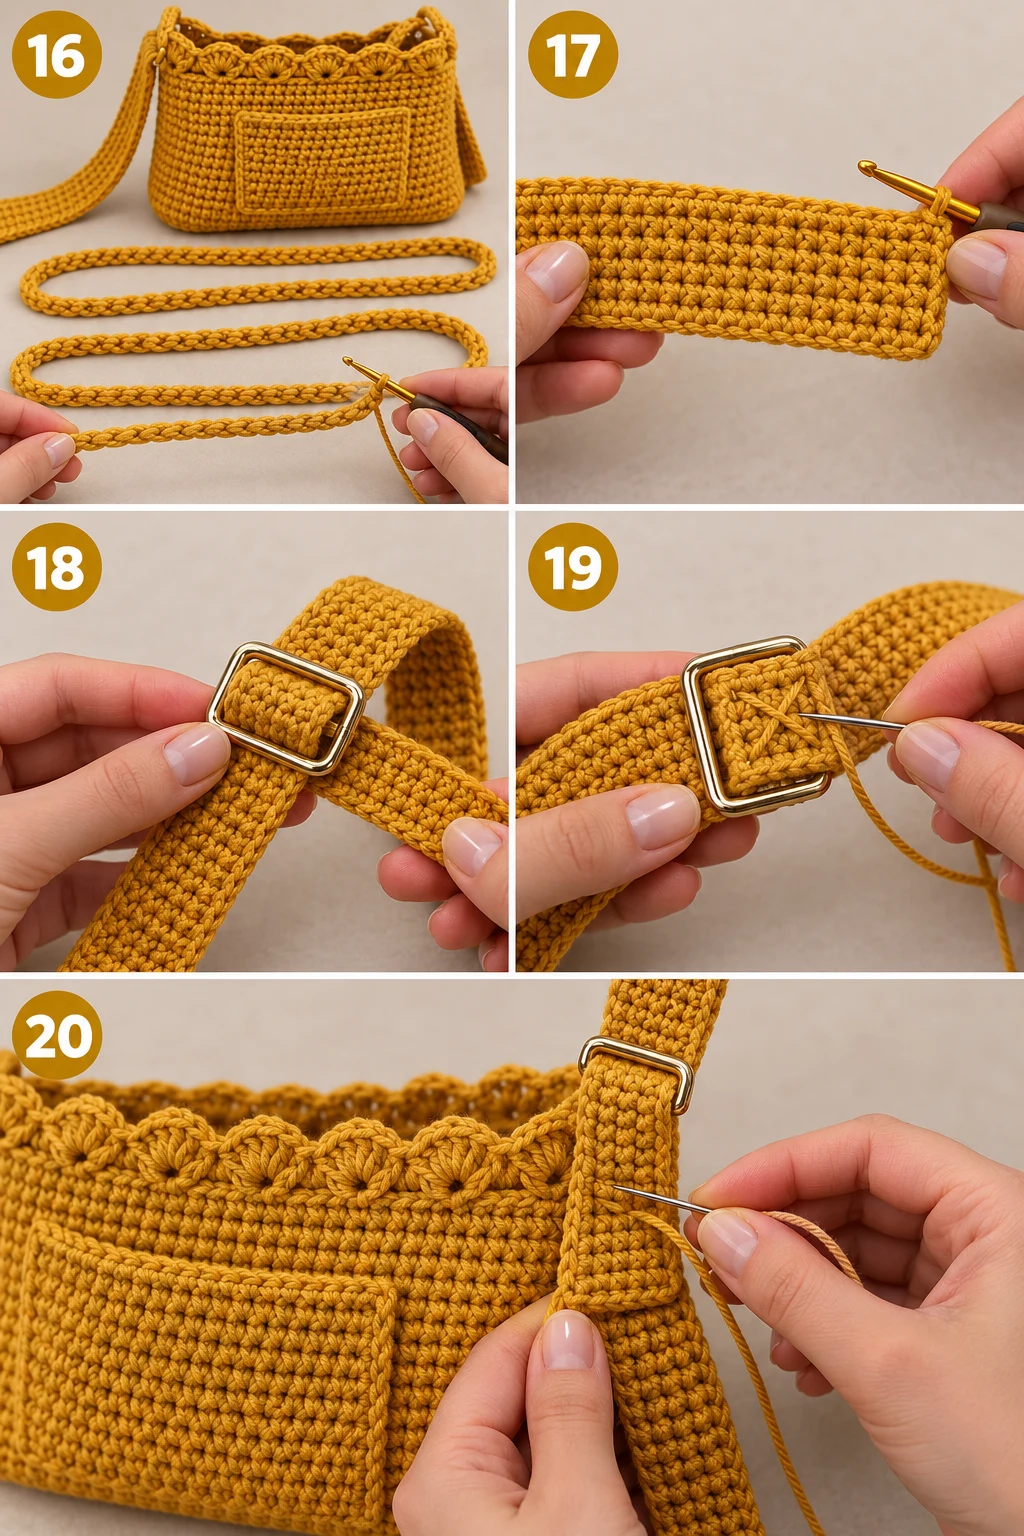
16. Crochet the Adjustable Strap
Action: Chain 121 stitches for the adjustable strap.
Detailed instructions: Using mustard yellow yarn, make a slip knot and chain 121 stitches. Keep the foundation chain relaxed and measure it without stretching; it should be roughly 105–110 cm long.
Expected result: You have a long chain ready to become the adjustable shoulder/crossbody strap.
Check yourself: Count 121 chains and confirm the relaxed chain reaches roughly 105–110 cm.
17. Build the Flat Strap
Action: Work 4 rows of 119 hdc across the strap foundation.
Detailed instructions: Yarn over and work 1 hdc into the third chain from the hook, then continue across for 119 hdc. Chain 2, turn, and work 119 hdc across each of the next three rows. Fasten off with a 25 cm tail.
Expected result: You have a firm, flat strap approximately 3.5–4 cm wide.
Check yourself: Count 119 stitches across the final row and confirm there are 4 rows total.
18. Thread the Adjustable Slider
Action: Thread one end of the strap through the adjustable slider.
Detailed instructions: Pass one end of the mustard yellow strap through the slider opening, over the center bar, and back through the second opening. Pull approximately 5 cm of strap through so a short folded section remains available for reinforcement.
Expected result: The slider can move along the strap while the strap remains threaded through it.
Check yourself: Pull the long section gently and confirm the strap length changes smoothly.
19. Reinforce the Slider End
Action: Sew the folded strap end securely to itself.
Detailed instructions: Thread the tapestry needle with mustard yellow sewing thread. Fold the approximately 5 cm strap tail back onto the strap body and stitch repeatedly through both layers. Use a compact box-and-cross reinforcement so the slider cannot pull free during normal use.
Expected result: One end of the adjustable strap is permanently secured around the slider.
Check yourself: Pull the strap firmly by hand; the stitched fold should stay flat and secure.
20. Attach the Strap to the Bag
Action: Sew the two strap ends securely to the handbag side seams.
Detailed instructions: Position one strap end at each side seam, approximately 2 cm below the top border. Use mustard yellow sewing thread to make multiple passes through the strap and the side seam. Reinforce each connection with a box-and-cross stitch.
Expected result: The handbag now has a securely attached adjustable strap.
Check yourself: Lift the empty bag gently by the center of the strap and check both attachment points for movement.
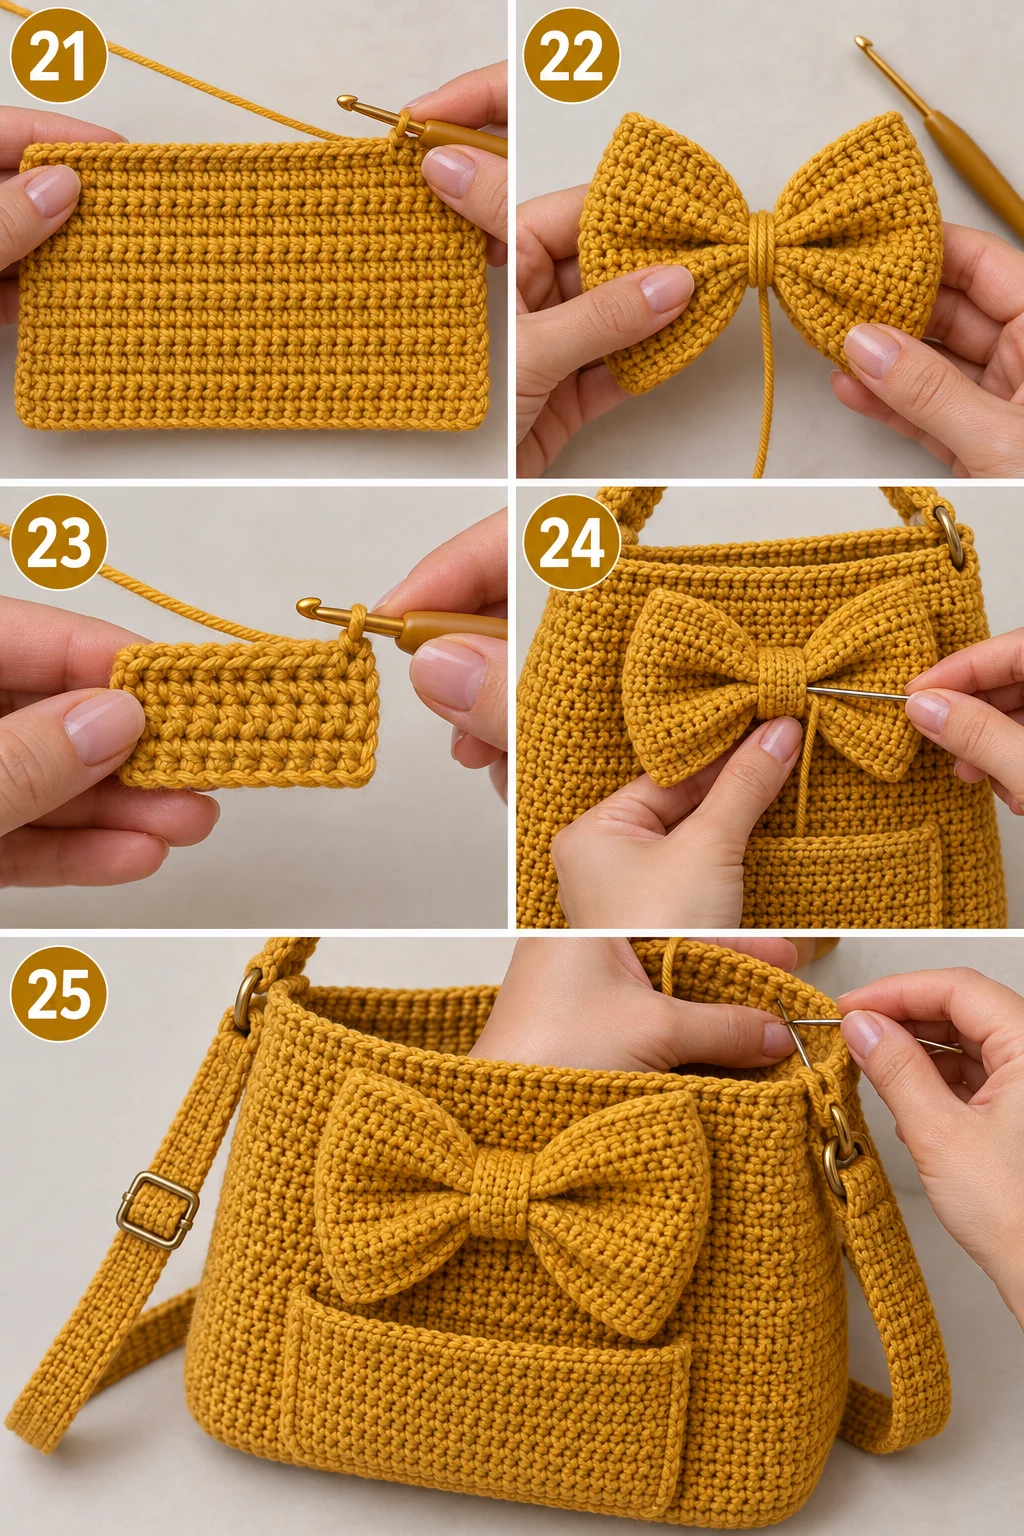
21. Crochet the Large Bow
Action: Make a 41-chain foundation and crochet 18 rows of 39 hdc.
Detailed instructions: Using mustard yellow yarn, chain 41. Work 1 hdc into the third chain from the hook and continue across for 39 hdc. Chain 2, turn, and work 39 hdc across every row until you have 18 rows. Fasten off with a 30 cm tail.
Expected result: You have a large rectangular bow piece approximately 20 cm wide by 13–14 cm tall.
Check yourself: Confirm 39 stitches across and 18 completed rows.
22. Shape the Bow Center
Action: Gather the exact center of the bow rectangle.
Detailed instructions: Fold the finished rectangle accordion-style so the long sides fan outward. Locate the center point and pinch the crochet fabric together firmly. Use the long mustard yellow yarn tail to wrap several times around this center, creating two balanced bow loops.
Expected result: The flat rectangle becomes a recognizable three-dimensional bow shape.
Check yourself: Both bow loops should be approximately equal in width and fullness.
23. Make the Bow Center Band
Action: Crochet a 13-chain strip and work 4 rows of 12 sc.
Detailed instructions: With mustard yellow yarn, chain 13. Skip the first chain and work 12 sc across. Chain 1, turn, and work 12 sc across for a total of 4 rows. Fasten off with a 20 cm tail.
Expected result: You have a narrow rectangular band approximately 2–3 cm wide.
Check yourself: Count 12 stitches across the band and 4 rows tall.
24. Finish and Attach the Bow
Action: Wrap the center band around the gathered bow and sew the completed bow to the handbag front.
Detailed instructions: Wrap the small band around the bow’s gathered center and sew its short ends together at the back. Center the finished bow horizontally on the front of the handbag, approximately 3 cm below the top border and above the pocket. Use the remaining mustard yellow tail to sew through the center band and the handbag fabric, making several secure passes.
Expected result: The oversized bow is firmly attached to the front of the handbag while both loops remain dimensional.
Check yourself: Lift each bow loop gently; the center should stay firmly anchored without flattening the loops.
25. Weave In the Final Ends and Test the Strap
Action: Weave in every remaining yarn end and test the adjustable strap.
Detailed instructions: Thread each remaining mustard yellow yarn tail onto the tapestry needle and weave it through several nearby stitches on the wrong side, changing direction once to lock it securely. Trim the excess. Finally, adjust the slider so the handbag can sit comfortably at both shoulder and crossbody lengths.
Expected result: Your Crochet Handbag Pattern is completely finished, with a structured body, optional front pocket, statement bow, and convertible adjustable strap.
Check yourself: Lift the finished handbag by the strap, adjust the slider from its longest to shortest comfortable position, and confirm all seams remain secure.
Quick Reference
Use this table while working through the Crochet Handbag Pattern so you can check the major stitch counts without rereading every instruction.
Section Foundation Stitch Rows Final Count / Measurement
Main Panel 1 ch 33 hdc 24 31 sts × 24 rows
Main Panel 2 ch 33 hdc 24 31 sts × 24 rows
Gusset ch 9 hdc 70 7 sts wide
Top Border — sc 1 round Around full opening
Optional Pocket ch 21 hdc 12 18 sts × 12 rows
Strap ch 121 hdc 4 119 sts × 4 rows
Bow ch 41 hdc 18 39 sts × 18 rows
Bow Center ch 13 sc 4 12 sts × 4 rows
Finished Body — — — Approx. 19–20 × 20 × 5 cm
Strap — — — Approx. 105–110 cm before adjustment
The construction follows the same broad sequence highlighted in the reference tutorial: main panel, adjustable strap, side piece, second panel, optional pocket, border, large bow, and final assembly.
📺 Watch the Video Tutorial
Final Thoughts
And that’s it — you made it! I’m genuinely so happy with how this Crochet Handbag Pattern comes together because the simple rectangular pieces let that oversized bow become the star. The adjustable strap also makes the finished bag much more useful for everyday wear. Before carrying it, give the panels and bow a gentle steam block from a distance to even out the stitches; never press a hot iron directly onto the crochet. I’d love to see your finished mustard yellow handbag, so share it and tag the blog when you’re done!
Tips for a Better Experience
Reinforce the strap twice. The strap carries the weight of the handbag, so make several passes at each side attachment instead of relying on a single line of stitching.
Keep the bow centered. Before sewing it permanently, measure from both side seams to the bow center. A few seconds of measuring makes the finished Crochet Handbag Pattern look much more polished.
Skip the pocket for a cleaner look. The pocket is completely optional. Leaving it off gives the bow more visual space, while keeping it makes the bag more practical for keys, cards, or earbuds.
Adjust the strap length. For a shorter shoulder bag, remove foundation chains from the 121-chain strap. For a longer crossbody version, add chains in multiples that preserve the intended strap width.
FAQ
What is included in this Crochet Handbag Pattern?
This Crochet Handbag Pattern includes two main hdc panels, a gusset, top border, optional pocket, adjustable strap, oversized bow, bow center, and complete finishing instructions.
How do I make the Crochet Handbag Pattern into a crossbody bag?
The Crochet Handbag Pattern uses an adjustable slider on the strap, allowing you to lengthen it for crossbody wear or shorten it for shoulder wear.
Why does this Crochet Handbag Pattern use a gusset?
The gusset gives the handbag depth instead of leaving it completely flat. It also creates a more structured everyday shape while keeping the two main panels simple to crochet.
📚 You Might Also Like
- Crochet Star Bag Pattern: 15 Easy DIY Ideas for 2026
If you have been searching for a stunning, celestial accessory to elevate your handmade wardrobe, lo…
- 15 Summer Bag Crochet Ideas for a Fresh Handmade Look
Summer bag crochet projects are handmade bags designed for warm-weather use, typically using lightwe…
- Crochet a bag: 9 Perfect DIY Ideas for 2026
15 Creative Ways to Crochet a Bag Crochet a bag projects are one of the easiest ways to turn colorfu…
- 13t shirt yarn crochet bag pattern free Pattern Free Ideas You’ll
T shirt yarn crochet bag pattern free projects turn old cotton tees into sturdy, washable bags with…
- Crochet bag tutorial handbags — Free Pattern
Cream White Crochet Handbag That Looks Store-Bought crochet bag tutorial handbags are one of my favo…
🛍️ Shop the Look — Crochet Handbag Pattern
Our handpicked Amazon picks curated specifically for Crochet Handbag Pattern:
As an Amazon Associate I earn from qualifying purchases.